Categories
Recipes

Leftover Chicken – Cassoulet à la Leftover Chicken

Cassoulet à la Leftover Chicken, Reggie Soang

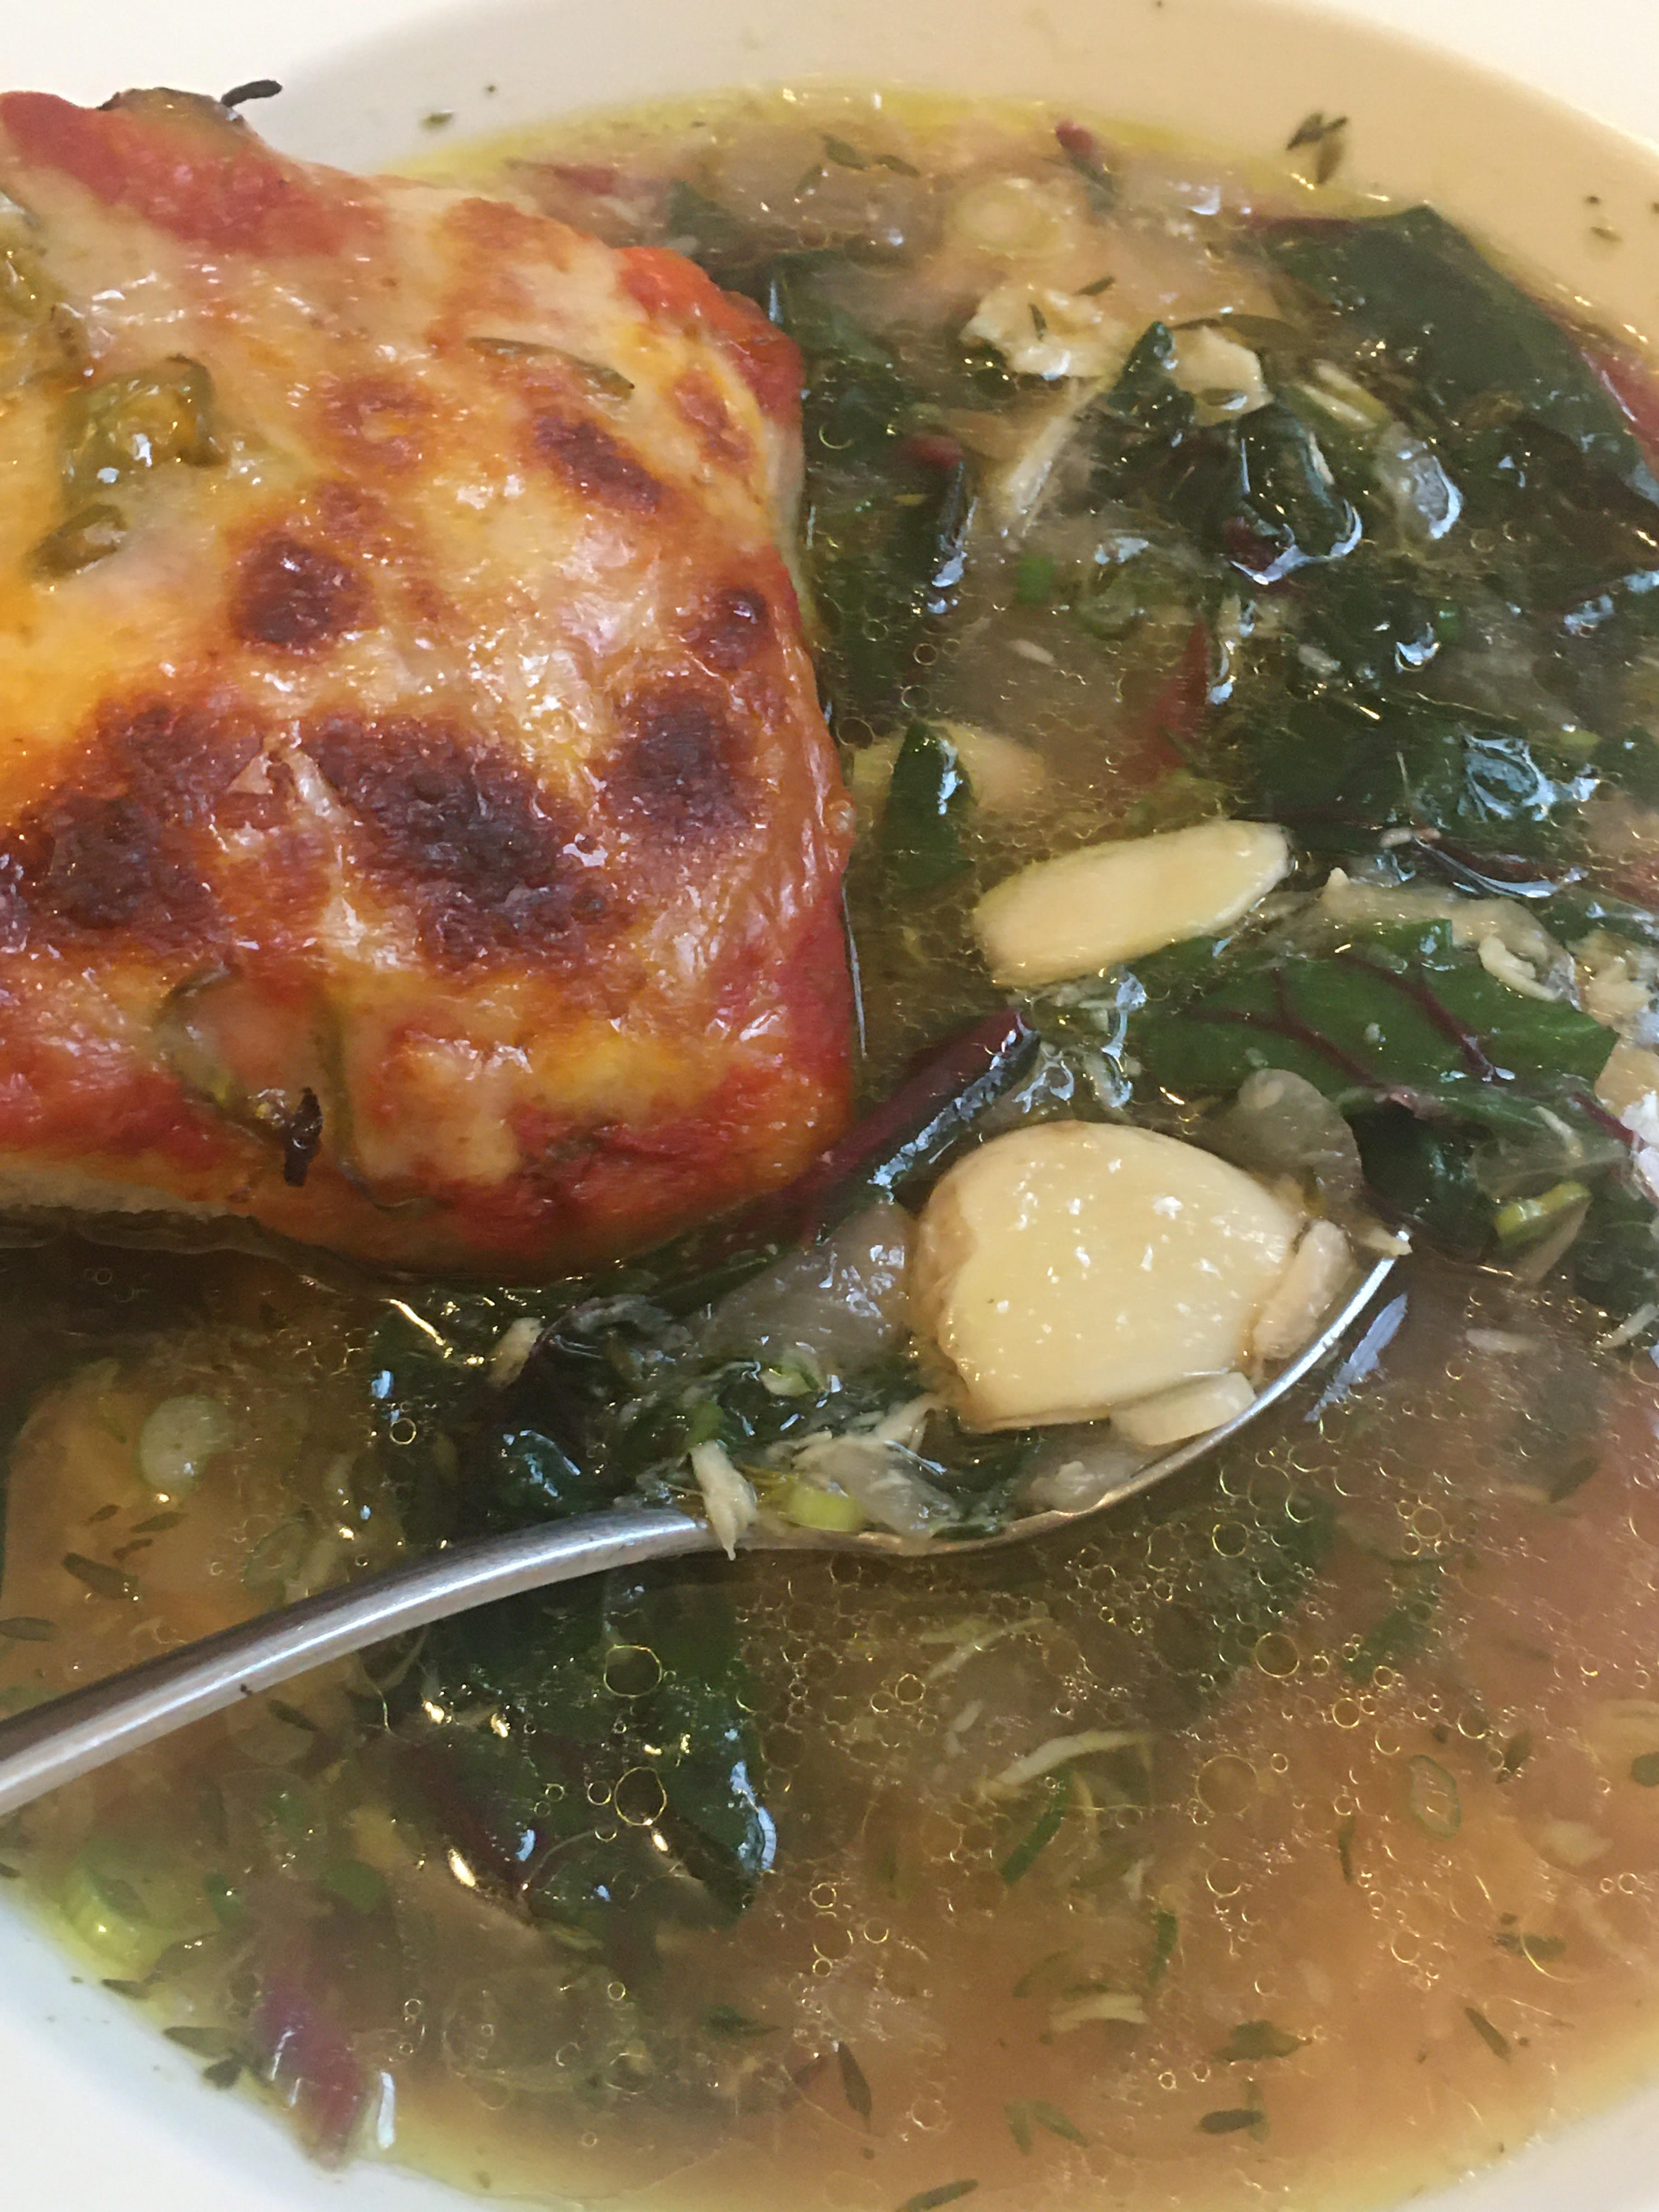
Cassoulet is a great dish for using up all the leftovers. The main ingredients of a cassoulet are: bacon or some form of cured meat, sausage, a type of poultry or game, and beans, and you could build so much flavors into this dish by introducing root vegetables and herbs.

For the latest COVID 19 Home Cooking Series:

Cassoulet à la Leftover Chicken
Serves: 2 adults & 2 children

Prep Time: 20 minutes
Cook Time: 40 minutes
Total time: 1 Hr.

Ingredients:
1 tablespoon Canola Oil
1 + 1/2 cup Diced Bacon
3 piece Italian Hot Sausage
1 + 1/2 Medium Size Onions, medium dice
10 cloves Garlic, smashed
3 piece Medium Size Carrots, slice 1-in on bias
3 sprigs Thyme
1 quart of water or chicken stock
5 cup Diced Chicken (about 2 drumsticks and 2 thighs)
1 can (28 oz.) Cannellini Beans
1 + 1/2 cup Breadcrumbs
2 tablespoon olive oil
1 tablespoon softened butter
1 lemon, zested

  1. In a medium size stock pot, heat up canola oil on medium high heat, sauté bacon and sausages at the same time. Once sausages are nicely colored, take them out and keep rendering the bacon
  2. Add onions, carrots, garlic, and thyme when bacon starts to take on some brown color. Cook veggies and bacon together until veggies are moist and soft. Put sausages back in the pot and add enough water or chicken stock until it covers two-thirds of the way. Turn the stove down to simmer and cook until carrots are soft and sausages are done
  3. Meanwhile, make breadcrumb crust by mixing in olive oil, softened butter, and lemon zest
  4. Pre-heat your oven at 400F
  5. Once carrots and sausages are done, mix in chicken and cannellini beans. Bring the stew up to a boil and turn off the heat
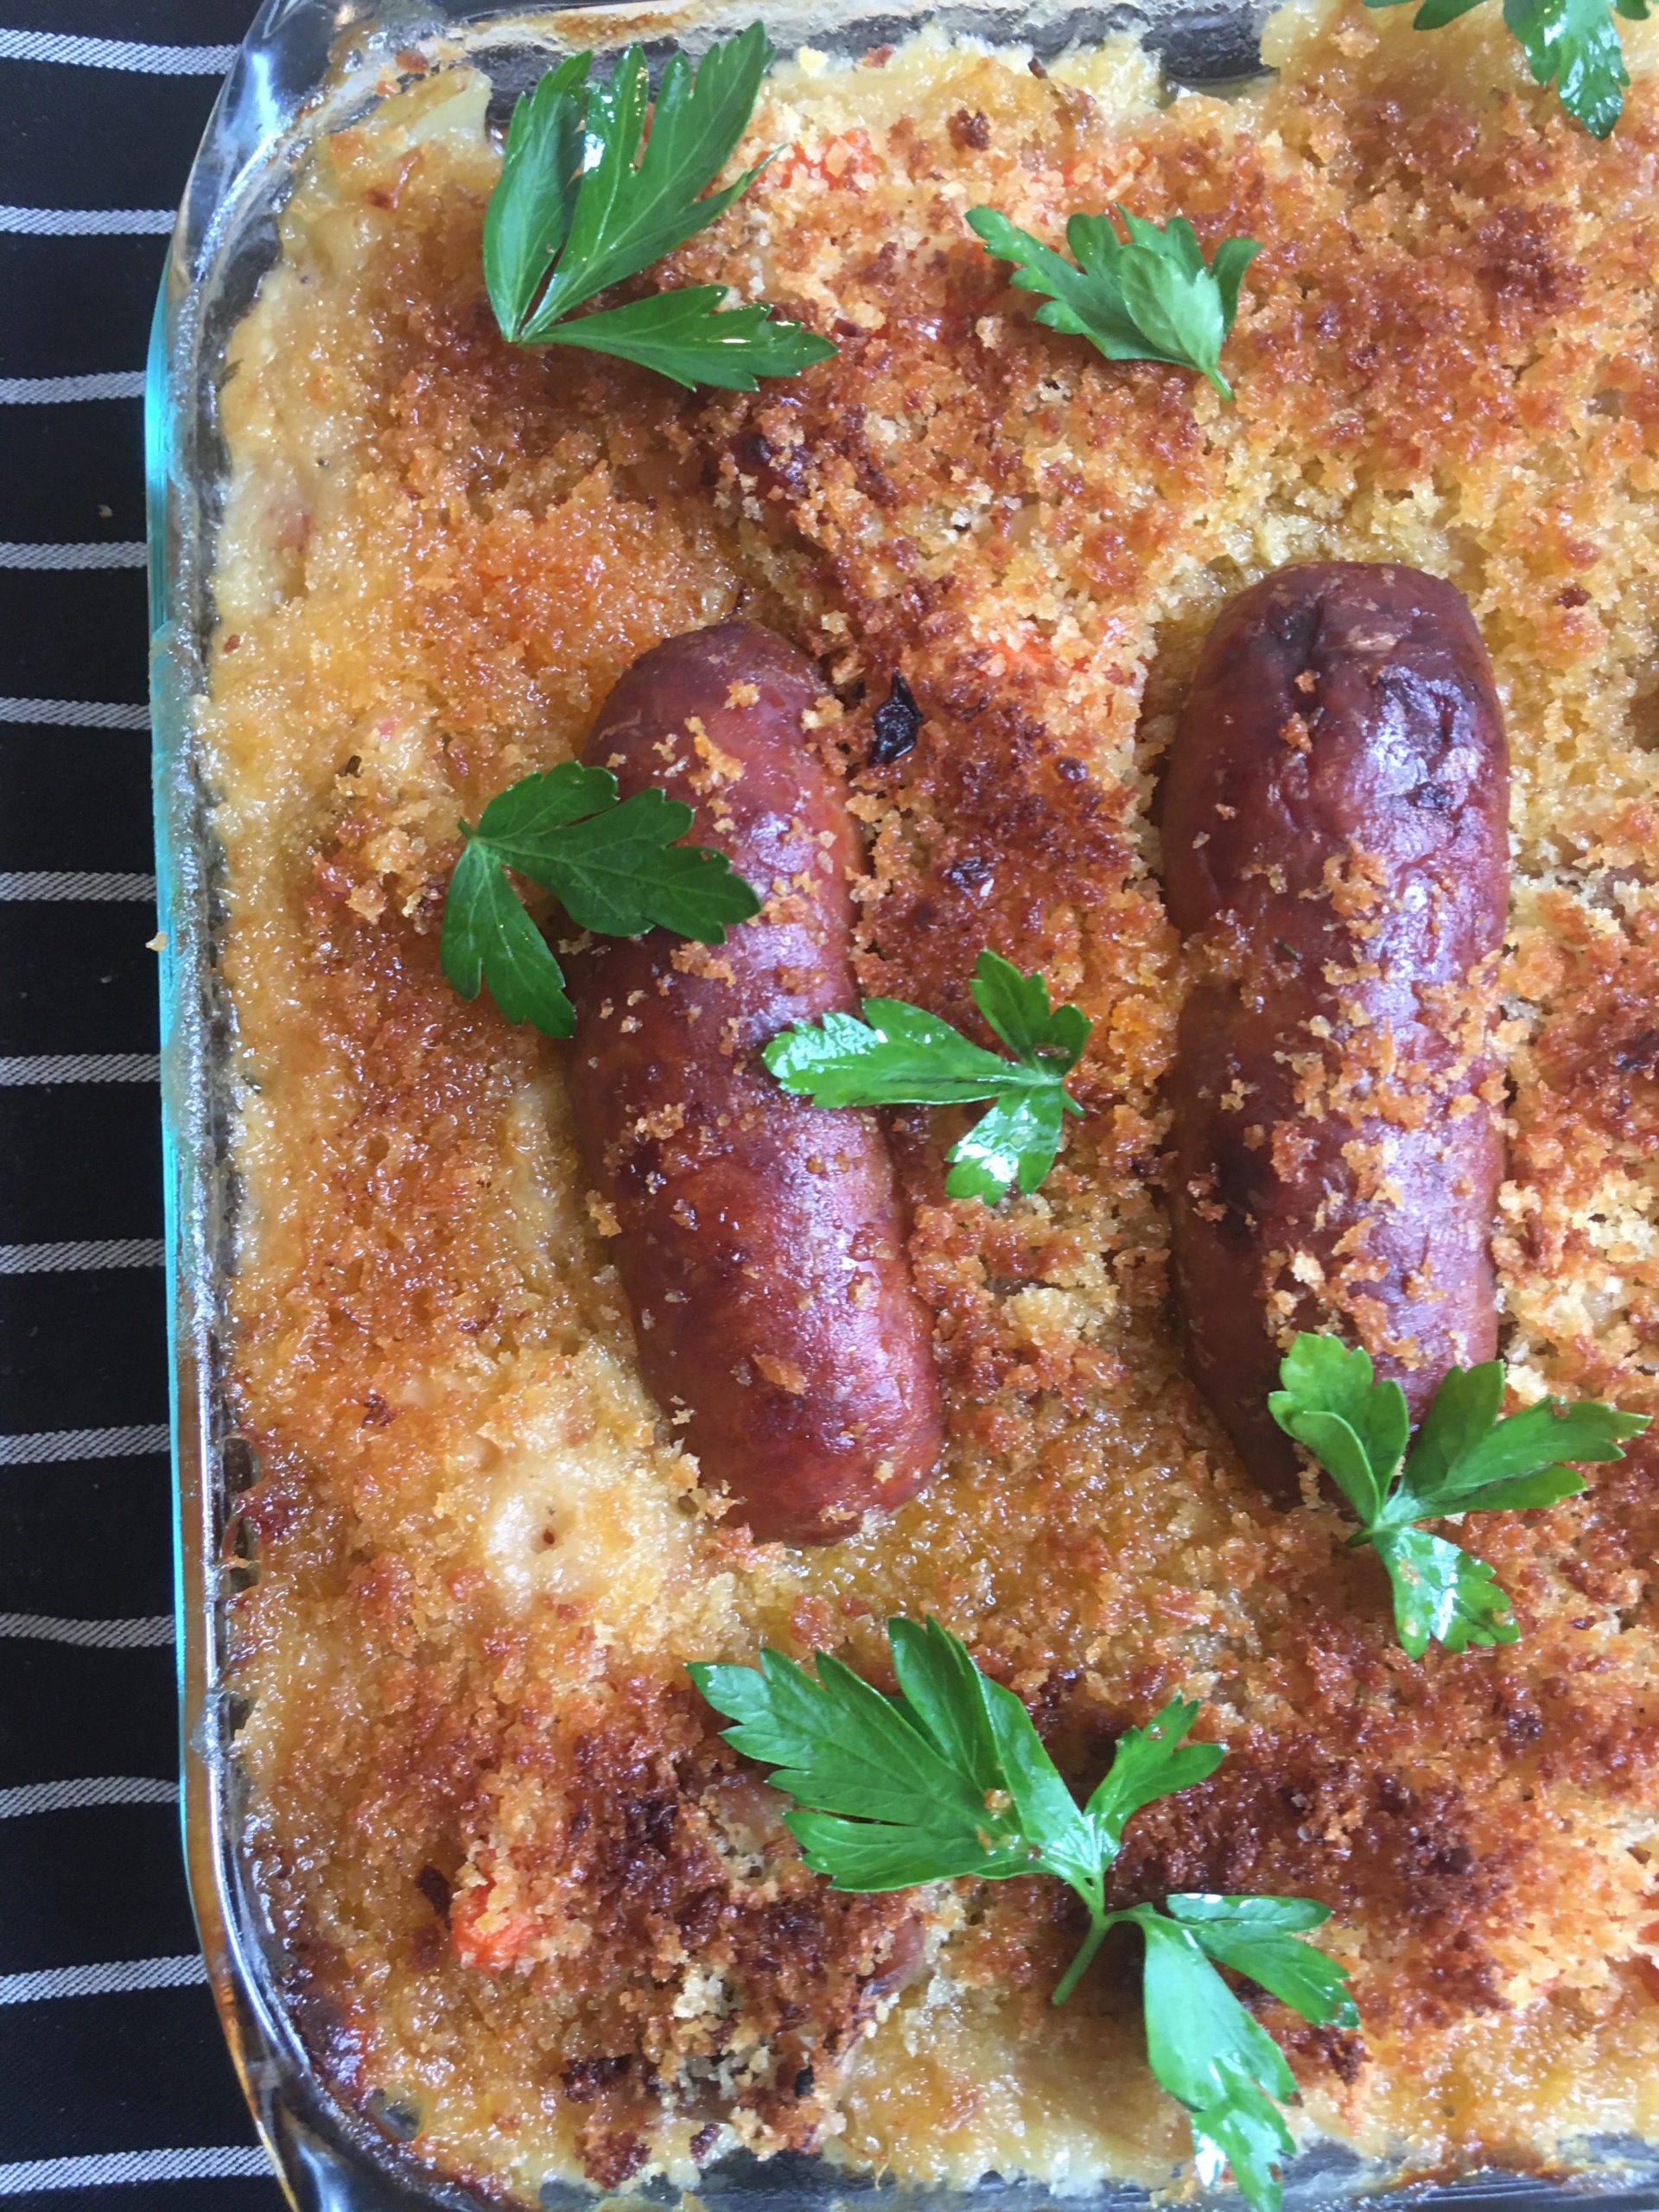
  6. Scoop the stew into a casserole and top off the casserole with breadcrumb (you will only need half the amount, refrigerate the other half for the next time)
  7. Bake the casserole for approximately 20 minutes, oruntil the top gets golden brown. You could use broiler to help you with the color towards the end. Enjoy Cassoulet as it is, or eat it with rice. Bon Appétit!


Categories
Recipes

Leftover Chicken – Cold Noodle Salad with Chicken and Peanut Sauce

Cold Noodle Salad with Chicken and Peanut Sauce, by Reggie Soang

Making cold noodle salad with chicken and peanut sauce is one of my favorite ways to use leftovers. Peanut butter is a popular pantry item; therefore, this dish is accessible to everyone. Simply shred leftover cooked chicken or dice up to bite size and mix in with peanut sauce, and you’d have a delicious and healthy meal done very quickly. I like my cold noodle salad with cucumbers and raw shredded carrots; that’s how my nanny served it to me. The choice of veggies is abundant; raw and crunchy veggies are the best for adding texture. Finally, you don’t have to forgo this recipe for not having Asian noodles. You could substitute this recipe with spaghetti! But do make sure you cook your spaghetti a little further and not leave them al dente, firm to the bite.

For the latest COVID 19 Home Cooking Series:


Cold Noodle Salad with Chicken and Peanut Sauce
Serves: 2 adult & 2 children

Prep Time: 25 mins
Total Time: 40 mins 

Ingredients:
For Chili Oil (make 1 cup), optional
1/2 cup Canola Oil 
1/4 cup Sriracha 
1/4 cup Sambal Oelek
1/2 Tablespoon MSG
1 teaspoon Ground Cumin
1 teaspoon Sugar
1 Tablespoon Soy Sauce

For Peanut Sauce (make 2 cups)
1/2 cup Peanut Butter (prefer low sodium and sugar) 
2 tablespoon Soy Sauce
2 teaspoon Sesame Oil
2 tablespoon Rice Wine Vinegar
2 teaspoon salt
1 tablespoon Sugar
1/4 teaspoon MSG 
2 clove Fresh Garlic, grated
1/2 cup Cold Water

To Serve:
4 portion Spaghetti
4 stalk Celery, thinly sliced on bias
1 cup grated Carrot
1 cup sliced cucumbers, in sticks
4 piece scallions, sliced into thin coins
1/3 cup Cilantro stems, cut into batons
2 cup shredded chicken, seasoned with salt and chili oil
Extra tablespoon chili oil added at the end (optional)
1 + 1/4 cup tablespoon Peanut Sauce
1/3 cup Cilantro leaves

  1. To make chili oil, put oil and chili sauces in a small pot and turn stove to medium-high heat. Fry the chili sauces in oil until jammy and fragrant. Also watch the bubbles on the surface; they should be tiny at the end. When the sauce is finished, turn off the heat, and add the spices and seasonings. Set aside.
  2. To make peanut sauce, combine everything and whisk until smooth. Adjust consistency with cold water, and then re-season.
  3. Cook spaghetti for 11 minutes. Drain and cool the noodles immediately. Cook the noodles beyond al dente (firm to the bite). Cold water will help stiffen and retain the texture of spaghetti.
  4. Stir cold spaghetti with a little oil (could use sesame or chili oil) to prevent sticking. Toss in the veggies, chicken, and peanut sauce, stir to combine.
  5. Plate everything in a bowl and garnish with cilantro leaves. Bon Appétit!


Categories
Recipes

Gluten Free Cooking – Buckwheat Crepes with Chickpea Salad

Buckwheat Crepe and Spiced Chickpea Salad by Reggie Soang

I love incorporating buckwheat into crepes because of its added nutty flavor. This gluten free version holds up very well; the crepe batter doesn’t need any chemicals or AP flour to help it maintain the structure. My chickpea salad is filled with flavor bombs; it has fresh herbs, spices and garlic, and dressed with fresh lemon juice and extra virgin olive oil. One great advantage of having crepe as part of the meal is to use it to mop up the sauce at the end!

For the latest COVID 19 Home Cooking Series:

Buckwheat Crepes with Chickpea Salad
Serves: 2 adults & 2 children

Prep Time: 15 minutes
Resting Time: 1 Hour (resting crepe batter)
Total Time: 1 Hour 30 minutes

Ingredients
For Crepes
120g (1 cup) Buckwheat Flour
3g (3/4 teaspoon) Salt
2 Eggs
225g (1 cup) Milk
14g (1 Tablespoon) Butter
1/4 cup Water, for adjusting consistency 

For Chickpea Salad
1 can (28 oz) Chickpeas
1 Lemon, juiced
1/2 cup EVOO
1/8 cup White Distilled Vinegar
1 teaspoon Salt
3 cloves Fresh Garlic, grated
1 teaspoon dried chilies (such as Thai bird chili, arbol, cayenne)
2 Tablespoon Za’atar Spices
1 teaspoon Madras Curry Powder
2 teaspoon Spanish Paprika
1/4 cup chopped Mint
1/2 cup chopped Parsley
1/4 cup chopped Scallions
1 piece Pickled Chilies, rough chopped or hand torn (optional)

  1. To make the crepe batter, using a blender and blend everything, except water, until smooth. Let the batter rest for 1 hour.
  2. Adjust the consistency of the crepe batter with 1/4 cup of water (I prefer a thinner batter, this step is optional)
  3. Pre-heat a non-stick skillet on medium low heat for 4 minutes. Heating your cooking vessel slowly will help you cook more evenly.
  4. After 4 minutes, gently wipe the surface with oil, or butter, or cooking spray. You want the surface to be non-stick, yet not grease.
  5. Use a 1/4 cup or a 2 oz. ladle and scoop the batter into the middle of the skillet. Holding the skillet handle, swirl the batter around until almost paper thin. Cook the first side until the edges are set and comes off the skillet. Using both hands to lift the crepe and flip. Cook the second side for 5 to 10 seconds. Fold the crepe in half and leave it on rack to cool. Repeat the cooking procedures with the rest of the batter
  6. To make the chickpea salad, drain chickpeas and use a fork to crush about a 1/4 cup of chickpeas inside a mixing bowl. Pour in lemon juice, EVOO, and vinegar and mix. Add salt and grated garlic and stir to combine.
  7. Add spices and stir to combine, and then add the chopped herbs. If the salad is too clumpy, add few dashes of water or lemon juice to loosen up. The salad should be juicy and bright looking.
  8. To serve, fold crepes into quarters and fan them out on a plate, place chickpea salad next to the crepes. Add some pickled chilies if you wish and drizzle EVOO to finish. Bon Appétit!
Categories
Recipes

Gluten Free Baking – Cornbread Muffins

Cornbread Muffins w/ Corn Flake Streusel, by Reggie Soang

I am getting obsessed with baking muffins and cakes because seeing different results from using different techniques on same recipe fascinates me. “Creaming with Butter”, “Creaming with Eggs”, and “Straight Up Mixing” are three important methods in baking. While each one of them will provide different results, no method is perfectly right for any recipes. Applying personal preference in choosing a method will give you the best result. Also…don’t forget to bake with love!

For the latest COVID 19 Home Cooking Series:

Cornbread Muffins w/ Corn Flake Streusel
Serves: 10 Muffins

Prep Time: 15 Minutes
Bake Time: 18 to 23 minutes
Total Time: 38 minutes (not including cooling)

Ingredients:
For Muffins:
160g (1 cup) Cornmeal
135g (1 cup) Gluten Free Flour
1 Tablespoon Baking Powder
1 teaspoon Salt
115g (1/2 cup) Sugar
2 Eggs
115g (1 stick) Butter
245g (1 cup) Milk

For Corn Flake Streusel:
2 Tablespoon Gluten Free Flour
1 Tablespoon Brown Sugar
1 Tablespoon Butter
1/4 cup Corn Flakes

  1. Pre-heat oven at 400F
  2. Mix dry ingredients: cornmeal, gluten free flour, baking powder, and salt together
  3. Using a stand mixer or an electric mixer, beat butter on high speed until pale and creamy. Add sugar and continue beating butter and sugar until fluffy. (This is the “creaming with butter” method, which I find it to be the best for muffins for my own preference)
  4. Turn mixer down to low setting, add flour mix, 2 stages at a time to avoid making a mess, and slowly incorporate until evenly mixed. Finally, add the milk and mix to combine. Your muffin batter should be thick, yet fluid.
  5. To make corn flake streusel, simply put all the ingredients inside a food processor and pulse until butter is reduced to pea-size, like making a pie dough. Alternatively, you could crush corn flakes with your hands and cut the butter into flour separately, and then combine everything.
  6. Butter or grease your muffin tin, or line them with paper cups, fill your muffin tins to the top with cornbread batter and sprinkle on corn flake streusel. Bake muffins for 18 to 23 minutes.
  7. Test doneness by inserting a skewer into the middle of a muffin and it should come out clean. Rest muffins for 10 minutes, and then cool them on a rack for extra 10 minutes before digging in. Bon Appétit!
Categories
Recipes

Gluten Free Baking – Carrot Cake


(Carrot Cake, by Reggie Soang)

Carrot cake is one of my favorite cakes because of the added sweetness and flavors from different spices. Though I can’t compete with Duncan Hines or Betty Crocker, I think I could put up a decent fight with a gluten free version. Making a carrot cake is also a great project for parents and kids, and the kids might end up eating more vegetables by the end of it! I have also seen variation of carrot cakes with added nuts, please feel free to try it as they might add some nice texture to each bite!

For the latest COVID Home Cooking Series, I present you with:

Cinnamon Ginger Carrot Cake
Serves: 2 adults & 2 children

Total Prep time: 10 minutes
Total Bake Time: 1 Hour 5 minutes
Total Time: 1 Hour 15 Minutes

Ingredients:
280g (2 cup) Gluten Free Flour
4g (1 teaspoon) Baking Powder
5g (1 teaspoon) Baking Soda
3g (1 + 1/2 teaspoon) Cinnamon Powder
1g (1/2 teaspoon) Ground Ginger
5g (1 teaspoon) Salt
3 Eggs
215g (1 cup) Oil, Canola or Grapeseed
350g (1 + 3/4 Cup) Sugar
300g (about 3 cups) grated Carrots
6g ( 1 + 1/2 teaspoon) Vanilla Extract

  1. Preheat oven to 350F
  2. Mix the dried ingredients: gluten free flour, baking powder, baking soda, cinnamon powder, ground ginger, and salt
  3. Using a stand mixer or electric mixer with whisk attachment, whisk eggs, sugar, and vanilla extract until pale and thick ribbons on medium high speed. Slowly stream in the oil and whisk to combine
  4. Fold in the dry ingredients and follow by carrots
  5. Grease a cake/loaf pan with pam spray or soften butter. Pour your cake batter in and bake for 1 hour and 5 minutes. Depending on the size and shape of your mold, you might have to split up this recipe in half, like I did.
  6. Rest your cake in your pan for 10 minutes until cool enough to handle, tip the cake our and rest for 10 more minutes. Slice the cake as thick as you want. Bon Appétit!
Categories
Recipes

Gluten Free Baking – Chocolate Scones

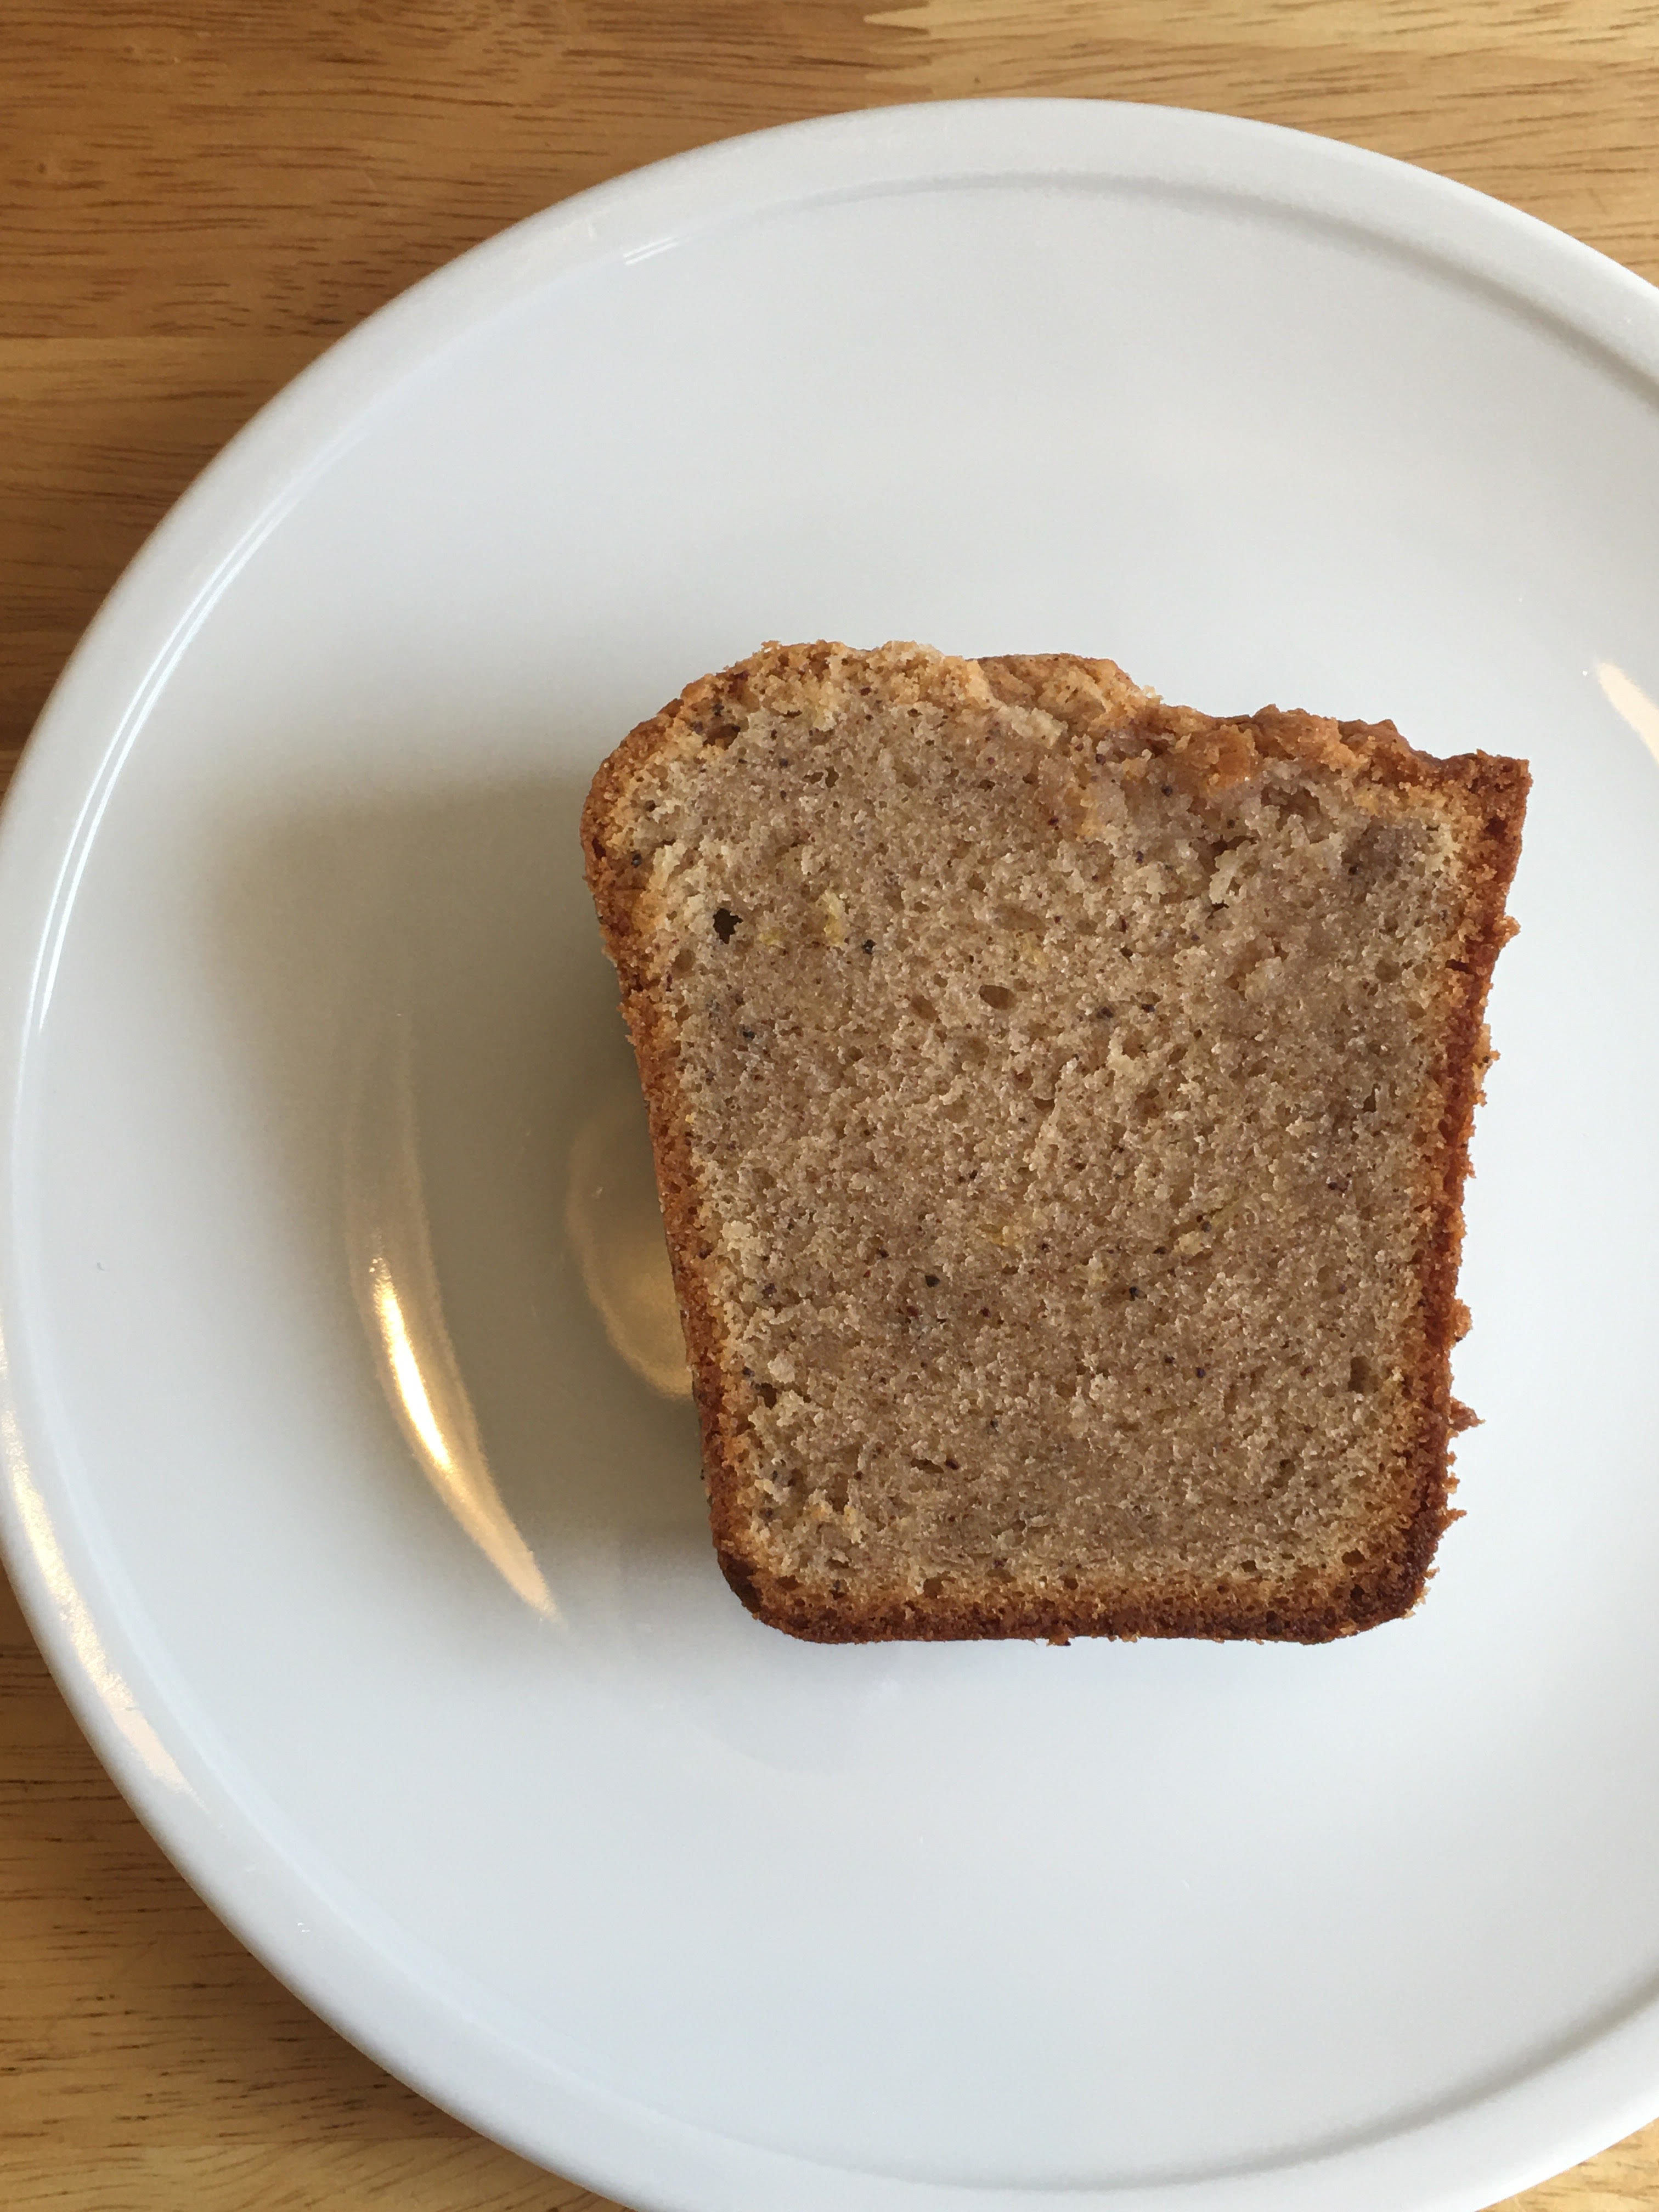
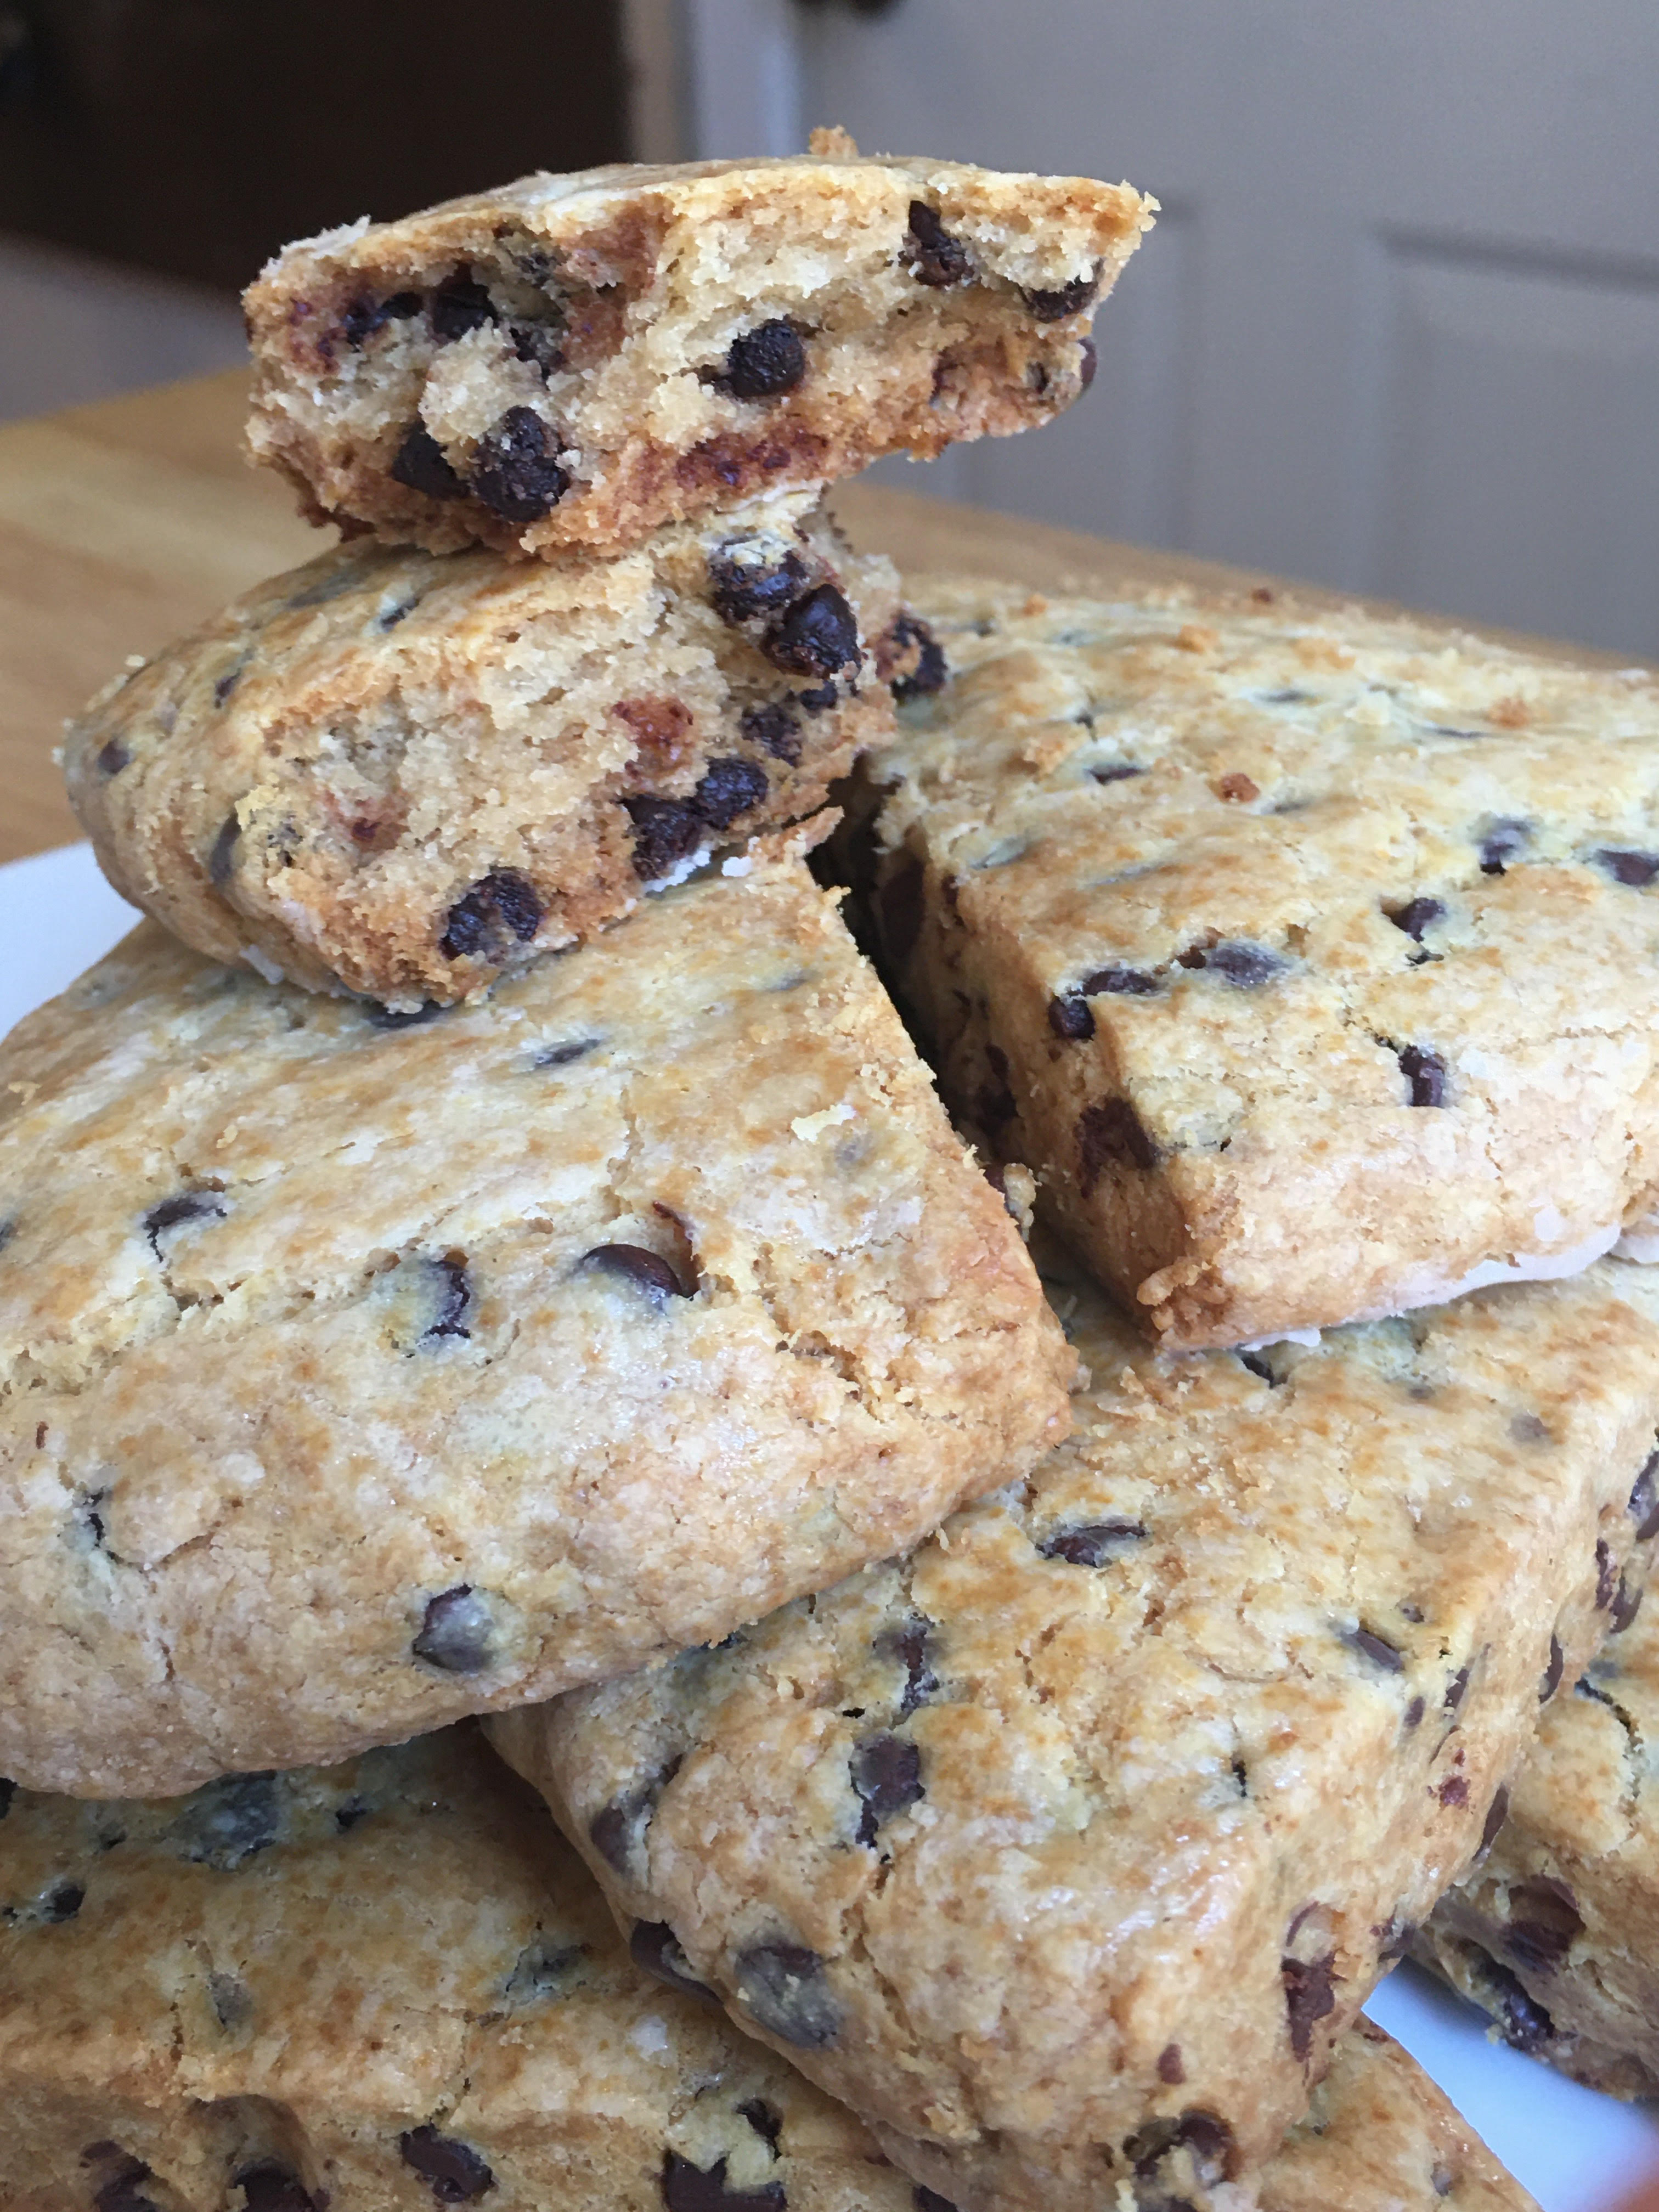
(Chocolate Scones, by Reggie Soang)

Scones are one of my favorite baked goods. The flaky exterior and soft interior are the perfect complement. You could use dried fruits instead of chocolate, or together!

For the latest COVID 19 Home Cooking Series, I present you:

Chocolate Scones
Serves: 2 adults & 2 children

Ingredients:
255g (1 & 1/2 cup) Gluten Free Flour
3g (1 teaspoon) Baking Powder
5g (1 teaspoon) Baking Soda
2g (1/2 teaspoon) Salt
25g (1/8 cup) Sugar
140g (2/3 cup) Heavy Cream
1/2 cup (3 oz.) Semi-Sweet Chocolate Chips
130g (1 stick + 1 Tablespoon) Butter, diced into small cubes, must be chilled

  1. Combine dry ingredients, gluten free flour, baking powder, baking soda, salt, and sugar
  2. Using a food processor or your finger tips, work the butter into the dry goods until the size of peas
  3. Add cream to the flour mixture and make it into a dough. Fold in Chocolate chips
  4. Tip the dough onto a piece of parchment paper. Dust the surface with a little more flour. Cover the dough with another piece of parchment paper and roll it to 3/4-inch thick circle
  5. Chill the dough for at least 30 minutes before cutting and baking the scones
  6. Pre-heat your oven 10 minutes before baking
  7. Cut the dough into 8 pieces like you would for pizza. Place individual scones 2 to 3 inches apart on your baking sheet
  8. Brush the surface with a thin layer of cream and bake in 350 F for 23 minutes
  9. Rest and cool your scones for 10 to 15 minutes. Bon Appétit!
Categories
Recipes

Gluten Free Baking – Cinnamon Almond Cake


(Cinnamon Almond Cake, by Reggie Soang)

Since the supply of AP flour has been short, I have decided to explore gluten free baking. Gluten free recipes need few more ingredients to help the product stay nice and moist. However, the techniques of gluten free baking are very similar to the ones for regular baking. One advantage of gluten free baking is that you rarely overmix the batter or dough since there isn’t any gluten involved. For our first gluten free baking, let’s make cinnamon almond cake.

For the latest COVID 19 Home Cooking Series, I present you with:

Cinnamon Almond Cake
Serves: 2 adults & 2 children

Ingredients:
1 Cup (140g) Gluten Free Flour (you could use my recipe or buy a premix product)
1 Cup (120g) Almond Meal
1 Tablespoon (8g) Ground Cinnamon
1 Tablespoon (9g) Baking Powder
1/2 teaspoon (2g) Salt
1 Cup (240g) Sugar
1 & 1/2 Stick (170g) Butter
1 Lemon Zest
3 Eggs
1/2 (115g) Cup Sour Cream/Yogurt
1/2 (2g) Teaspoon Vanilla

  1. Take out butter 30 minutes before baking to soften
  2. Mix dry goods, gluten free flour, almond meal, ground cinnamon, baking powder, and salt, together
  3. Pre-heat oven to 350
  4. Meanwhile, butter and flour (with gluten free flour) your cake pan
  5. Beat butter until fluffy, add sugar and beat until pale and fluffy
  6. Mix in yogurt, vanilla extract, and eggs one at a time, mix to combine. Your wet ingredients will look grainy and broken. Don’t worry, adding dry goods will fix it
  7. Add dry goods in 2 batches so the flour will not get everywhere, mix on low speed
  8. Once the dry goods are mixed in, turn on your mixer on high for 20 seconds to help mixing evenly
  9. Bake the cake in 350 F for 1 Hour 5 minutes. Let cool and slice it thick…it’s gluten free! Bon Appétit.

Categories
Recipes

Gluten Free Flour Blend

We are focusing on gluten free baking this week as our AP Flour supply dwindles. In times like this, a well stocked baking or cooking repertoire will come in handy! 

I recommend using a scale, if you do have one, for the following mix because using cup measurements could be inconsistent depending on your method.

For the lates COVID 19 Home Cooking Series, I present you:

Gluten Free Flour Blend

350g (2 & 1/2 Cup) Corn Starch
250g (1 & 3/4 Cup) Tapioca Starch
150g (1 Cup & 1 tablespoon) White Rice Flour
100g (3/4 Cup) Brown Rice Flour
50g (1/3 Cup) Potato Starch
10g (1 Tablespoon + 1 Teaspoon) Xanthan Gum

Simply mix the above ingredients together and store them away like flour. For the most part, you could use this gluten free flour blend in place of regular AP Flour.

Categories
Recipes

One Pot Meal – Fried Rice

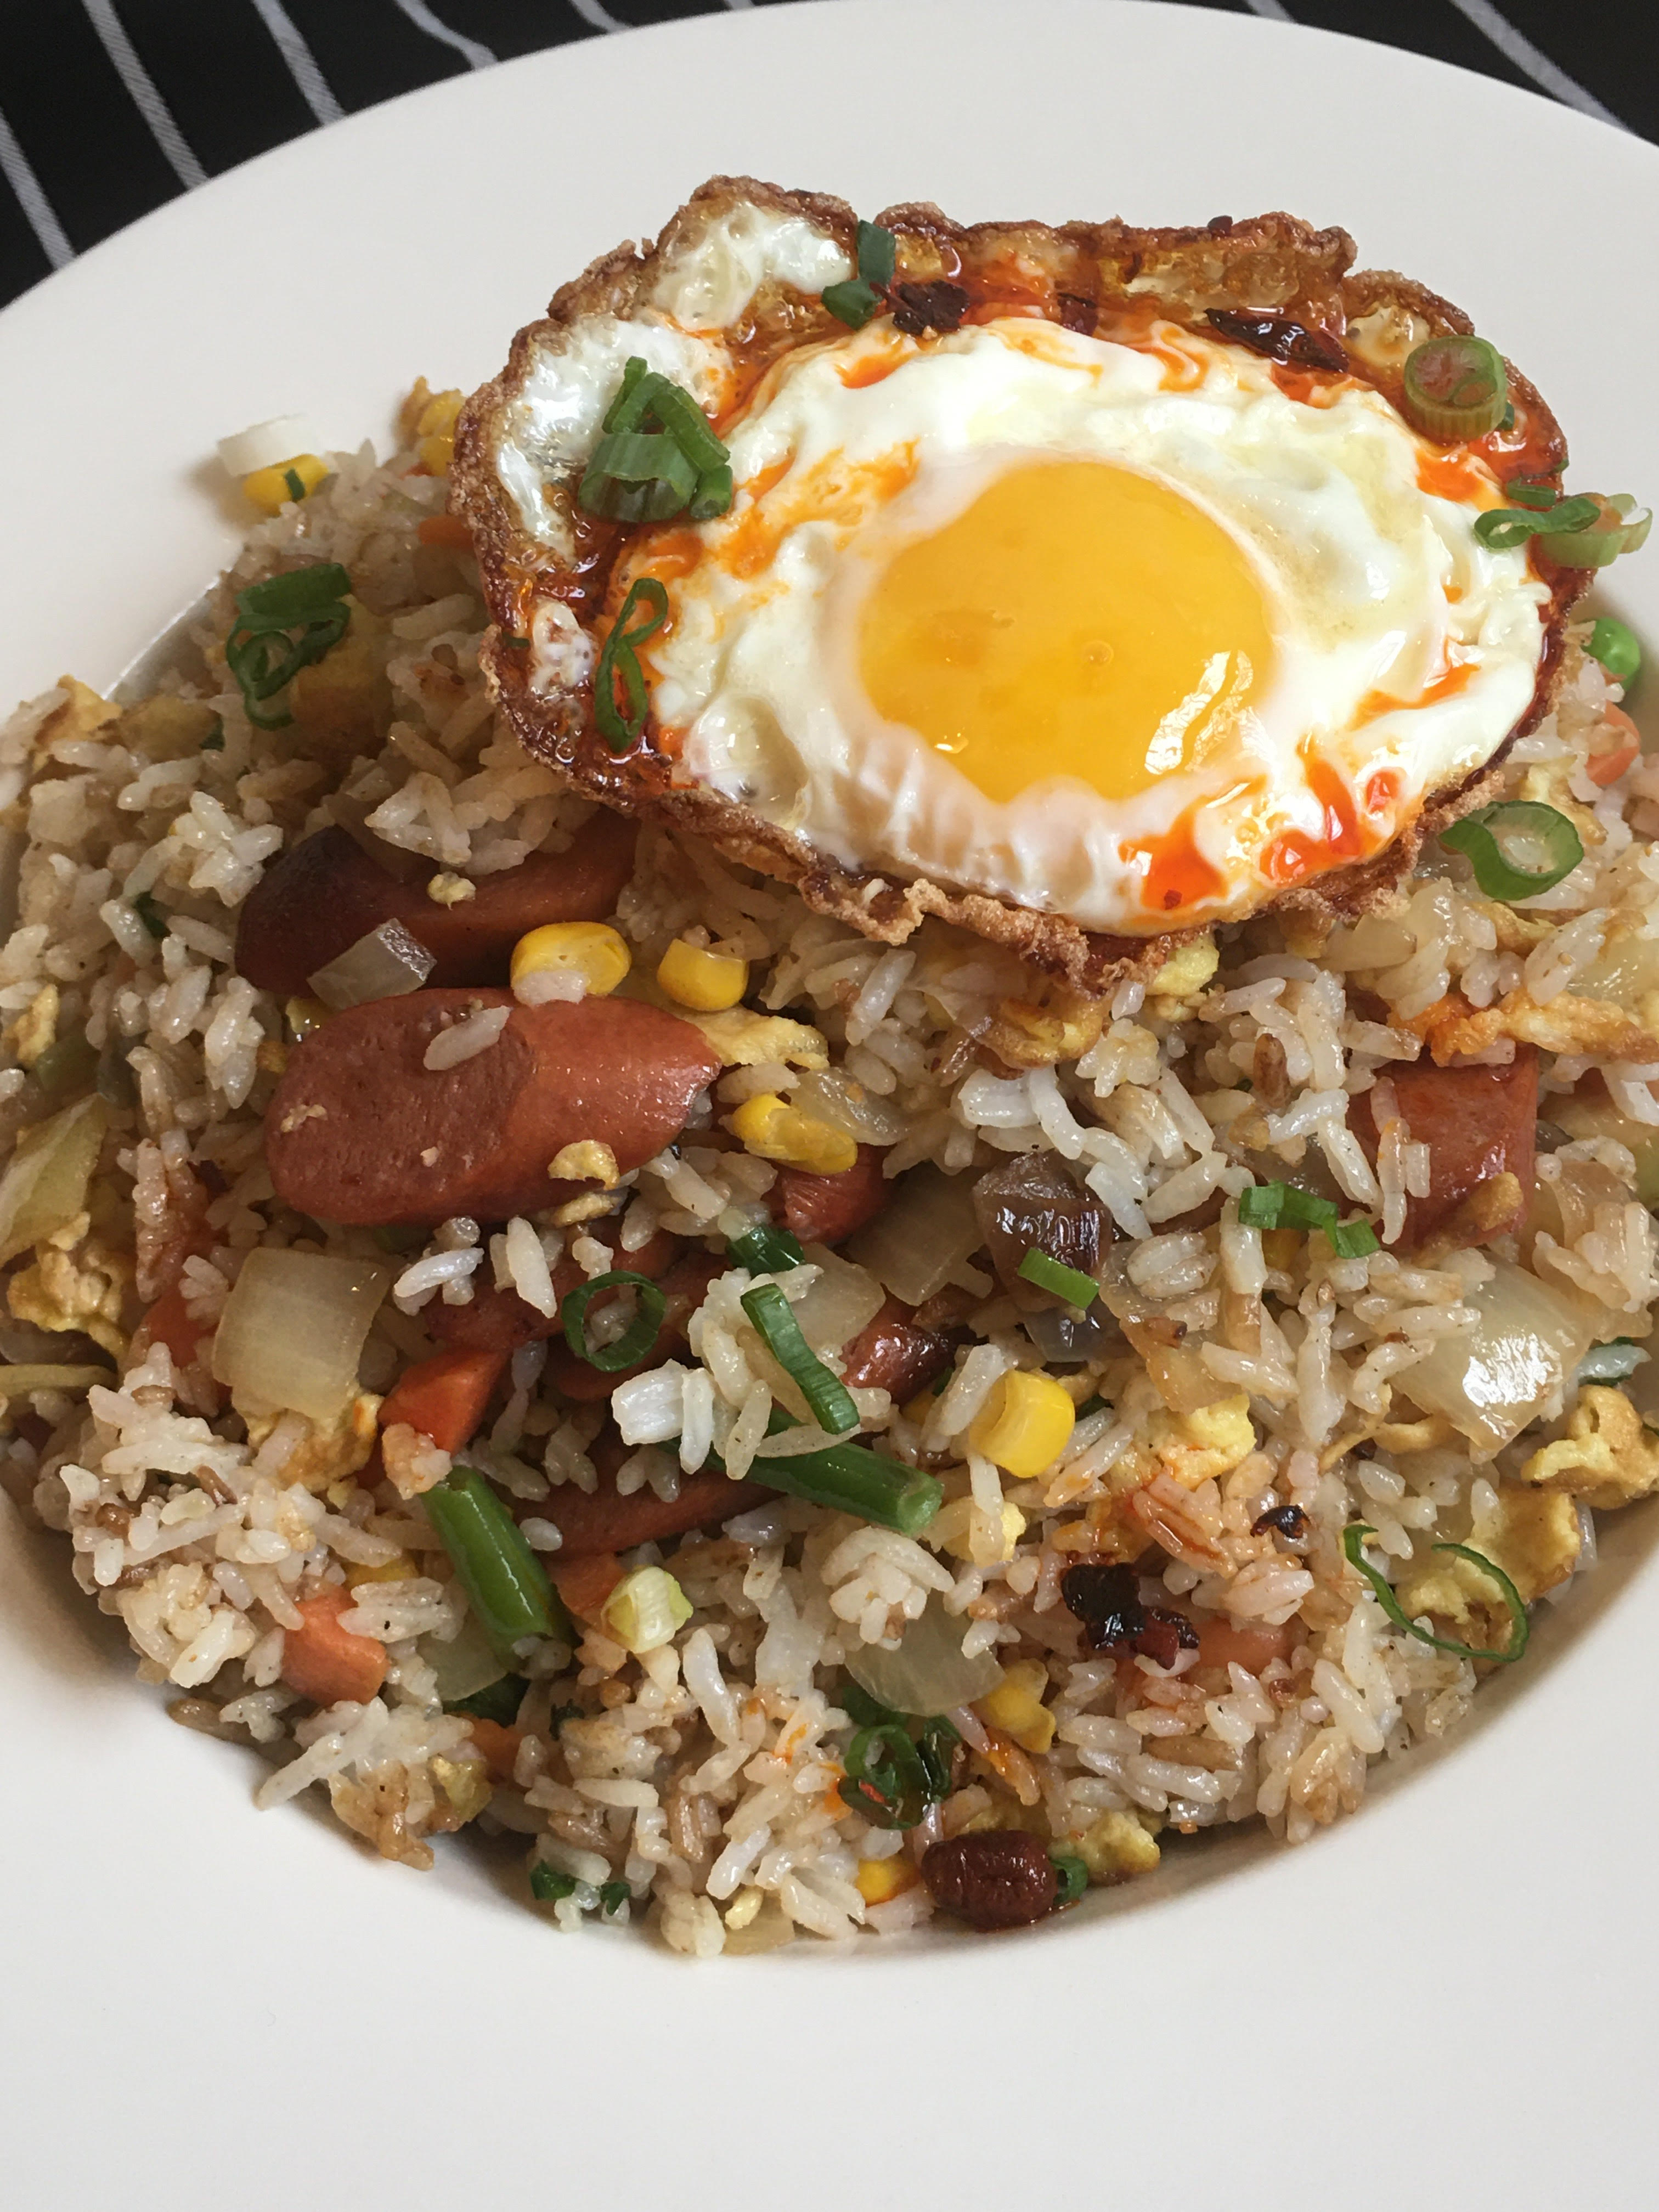
(Fried Rice, by Reggie Soang)

Fried Rice is one of my favorite dishes to make. Nothing I use in this dish is ever expensive, yet when put together, it is nourishing and fulfilling. Fried rice is also a great dish to use up the leftovers. After I learned the basics of making delicious fried rice, sky is limit on what I put and how I season, as long as I have the essentials: rice, eggs, scallions, sausages (or ham), oil, soy sauce, and salt. The rest is really up to the cook!

For the latest COVID 19 Home Cooking Series, I present you:

Fried Rice
Serves: 2 adults & 2 children

Ingredients:
1 onion, medium dice
1 bag (1 pound) defrosted frozen veggies (I prefer “classic veggie blend”; peas, corn, and carrots) 
4 pcs hot dog, cut 1/4 inch wide on bias
2 pcs Italian Hot Sausage, cooked and cut 1/4 inch wide on bias
1 bunch scallions, cut 1/4 inch wide
1 pcs fresh chilies, minced
4 eggs, beaten
8 cup long grain white rice, 1 day old at least
1 cup of oil
4 Tablespoon Soy Sauce
Salt to Taste
MSG to Taste
White Pepper to Taste
Dried Chili to Taste
Egg, for fried egg
Chili Oil (optional)

  1. Turn your stove on high and have every ingredients and tools set up within your reach
  2. Ladle 2 tablespoons of oil into your pan (I used a non-stick skillet) and wait for it to shimmer. Add onions and season with a pinch of salt. Cook on high heat until it gets caramelized, set aside in a mixing bowl
  3. Back on high heat, ladle two tablespoons of oil and wait for it to shimmer. Add your veggies and cook for couple minutes until heated through. Set aside in the same mixing bowl with onions
  4. Back on high heat, and wipe off the skillet if necessary, add 2 tablespoons of oil and wait until it shimmers. Add sausages and get some color on the edges. Set aside in the same mixing bowl with veggies
  5. Back on high heat, ladle 2 tablespoons of oil and wait for it to shimmer. Add half of the eggs and season with salt. Use a rubber spatula to scramble the eggs and cut them into small chunks. Add rice, scallions, and fresh chilies and season with salt, MSG, white pepper, and dried chili, 1 teaspoon at a time. Keep the heat on high and cook the rice. The rice should be sizzling. Deglaze with half of the soy sauce and stir up the rice. When the rice is coated with soy sauce, set it aside in a mixing bowl and repeat the same process.
  6. Once all the rice is cooked, mix in the veggies. Adjust the seasoning with soy sauce, salt, MSG, white pepper, and dried chili.
  7. Wipe off the skillet and put it back on high heat to fry an egg. Add 2 tablespoons of oil into the skillet and add an egg. Once the egg white gets a little bit of color and crispy, add a tiny knob of butter and spoon melted butter around the edges of the yolk to cook the egg white. Leave the yolk runny for sunny side up egg.
  8. To plate, put a pile of fried rice in a bowl and put the fried egg on top. Add chili oil for some heat. Bon Appétit!

Categories
Recipes

One Pot Meal – Roasted Garlic Soup


(Roasted Garlic Soup, by Reggie Soang)

Garlic is a work horse in my kitchen – garlic adds depth, garlic enhances flavors, garlic adds texture, garlic kills vampire…garlic is my hero! By roasting garlic, garlic becomes sweeter and tastes less harsh, and they become the perfect item for soup or condiments. I first made roasted garlic soup 10 years ago, and I haven’t forgotten the simplicity of this dish and how comforting it made me feel after a long day. My recipe is really just a guideline…there’s no rule as long as you have a fistful of roasted garlic in your pot!

For the latest COVID 19 Home Cooking Series, I present you:

Roasted Garlic Soup
Serves: 2 adult & 2 children

Ingredients:
5 heads Garlic, to be roasted
1/4 cup EVOO
1 Yellow Onion, medium dice
3 sprigs Thyme
1 Bay Leaf
Small piece of fresh chili
1/2 teaspoon whole Black Peppercorn
1 small knob of Parmesan
1 Knorr Chicken Bouillon Cube
2 quarts (8 cups) Water
Swiss Chard, leaves and stems separated
1 Sprig Scallion, sliced
2 cloves fresh Garlic, grated
Salt to taste

  1. Cover whole heads of garlic with EVOO and wrap garlic in tin foil. Roast Garlic in 350F oven for 40 to 45 minutes, until fragrant and soft
  2. Meanwhile, using a medium pot, gently cook your onions until translucent and soft, add herbs and peppercorn and cook until fragrant.
  3. Once garlic is done, peel each cloves out of the shell and add to the pot. Add water, bring to a boil and simmer for 45 minutes.
  4. Meanwhile, wash and clean swiss chard. Tear off the leaves and break them into small pieces. Cut the stems into batons on bias, set them aside.
  5. To finish the soup, add scallions and grated garlic for freshness. While the soup is still hot, add swiss chard to wilt and chicken bouillon cube to season.
  6. Ladle garlic soup into a bowl and garnish with drizzles of EVOO. Bon Appétit!