Black bean soup is hearty and comforting, and it’s packed with flavors. I adapted a salsa making technique for this recipe; I roasted onions, jalapeños, garlic, and tomatoes until dark brown, and then I blended them with spices to make a base for the soup. Sounds complicated, but once you commit to the recipe, you’d be done in less than 40 minutes, I promise!
For the latest New Lifestyle Cooking Series:
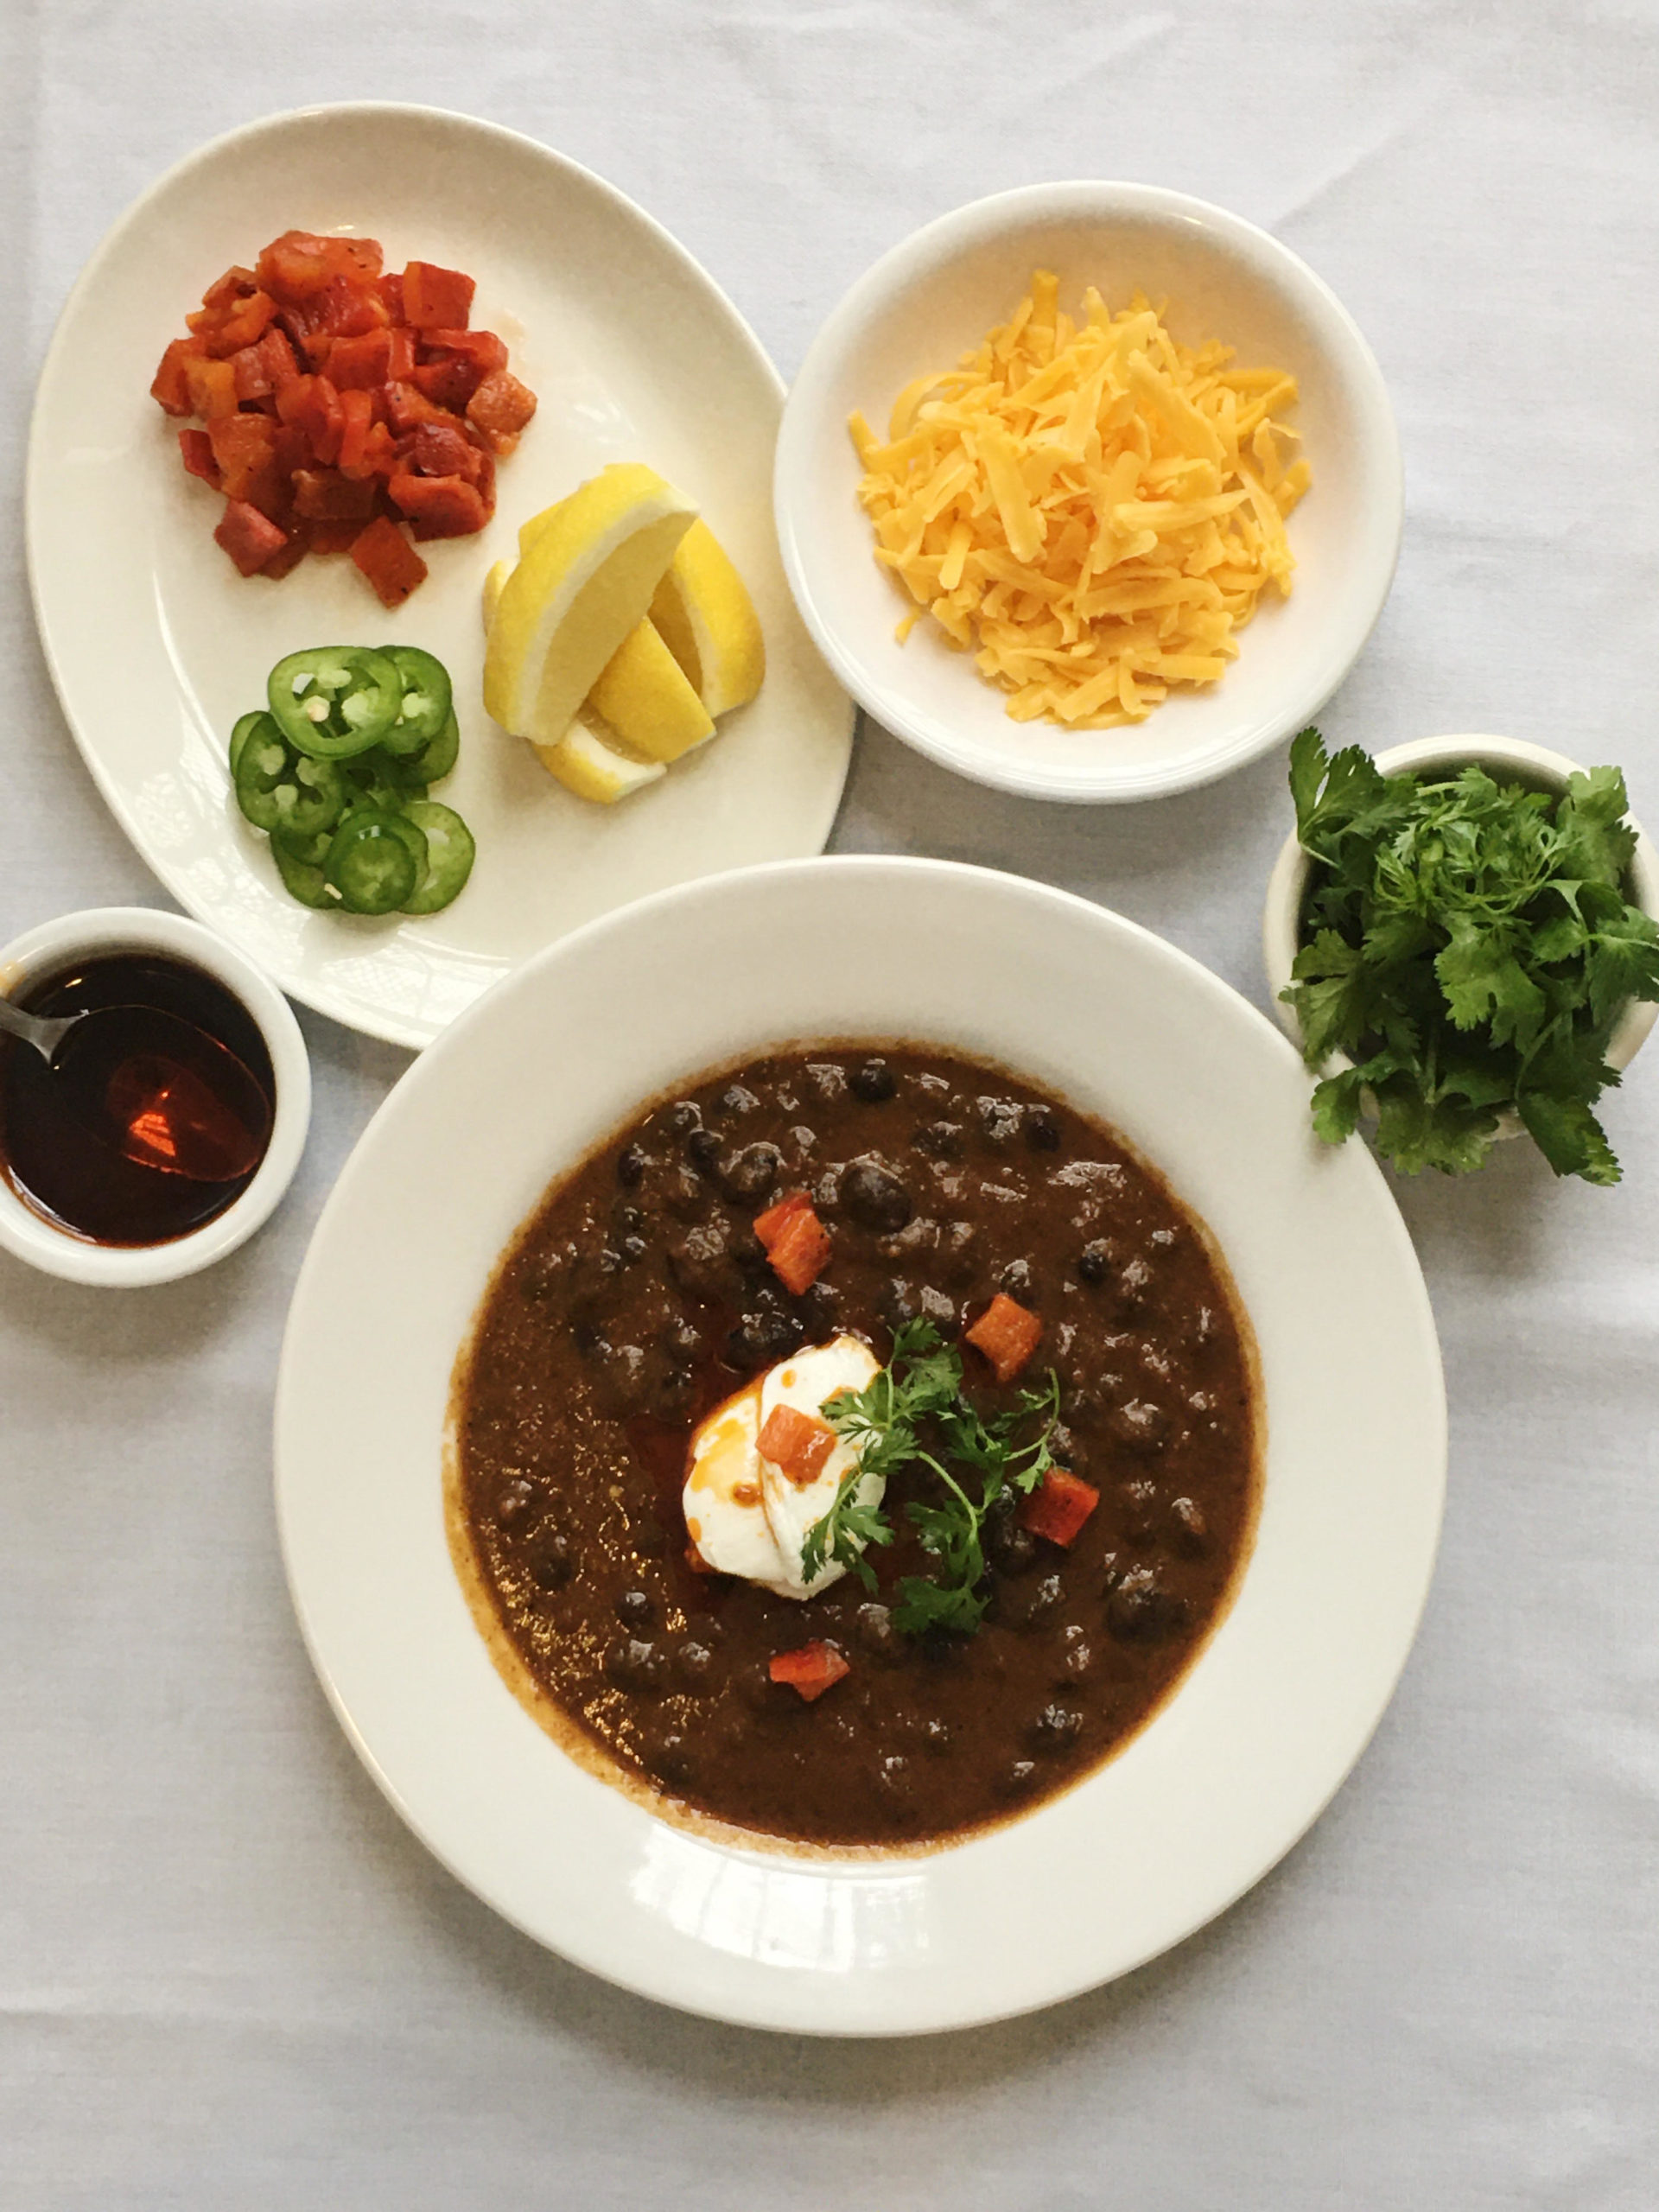
Black Bean Soup with Yogurt
Serving Size: 4 Portions
Prep Time: 5 Minutes
Total Time: 40 Minutes
Ingredients:
For the Soup Base
5 tablespoons canola oil, split in half
1 medium sized onion, cut into wedges
1 head fresh garlic
1 piece jalapeño, seeded
2 Roma tomatoes (any tomatoes will do), halved
1 tablespoon ground cumin
2 teaspoons dried oregano
1 teaspoon chipotle puree
2 cups water (or chicken stock)
For Completing the Soup:
All the soup base
1 can (28 oz) black beans*, about 3.5 cups
1 + 1/2 teaspoon salt
1 cups water (or chicken stock)
*If you choose to use dry black beans, please soak 1 cup, for this recipe, in cold water overnight.
For the Condiments:
1 roasted pepper, medium dice
4 lemon or lime wedges
1/2 cup cilantro leaves
2 tablespoons sliced jalapeños,
2 tablespoons yogurt, per serving
1/2 teaspoon chili oil, optional
- Make the soup base first. Pre-heat oven to 450F. Toss onions, garlic, jalapeño, and tomatoes with two-and-half tablespoons of canola oil. Slide the vegetables on to a roasting tray and roast for 25 to 30 minutes in the oven until nicely browned.
- Meanwhile, in a medium pot, heat up the rest of the oil and toast ground cumin, dried oregano, and chipotle puree on medium heat until fragrant. Deglaze the pot with 1 cup of water to scrape up the brown bits from the bottom.
- To roast a pepper, using medium heat, directly char a red bell pepper on the flame. Rotate it to char evenly. Once the skins are blackened, cover it with a lid in a mixing bowl until cool enough to handle
- To peel the pepper, set up a bowl of warm water, dip your fingers in and use your wet fingers to peel off the charred skins. Dice up the pepper to the desired size.
- Once the vegetables are caramelized, add them to the pot and add 1 more cup of water. Turn up the heat to medium high and cook the vegetables until softened. At this point, either use a blender to puree the vegetable mixture or use the back of a spoon to mash it up. The is the soup base.
- Add the soup base, black beans, and water back in the pot and bring it up to a boil and turn it down to simmer. Season with salt.
- To serve, ladle soup into a bowl, garnish with any condiments that are suggested in this recipe. Bon Appétit!