Chicken Adobo to me is the Asian version of vinegar chicken or lemon chicken. I learned to make vinegar chicken with sherry vinegar, garlic, basil, and butter at one of my first jobs. I’d sear the chicken and then glaze it with sherry vinegar and chick stock over and over and over until chicken is laced with its own juice. In this recipe, we are going to make an adobo sauce and re-heat the chicken inside of a rich soy vinegar sauce.
For the latest COVID 19 Home Cooking Series:
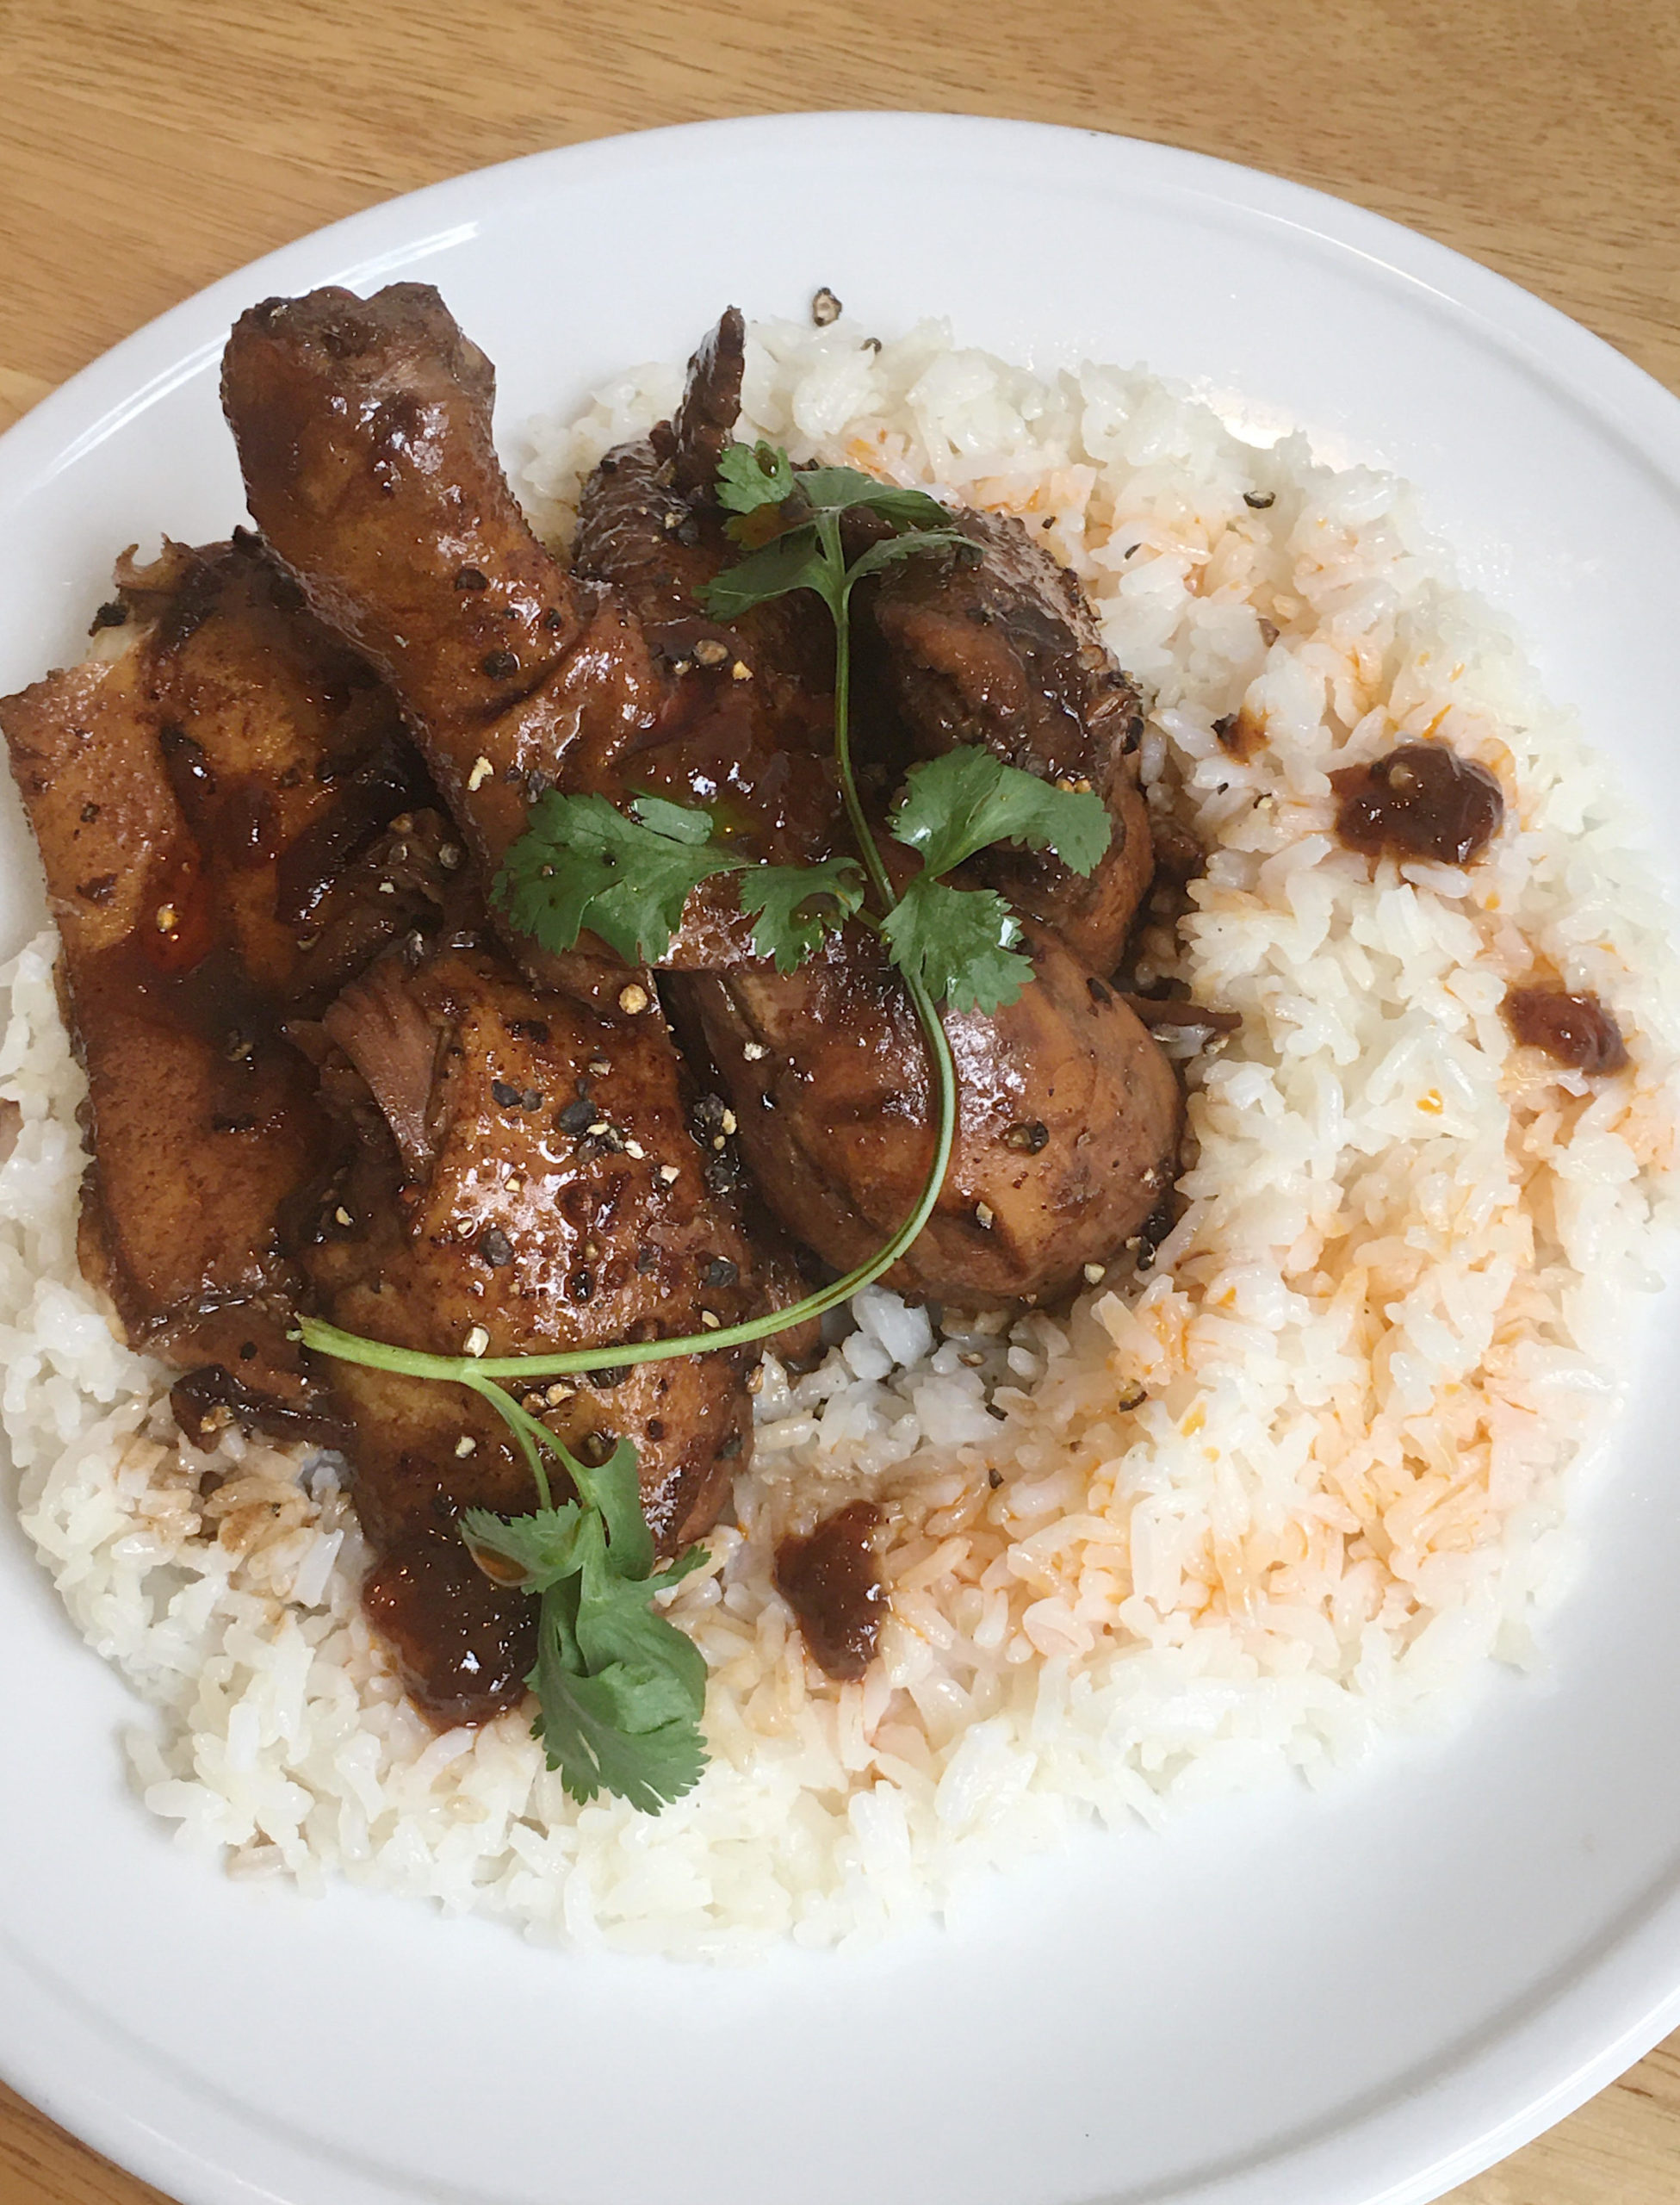
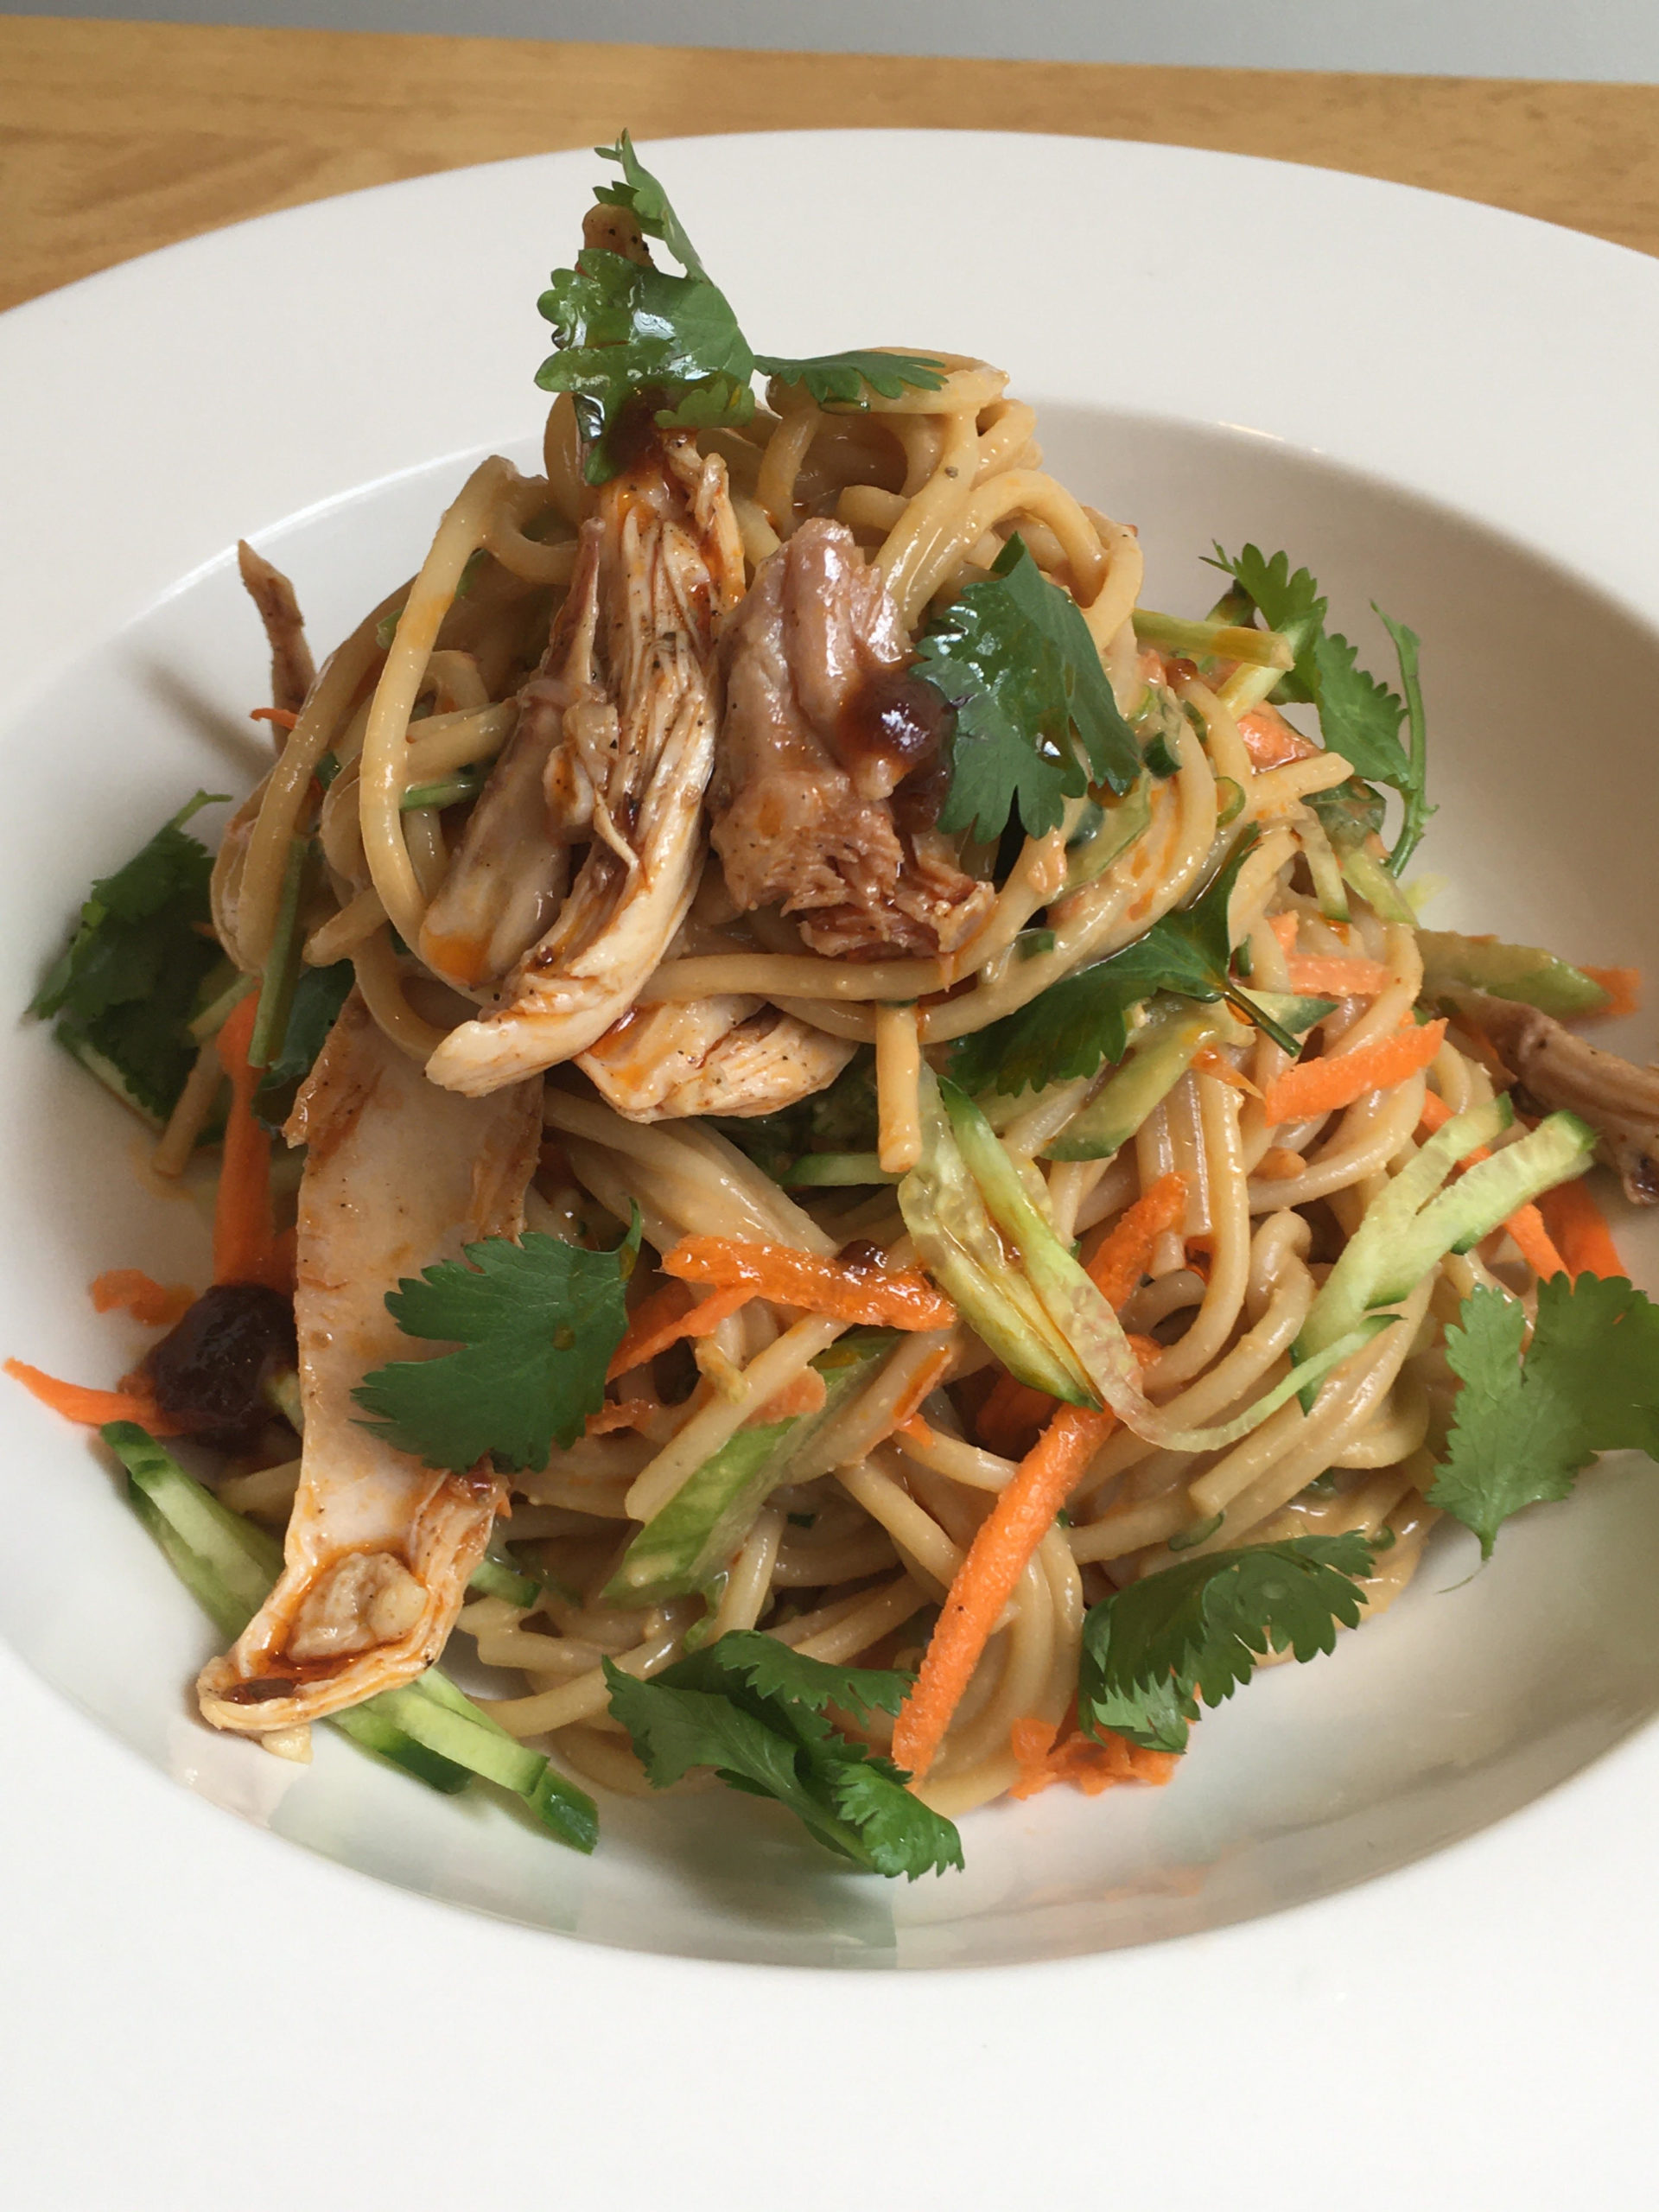
Chicken Adobo
Serves: 2 adults & 2 children
Ingredients:
Leftover Chicken (2 drumsticks and 2 thighs)
1/2 piece onion, sliced into 1/4-inch strips
1 head Fresh Garlic, cut into little chunks
1 piece 1-inch long ginger, sliced 1/8-inch thick
1 + 1/2 teaspoon Salt
1 + 1/4 teaspoon Ground Black Peppercorn
1 Bay Leaf
1/3 cup Soy Sauce
1/4 cup Rice Wine Vinegar (or Distilled White Vinegar)
3 cup Chicken Stock
2 teaspoon Crushed Black Peppercorn
1 tablespoon Honey
1 sprig Cilantro, for garnish
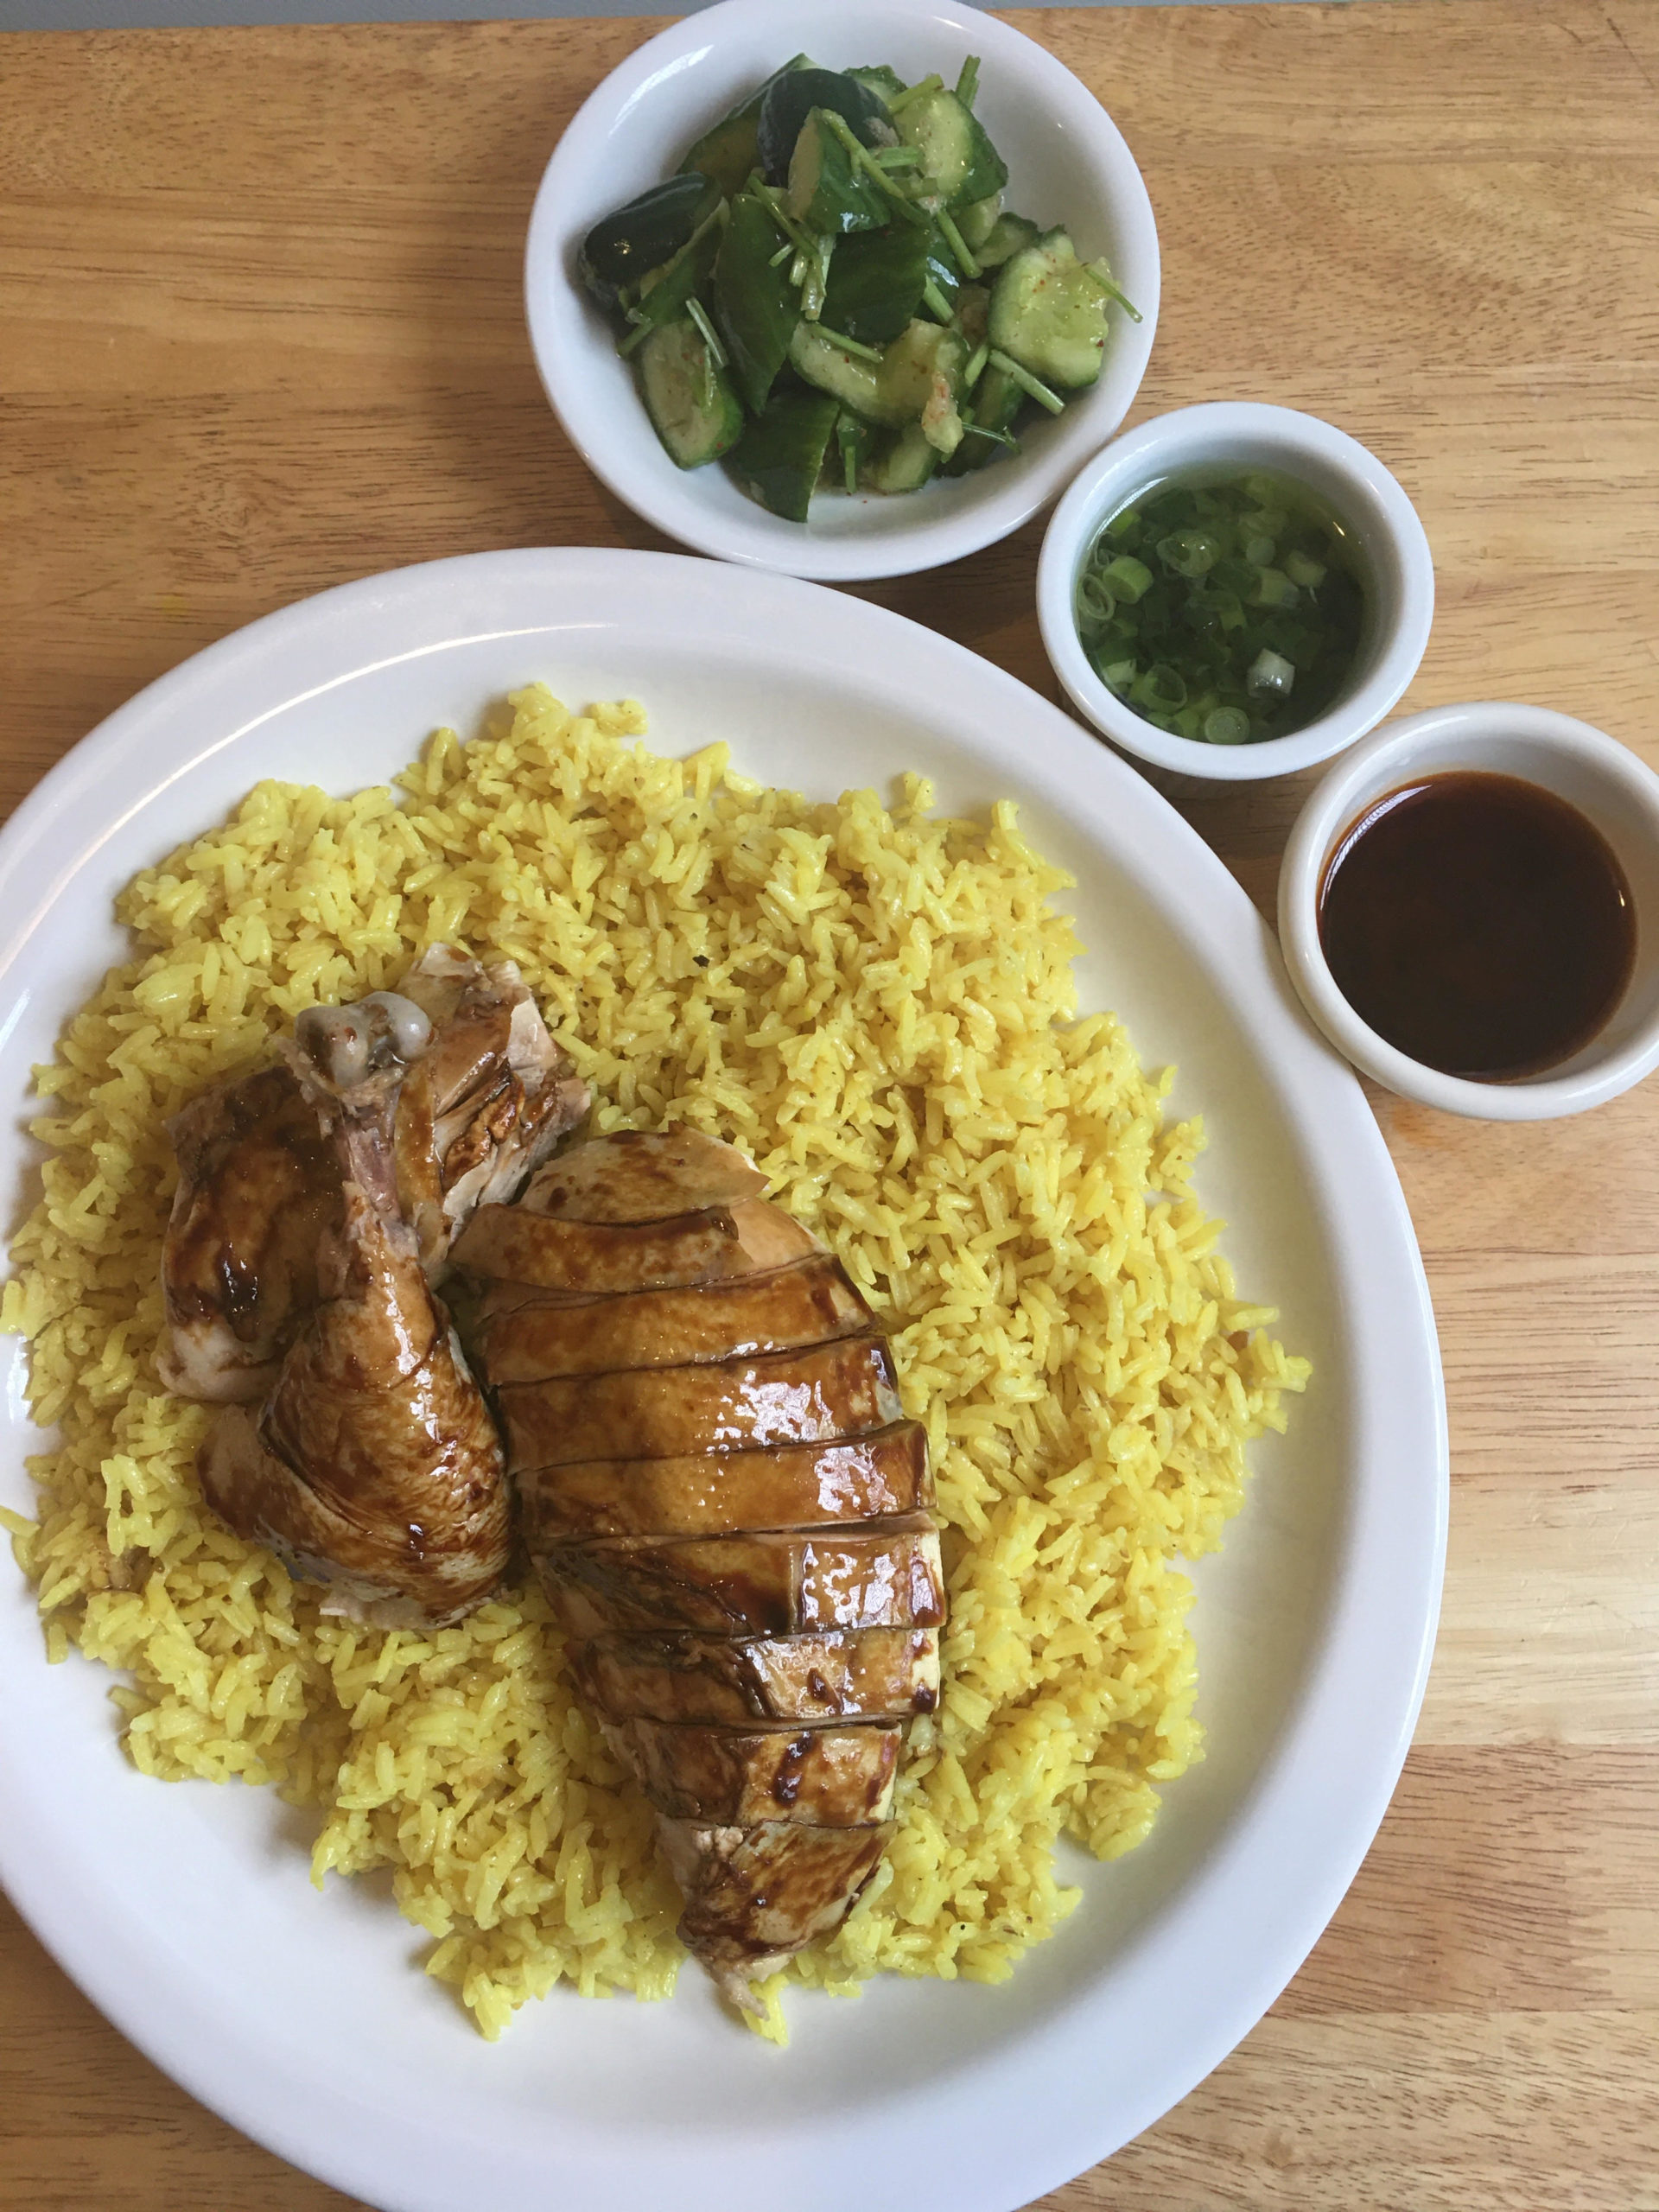
To Serve with:
Rice
Chili Oil
- In a medium pot on medium high heat, cook onions, garlic, and ginger until softened and a little brown. Add salt, ground black pepper and the liquids. Reduce the sauce by 1/3.
- Add leftover chicken to the pot. Spoon adobo sauce over chicken several times on low heat. While heating up the chicken, reduce the liquid by another half until thin syrup. Spoon sauce over chicken few more times until nice and shiny.
- Take out chicken and strain the sauce. Put chicken and the sauce back in the pot and season with crushed black pepper. Add honey for a little sweetness to balance out the vinegar.
- To serve, put a generous amount of rice on a plate and layer chicken right on the top. Spoon more sauce over the chicken and add some chili oil over the rice. Garnish with cilantro. Bon Appétit!


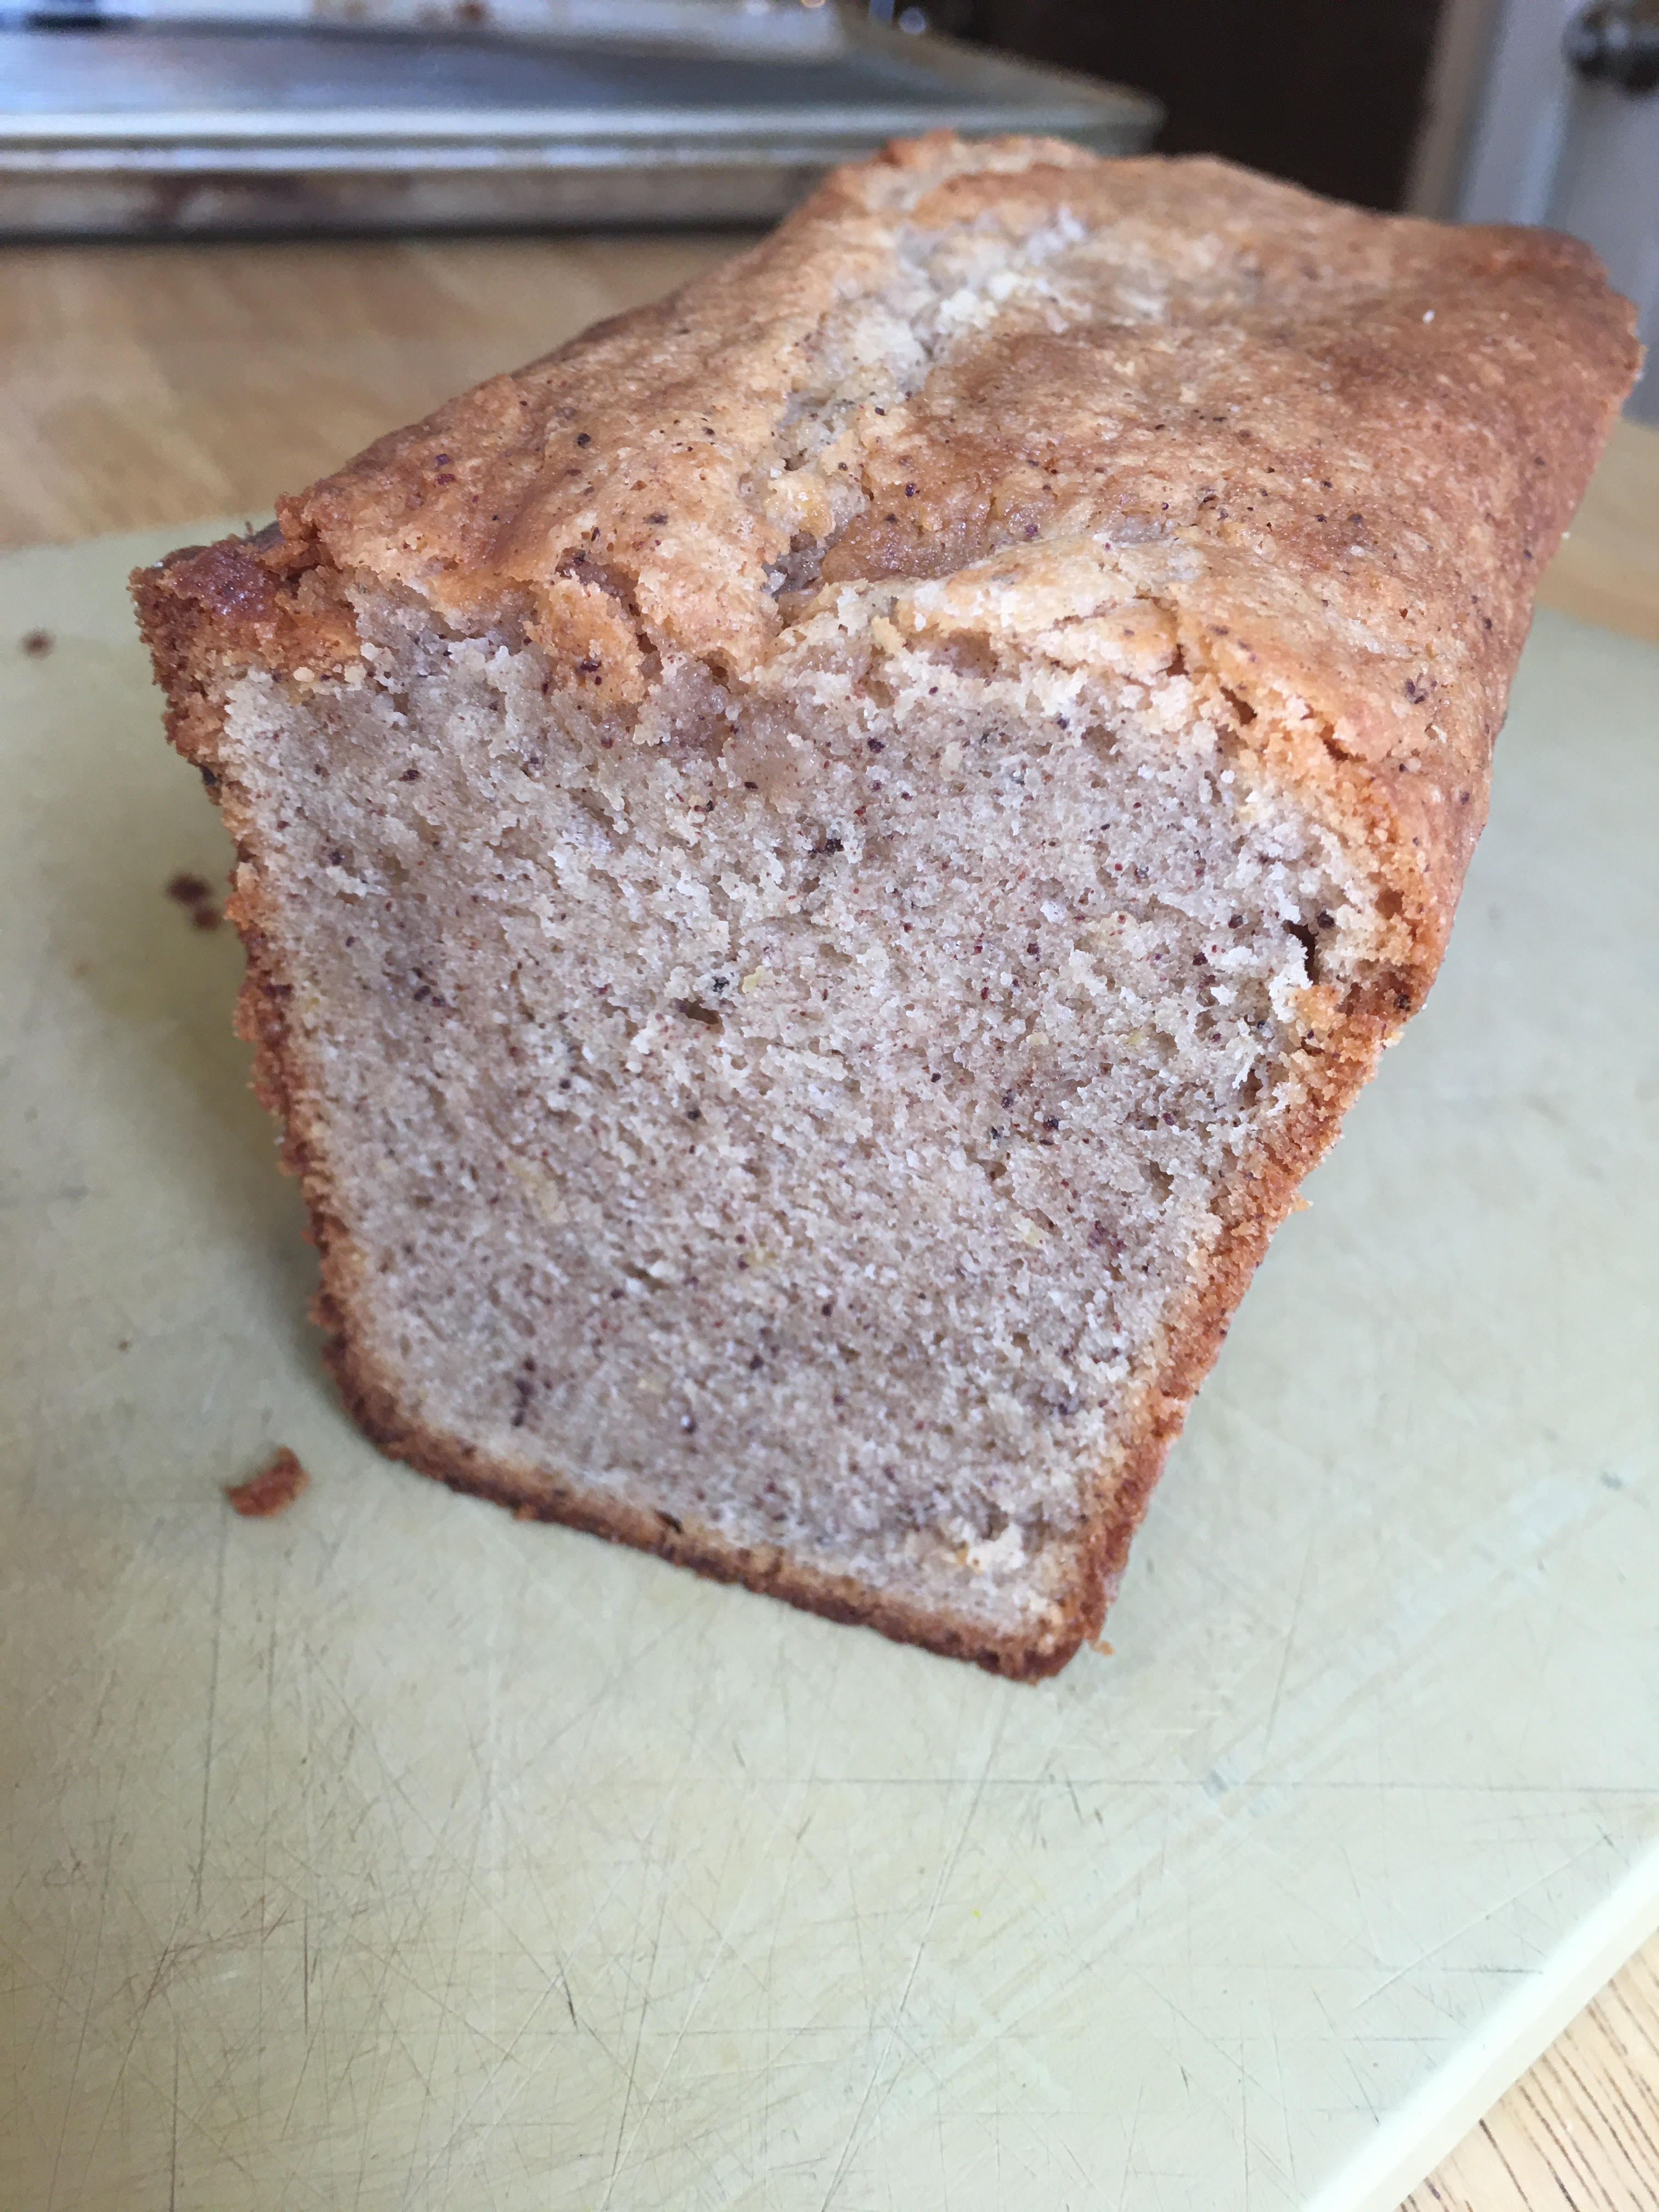
 (Chocolate Scones, by Reggie Soang)