Categories
Recipes

One Pot Meal – Roasted Garlic Soup


(Roasted Garlic Soup, by Reggie Soang)

Garlic is a work horse in my kitchen – garlic adds depth, garlic enhances flavors, garlic adds texture, garlic kills vampire…garlic is my hero! By roasting garlic, garlic becomes sweeter and tastes less harsh, and they become the perfect item for soup or condiments. I first made roasted garlic soup 10 years ago, and I haven’t forgotten the simplicity of this dish and how comforting it made me feel after a long day. My recipe is really just a guideline…there’s no rule as long as you have a fistful of roasted garlic in your pot!

For the latest COVID 19 Home Cooking Series, I present you:

Roasted Garlic Soup
Serves: 2 adult & 2 children

Ingredients:
5 heads Garlic, to be roasted
1/4 cup EVOO
1 Yellow Onion, medium dice
3 sprigs Thyme
1 Bay Leaf
Small piece of fresh chili
1/2 teaspoon whole Black Peppercorn
1 small knob of Parmesan
1 Knorr Chicken Bouillon Cube
2 quarts (8 cups) Water
Swiss Chard, leaves and stems separated
1 Sprig Scallion, sliced
2 cloves fresh Garlic, grated
Salt to taste

  1. Cover whole heads of garlic with EVOO and wrap garlic in tin foil. Roast Garlic in 350F oven for 40 to 45 minutes, until fragrant and soft
  2. Meanwhile, using a medium pot, gently cook your onions until translucent and soft, add herbs and peppercorn and cook until fragrant.
  3. Once garlic is done, peel each cloves out of the shell and add to the pot. Add water, bring to a boil and simmer for 45 minutes.
  4. Meanwhile, wash and clean swiss chard. Tear off the leaves and break them into small pieces. Cut the stems into batons on bias, set them aside.
  5. To finish the soup, add scallions and grated garlic for freshness. While the soup is still hot, add swiss chard to wilt and chicken bouillon cube to season.
  6. Ladle garlic soup into a bowl and garnish with drizzles of EVOO. Bon Appétit!

Categories
Blog

A Single In New York on Living (and Cooking) Under Corona Virus Lockdown

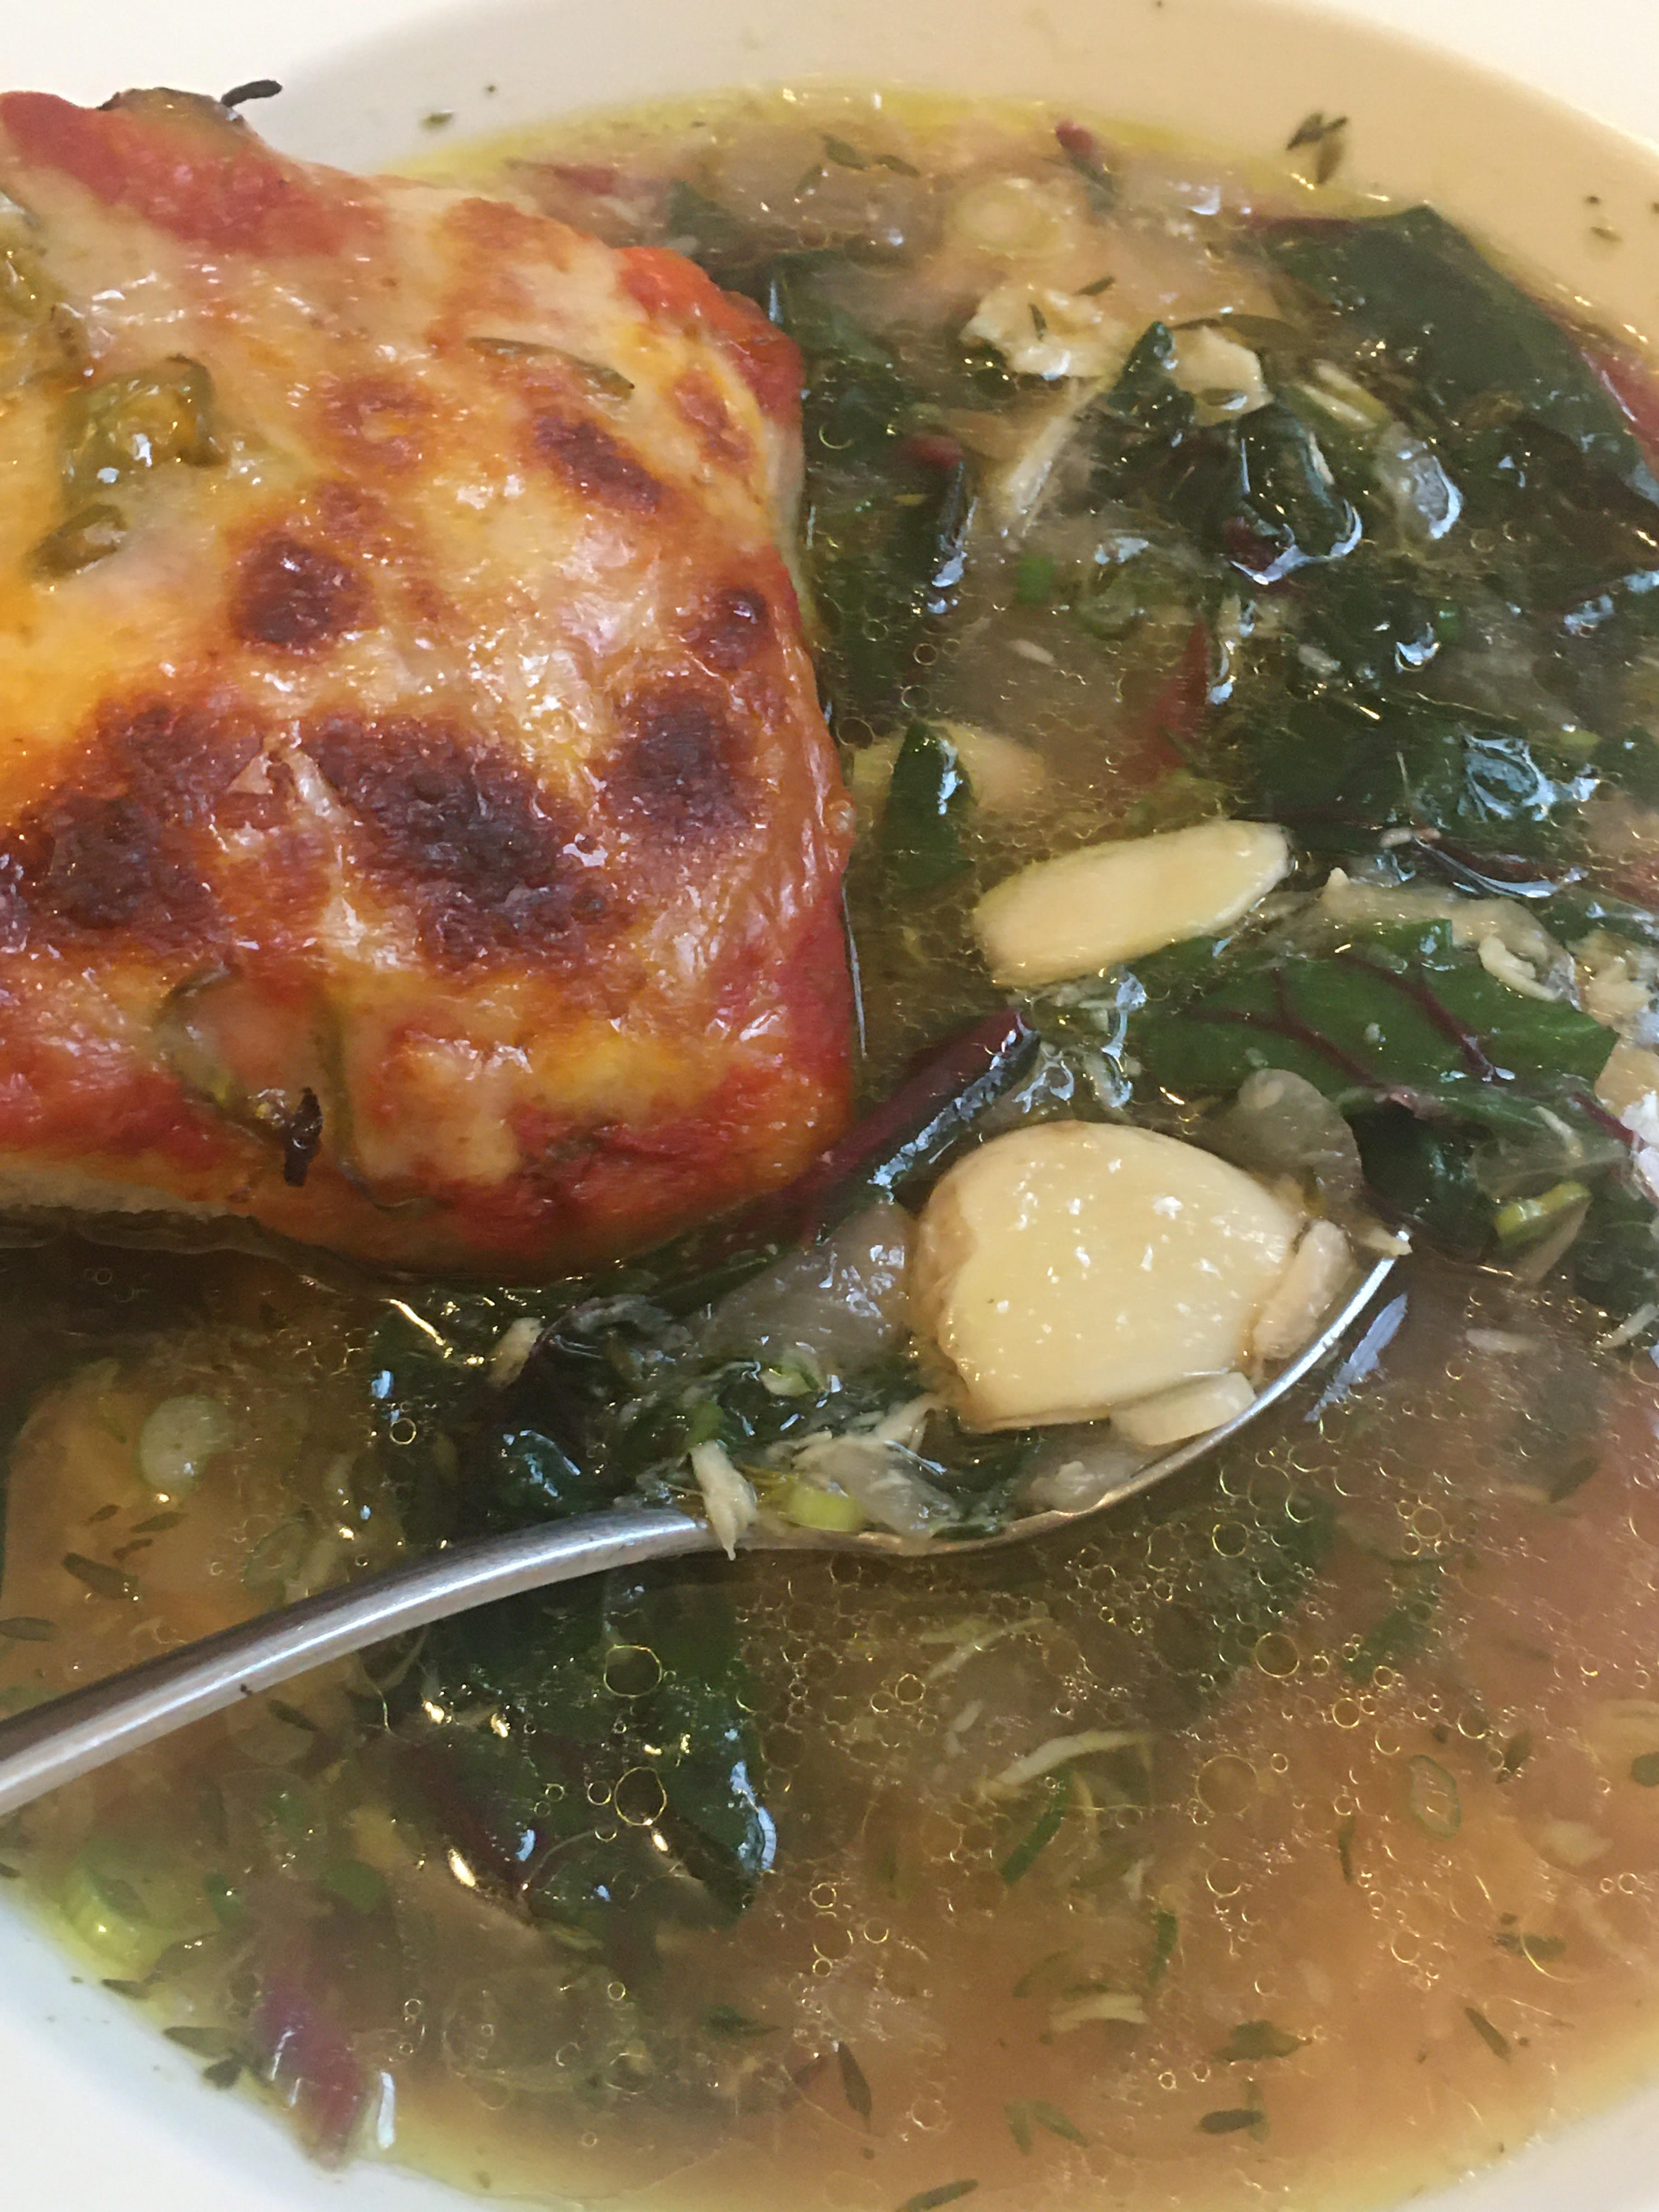
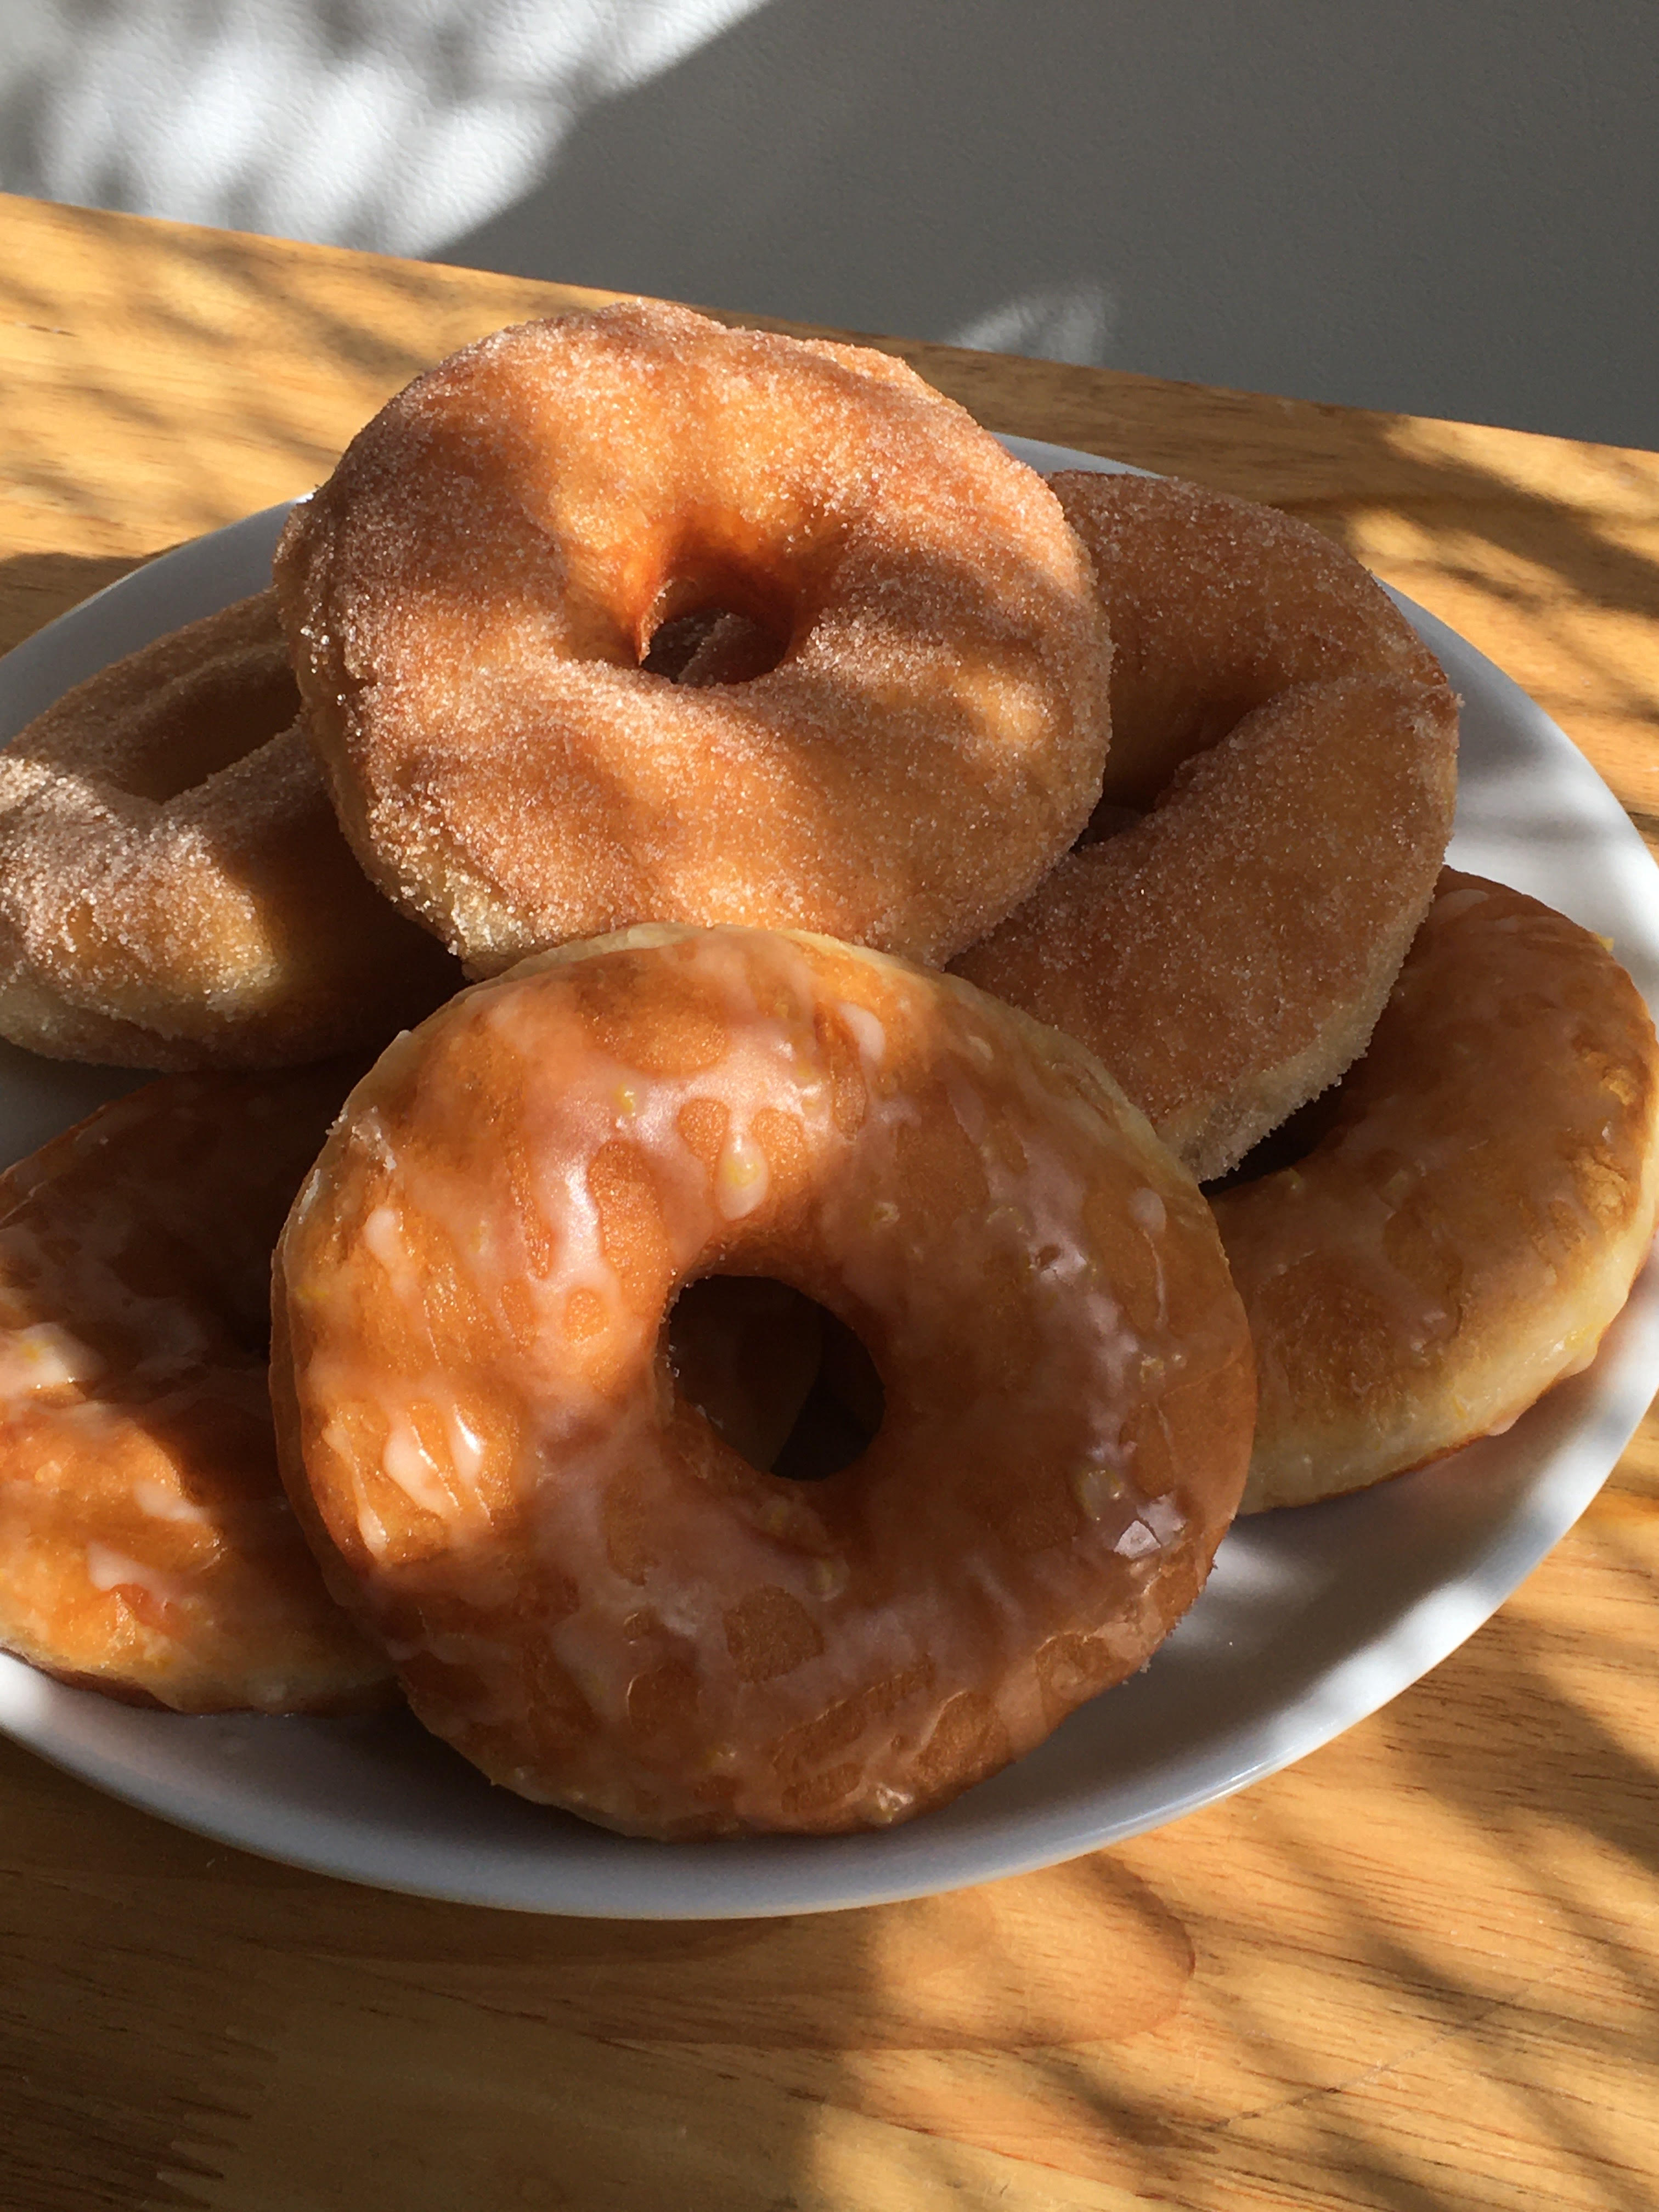
(Sometime in January, by Reggie Soang)

This blog entry is inspired by an interview done by Helen Rosner, New Yorker’s food correspondent. All the questions in this blog belong to Helen Rosner and The New Yorker.

New York City has been given the mandate to shut down all non-essential business activities. For the most part, people must work from home. Though restaurants that offer delivery or take-out are considered essential, most of the restaurants have shut down because opening for business is no longer sustainable. Without restaurants, many New Yorkers have to cook at home for the first time. Reggie Soang, a New York City chef, decided to give cooking lessons on instagram and share recipes on his website. Reggie wants to help people with different needs when they pick up their knives for the first time or dust off their cookie sheets since last Christmas. Since the mandate, cooking at home could be seen as a necessity rather than a hobby. Even Reggie, who doesn’t normally cook at home for more than two consecutive meals, finds cooking at home challenging because of the limited space, limited fire power, and the lack of a reliable dish washing machine. I had a quick conversation with Reggie over the weekend about his current living status and mindset for riding out the pandemic.

What’s it like now, being under lockdown?
I have to plan my meals at home and I haven’t had to do that in 10 years. For the majority of my adulthood, I’ve lived and breathed restaurants. Home cooking is another level of challenge…water takes forever to boil, oven is only big enough to bake 12 cookies at a time, dishes get piled up too quickly…I miss big powerful machines. But I am grateful…supermarket is near by and it is restocked quite frequently. In addition, I could manage to cook for 1 person and still be able to share leftovers with few friends who live few blocks away.

How did the lockdown in NYC unfold?
Things happened quite quickly. I was only told to operate the restaurant at 50% capacity few days before shutting it down entirely. I wasn’t all that surprised and I am grateful that my former company was fast in making the call without jeopardizing our health and safety. In regards to the city…it felt like everything happened overnight. I think our timeline aligned with the city’s…first came the big restaurant groups, and then it was done in matters of 24 hours.

Walk me through a trip to the store to buy food
I put on my mask, which is a winter hat-mask gear for running outdoor, and then I make sure to have my keys by checking them twice…a little bit of OCD there, guess that’s what a pandemic could do to our mental health. I am lucky that the closest supermarket is within a block. Also, I have always been an efficient shopper – I’d mentally draw a map of my route in the store (of course, with a list of ingredients written down) and I’d find a spot near the section where I shop and “park” my basket, and then I’d go grab whatever I need without having to “basket pump” everyone else. I’d only move my basket if the items are too far away. Also, having a culinary background allows me to change plans on a whim…if they run out of flour…then I just won’t bake! I am in and out of the store in 10 minutes or less.

You’ve been living like this for three weeks now. Does it feel normal now?
Only somewhat…I still can’t get used to the fact that my exposure to nature and sunlight could be life or death. Worse, I feel like my life is a roulette sometime…I could be taking out my trash and catch the virus. I try not to be paranoid every time I touch the door knob or my face. I am doing everything I possibly can to be clean and healthy. But I have accepted that nothing will ever be the same anymore, and that took a while to sink in.

What other adaptions have you made to how you cook and eat?
I have been cooking 1-pot meals because my friend would like to learn few dishes that he could easily execute at home. My friend still works very hard everyday, and he needs recipes that require minimal steps and equipment. I find this project to be challenging and rewarding. I no longer enjoy taking many steps to make a dish at home because of the amount of dishes I have to do. I also think that kind of cooking belongs to restaurants where everyone helps out. At home…cooking should be simple and straight forward, and the food should be just as delicious.

What do you miss the most?
Personal life? my friends and swimming pool. I really miss drinking and sharing a meal with my friends…like crazy. I love nothing more than opening a decent bottle (or two) of wine and passing the food around. I miss swimming because it is one of the only workouts that pushed me to the limit and felt accomplished at the end. I also miss going on dates occasionally…not that I have ever been successful in that department, but I enjoy meeting a new person and learning about her work and interests. If it didn’t workout, at least I’ve learned about a new line of work that is outside of the restaurant world.

Work wise? It wouldn’t be called work if I loved it. Let’s just leave it at that.

Have you been talking about lockdown in the videos?
No, it’s not my platform. I decided to be more visible on social media because I want to offer ideas to help people adapt to our new lifestyle. What I know about lockdown is pretty much the same as everyone else. I watch/read CNN, NY Times, Washington Post…you know, all the fun and liberal fake news. (j/k).

Well Reggie, thanks for your time! Keep cooking because someone will need your 1-pot recipe sooner or later!

Thank you for spending some time with me! Pleasure is all mine!…I guess this is what Tom Hank must have felt like when Wilson was the only friend.

Categories
Recipes

One Pot Meal – Coconut Thai Curry White Bean Soup

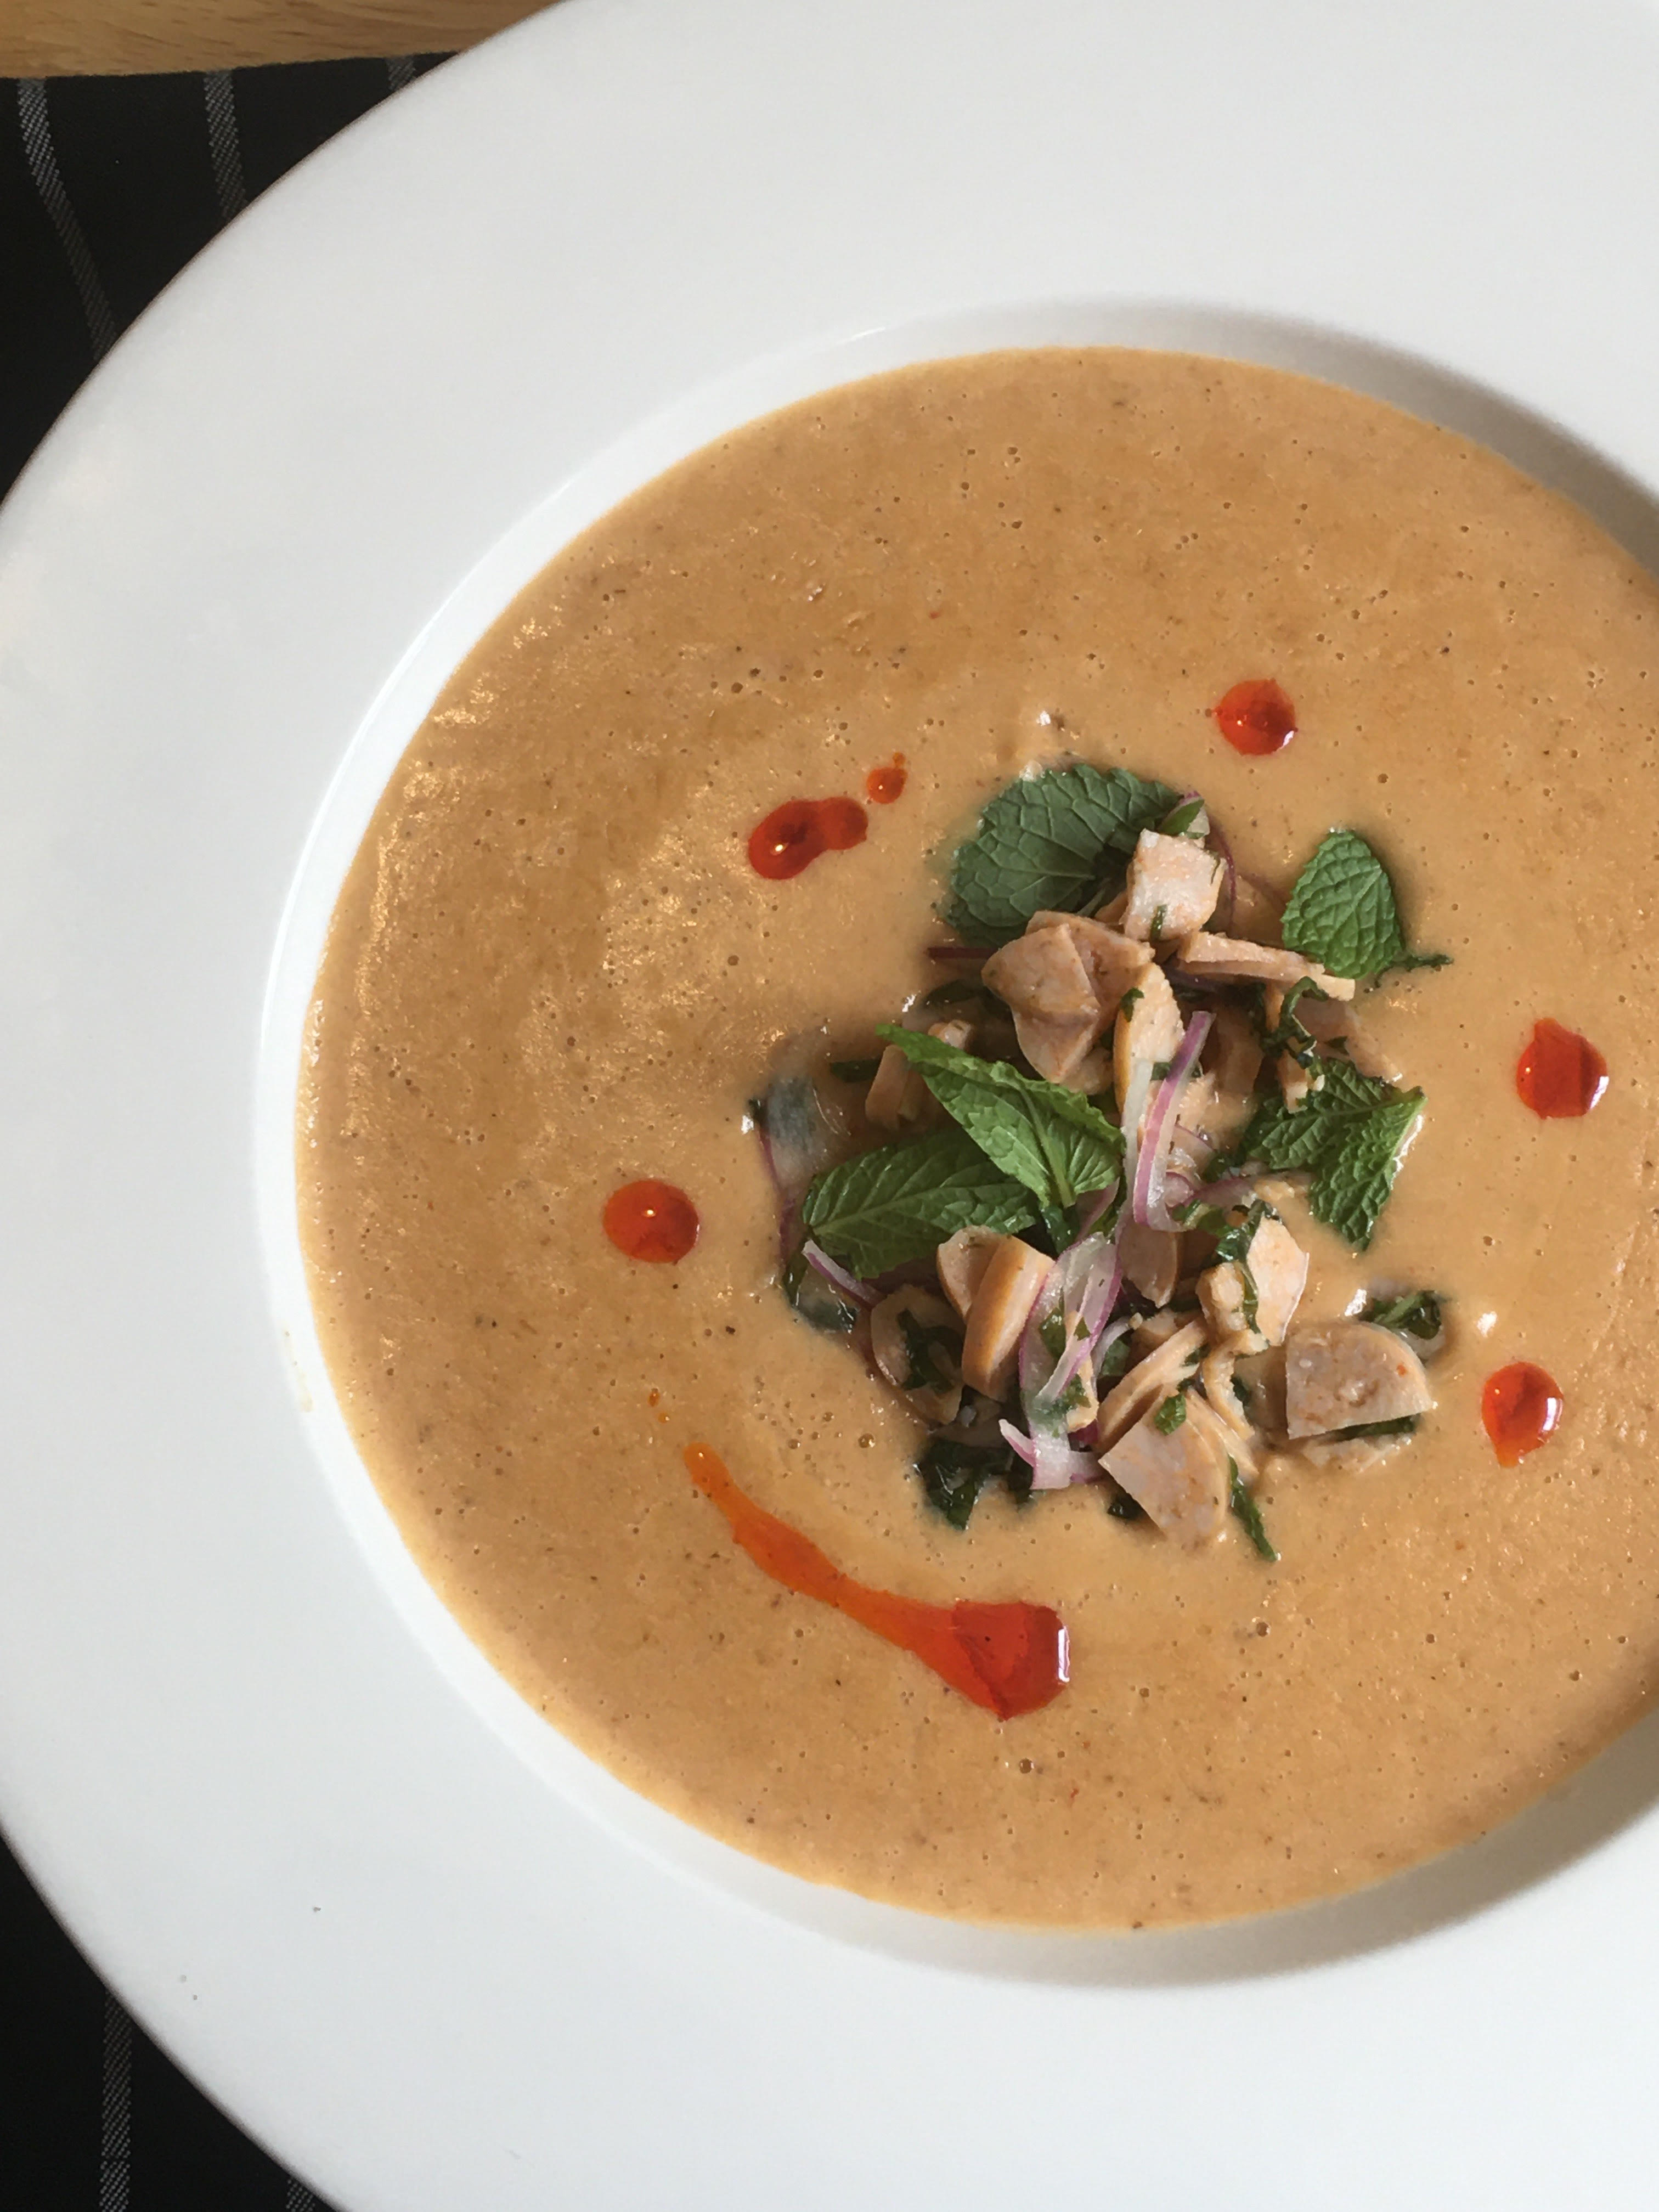
(Coconut Thai Curry White Bean Soup, by Reggie Soang)

One of my favorite restaurants, Superiority Burger, came up with idea of coconut potato soup. The soup was so simple and delicious. I thought the combo of coconut and potato works perfectly well with white beans and Thai Curry; therefore, I decided to put them together in my 1-pot meal.

Coconut Thai Curry White Bean Soup
Serves: 2 adult & 2 children

Ingredients:
For Soup:
4 cups Soaked White Beans
4 medium size potatoes, peeled
6 pcs Star Anise
2 Bay Leaf
10 cups water
1 quart (2 cans) Coconut Milk
4 Tablespoon Red Thai Curry Paste
1 teaspoon MSG
2 teaspoon Salt
1 teaspoon ground Black Pepper
4 teaspoon soy sauce

For Larb:
1 cup chopped Italian Hot Sausage
1/4 cup Red Onions, thinly sliced
1/4 cup Mint, roughly chopped
1 Tablespoon Lemon Juice

  1. To make the soup, put potatoes, beans, bay leaves and star anise in a pot, bring to a boil and simmer until potatoes and beans are cooked through.
  2. Meanwhile, make larb. Roast sausages in the 350F oven for 15 minutes. Sausages are done when they feel bouncy. Let sausages cool and chop them roughly.
    Mix chopped sausages with red onions and mint. Add lemon juice for acidity
  3. When the potatoes and beans are done, drain them and reserve cooking water. You will end up with about 1 quart of liquid
  4. Using a blender, blend everything in batches until fine and smooth
  5. Using the same pot, add 2 tablespoon of oil and roast curry paste on medium heat until fragrant, add the blended soup back and mix to combine
  6. Ladle soup into a bowl, top off your soup with larb and garnish with chili oil. Bon Appétit!


Categories
Recipes

One Pot Meal – Chicken Burrito Casserole


(Chicken Burrito Casserole, by Reggie Soang)

To continue our effort in making food in 1-pot, we are making a burrito casserole today that could help you stretch your meals into a few.

For the latest COVID 19 Home Cooking Series, I present you:

Chicken Burrito Casserole
Serves: 2 adults & 2 children

Ingredients:
4 pcs Chicken Thighs, boned
4 pcs Chicken Drumsticks, boned
Shredded Cheese (Cheddar, Mozzarella, Pepper Jack, or Any Mexican Cheese)
Cilantro, roughly chopped
Scallions, thinly sliced
Lime or Lemon
4 Roma Tomatoes
Sour Cream or Yogurt (optional_

For Bean Stew:
1 pc Onion, medium dice
1 head Garlic, sliced
1 can (28 oz.) Black Beans
1 can (28 oz.) Pinto Beans
1 teaspoon Chipotle Puree*
1 Tablespoon Onion Powder
1 Tablespoon Garlic Powder
2 Tablespoon Ground Cumin
1/2 Tablespoon Dried Oregano
1 Tablespoon Ancho Chili Powder
1 Tablespoon Chili Powder
1/2 cup Tomato Sauce
2 cup chicken stock or water
Salt to Taste
MSG to Taste

For Chicken Marinade:
1/2 Tablespoon Chili Powder
1/2 Tablespoon Ancho Chili Powder
1 teaspoon Salt
1 teaspoon MSG
1/2 Tablespoon Garlic Powder
1/2 Tablespoon Onion Powder
1/4 Cup Canola Oil (any neutral tasting oil)

For Rice:
2 cup (370g) Long Grain Carolina Rice
740g Water

  1. Marinate chicken thighs and drumsticks for 2 hours
  2. Wash rice until water runs almost clear. Let drain and dry for at least 30 minutes. This step will help rice stay fluffy
  3. Meanwhile, make bean stew. Cook onions aggressively until dark brown and almost blackened. Turn stove to medium low and gently cook garlic. Once garlic gets a little brown, add spices and a little more oil to cook them until fragrant, deglaze with tomato sauce and scrape the brown bits at the bottom
  4. Drain beans and rinse only black beans. The liquid from pinto beans could help you thicken the stew. Add beans to the pot and stir to combine. Add chicken stock or water and bring it up to a boil, turn to simmer for few minutes to ensure everything is heated. Bean stew should be rich and velvety and not cloyingly thick
  5. Put rice in the rice cooker and put marinated chicken on top. Cook until done and let rice and chicken sit for 10 to 15 minutes before opening the rice cooker
  6. Pre-heat oven at 375F
  7. To put together the casserole, cut up the chicken into bite size and mix in with rice. Ladle bean stew on top of chicken and rice, top off bean stew with a layer of shredded cheese of your choice. Put the casserole into the oven and melt the cheese until nice and bubbly, about 7 minutes in 375F and 1 minute under the broiler
  8. Meanwhile, cut Roma tomatoes into medium chunks, season it with salt, black pepper, dried chilies, lime juice, and EVOO. Mix in cilantro leaves and Scallions
    To serve, scoop a portion of chicken casserole onto a plate, top it off with tomato salsa and a dollop of sour cream or yogurt. Bon Appétit!

Categories
Recipes

One Pot Meal – Korean Spicy Chicken Stew

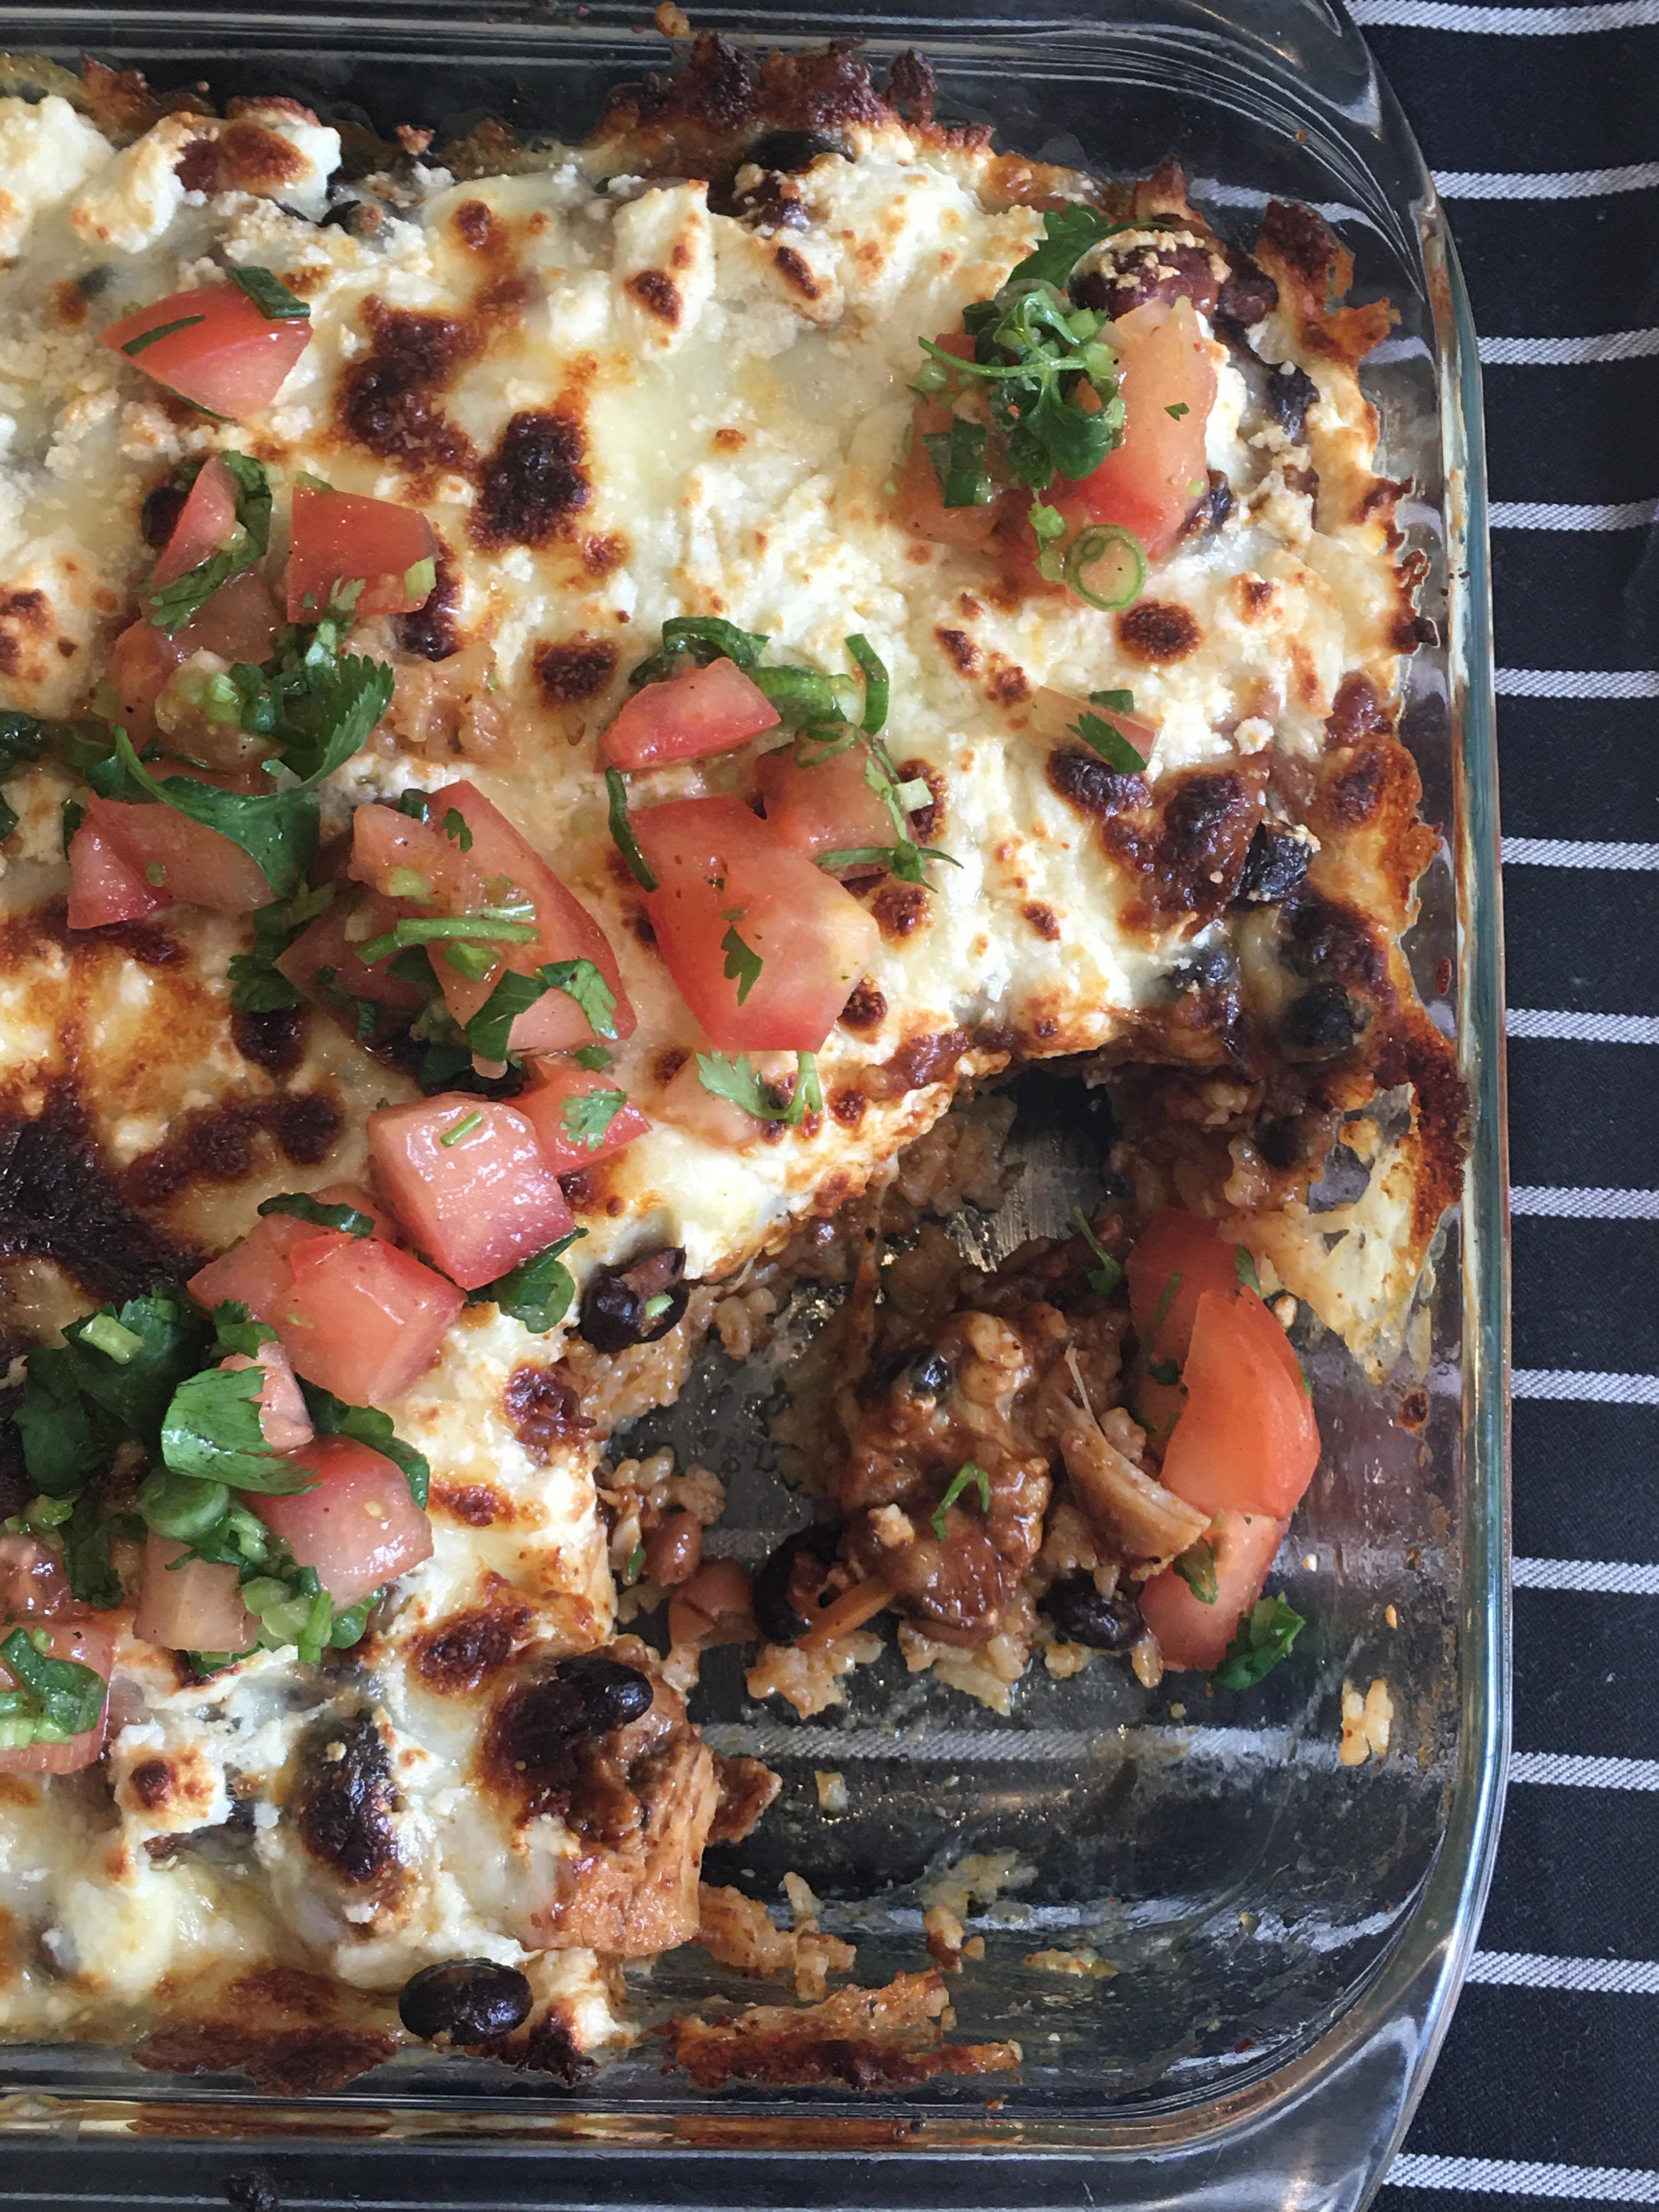
(Korean Spicy Chicken Stew, by Reggie Soang)

My friend, who’s been very busy with work lately, has requested some ideas for 1-pot meal. I’ve decided to make Korean Spicy Chicken Stew today because it is one of my favorite dishes from 2019. During the cooking, the stew has to bubble aggressively the entire time, which makes it unique contrary to many stew recipes. Aggressive cooking, in this case, makes the stew rich and velvety.

For the latest COVID – 19 Home Cooking Series, I present you:

Korean Spicy Chicken Stew
Serves: 2 adults & 2 kids

Ingredients:
1 Yellow Onion, large dice
1 and 1/2 head garlic, cut into chunks
1 bunch scallions, cut into batons
4 pcs Habanero Peppers, halved and seeded*
8 pcs dried Chilies (bird’s eye, guajillo, or anything that adds some heat)*
3 pcs medium size (3/4 pound) carrots, cut into 1-inch chunks
2 pounds Sweet Potatoes, cut into 1-inch chunks
3 pcs chicken drumsticks
3 pcs chicken thighs
1/2 cup (160g) Korean Chili Paste**
1/4 cup (50g) Soy Sauce

*The amount of chilies is up to you
** If you don’t have korean chili paste, you could use brown sugar and dried chilies to make up for the lost flavors

For Rice:
2 cups (370g) Long Grain Carolina Rice
740g Water

  1. Use a soup pot, turn heat up to high and cover the bottom with a thin layer of oil. Season chicken with salt and sear them in the pot on both sides until golden brown
  2. Once chicken is seared, turn heat down to medium and add garlic, onions, and dried chilies. Sauté the aromatics until fragrant and scrape off any brown bits at the bottom of the pot; these brown bits have a lot of flavors
  3. Add everything, except soy sauce, to the pot and cover everything with water up to 1 inch above the surface. Bring the pot up to a boil and let it boil it away. The boiling technique will help you thicken and enrich your stew
  4. As you boil the stew, check on it every 10 minutes to ensure the bottom is not scorched. You will have to lower the heat as the stew gets thicker and liquid has reduced so the bottom of the pot won’t burn. The stew will take about 50 minutes or less to cook, depending on the amount
  5. Meanwhile, rinse your rice in cold water until it runs almost-clear (it will never be 100% clear), and then drain and add to your rice cooker. To cook rice, the ratio of water to rice (pre-rinse) is 2 to 1, or you could do the “finger trick”; place a forefinger on the surface of rice and the water level should come up to the first line of your finger
  6. Do not attempt to open the rice cooker immediately when the rice is done. Let rice sit in the machine for 10 to 15 minutes longer to finish cooking
  7. To plate, scoop your rice into a bowl and ladle spicy chicken stew over it. Garnish stew with freshly cut scallions. Bon Appétit!
Categories
Recipes

Stir Fry Noodles


(Stir Fry Noodles, by Reggie Soang)

One of my friends needed help figuring out how to have her noodles not stuck together in a stir fry. The step to solve this problem is to rinse the noodles after cooking in water; this step will get rid of excess starch and prevent them from sticking during stir fry. Go on…give it a try!

For the latest COVID 19 Home Cooking Series, I present you:

Stir Fry Noodles
Serves: 2 adults and 2 children

Ingredients:
4 portion noodles ( any Asian variety, or even dried Italian pasta)
4 cup red bell pepper, sliced into strips
4 cup green bell pepper, sliced into strips
4 cup cabbage, sliced into strips
1 yellow onion, sliced
10 pieces button mushroom, sliced
10 pieces scallions, cut into batons
8 cloves garlic, sliced
3 eggs, scrambled
1/4 cup soy sauce, or to taste
2 teaspoons Salt, or to taste
1 teaspoon MSG, or to taste
Ground White Pepper, to taste
Chili sauce (optional)

  1. Bring a pot of water to a boil and cook your noodles until almost done, drain and wash them under cold water. Wash noodles until water is clear and drain.  Add 1 tablespoon of oil to lubricate noodles
  2. Add enough oil to cover your skillet and turn on high heat. When oil starts to shimmer, add your veggies. Stir fry your veggies separately if your pan or skillet is not big enough. Don’t crowd the pan during stir fry. Mix the cooked veggies in a mixing bowl
  3. Wipe off your skillet and put it back on high heat with thin layer of oil. Add noodles to the skillet and gently stir them around. Let noodles sit and undisturbed for couple minutes to get some color and crispy edge. Once noodles are nicely fried, add eggs and deglaze with soy sauce. Turn off the heat.
  4. Mix noodles with veggies and season (salt, MSG, soy sauce, white pepper) to taste
  5. To serve, plate your noodles on a plate and drizzle with any chili oil or flavored oil on hand. Bon Appétit!
Categories
Recipes

Date Night…No Problem!

These three recipes are easy to execute and fun to make! Go on…share them with your lovers!

For the latest COVID 19 Home Cooking Series,

I present you a 3-course Date Night Menu:

Citrus Olive Salad 
Pasta Fra Diavolo
Mille Feuille with Poached Pears
Serves: only 2 adults…kids can join

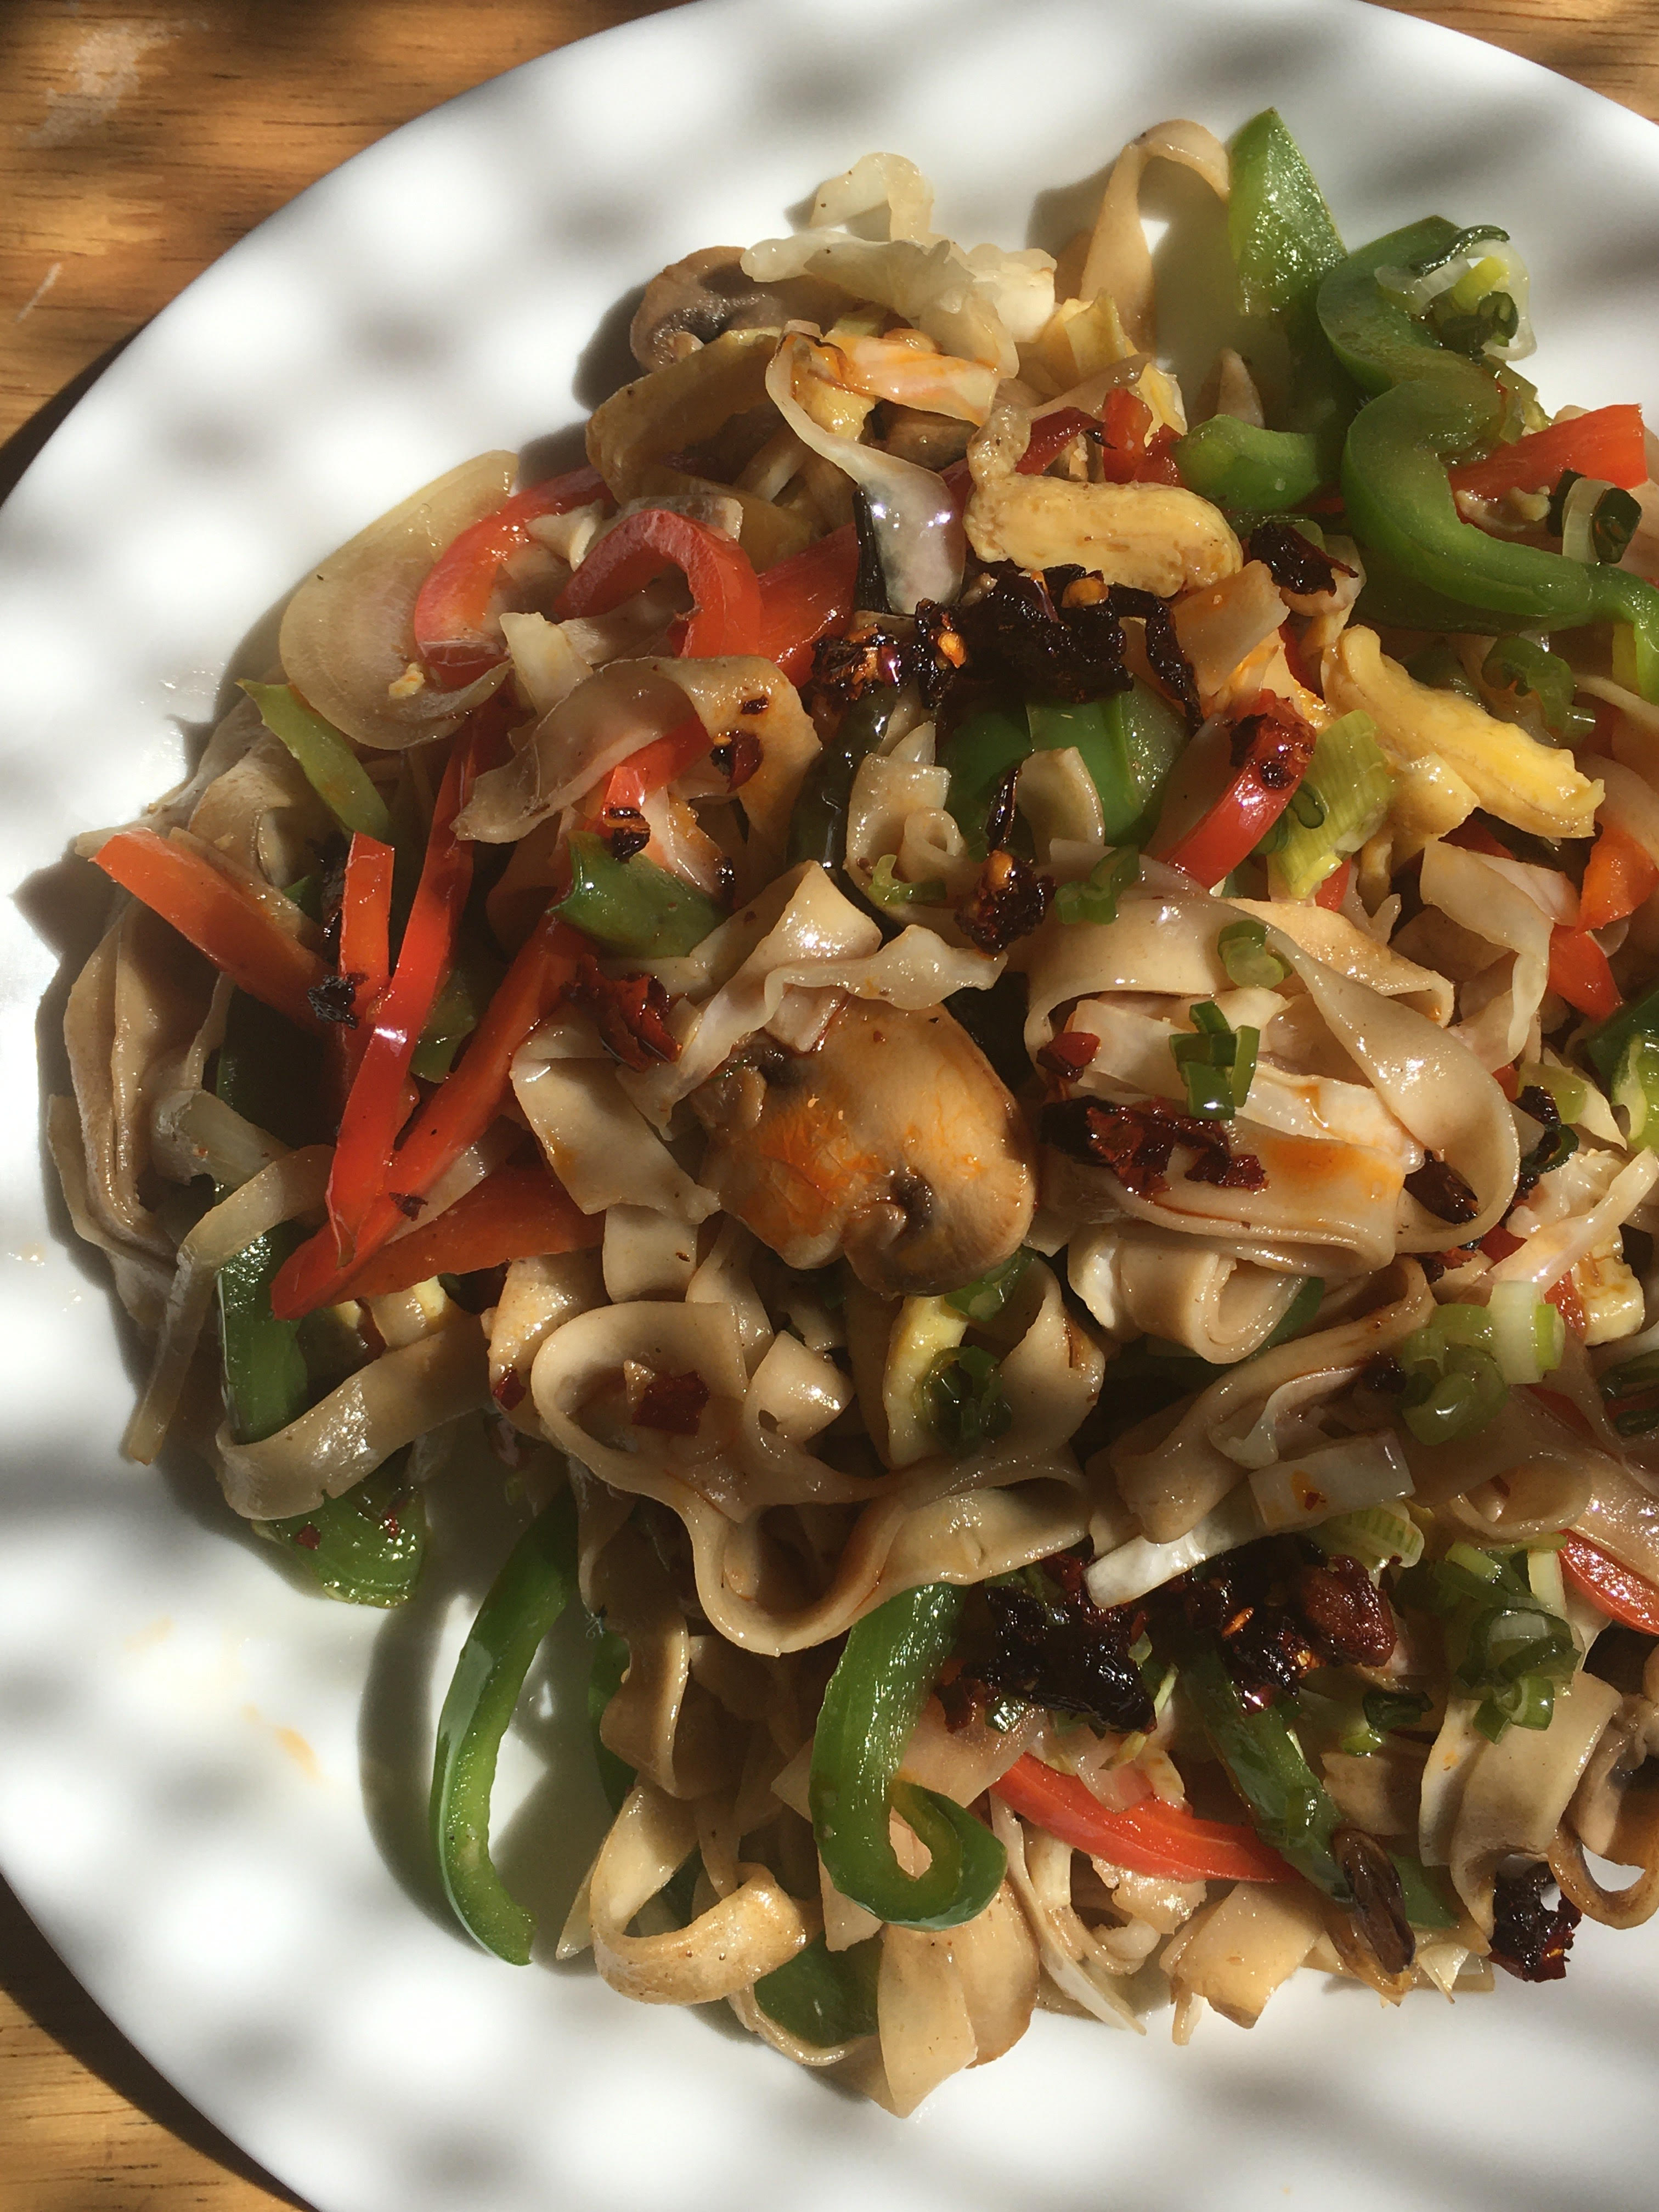
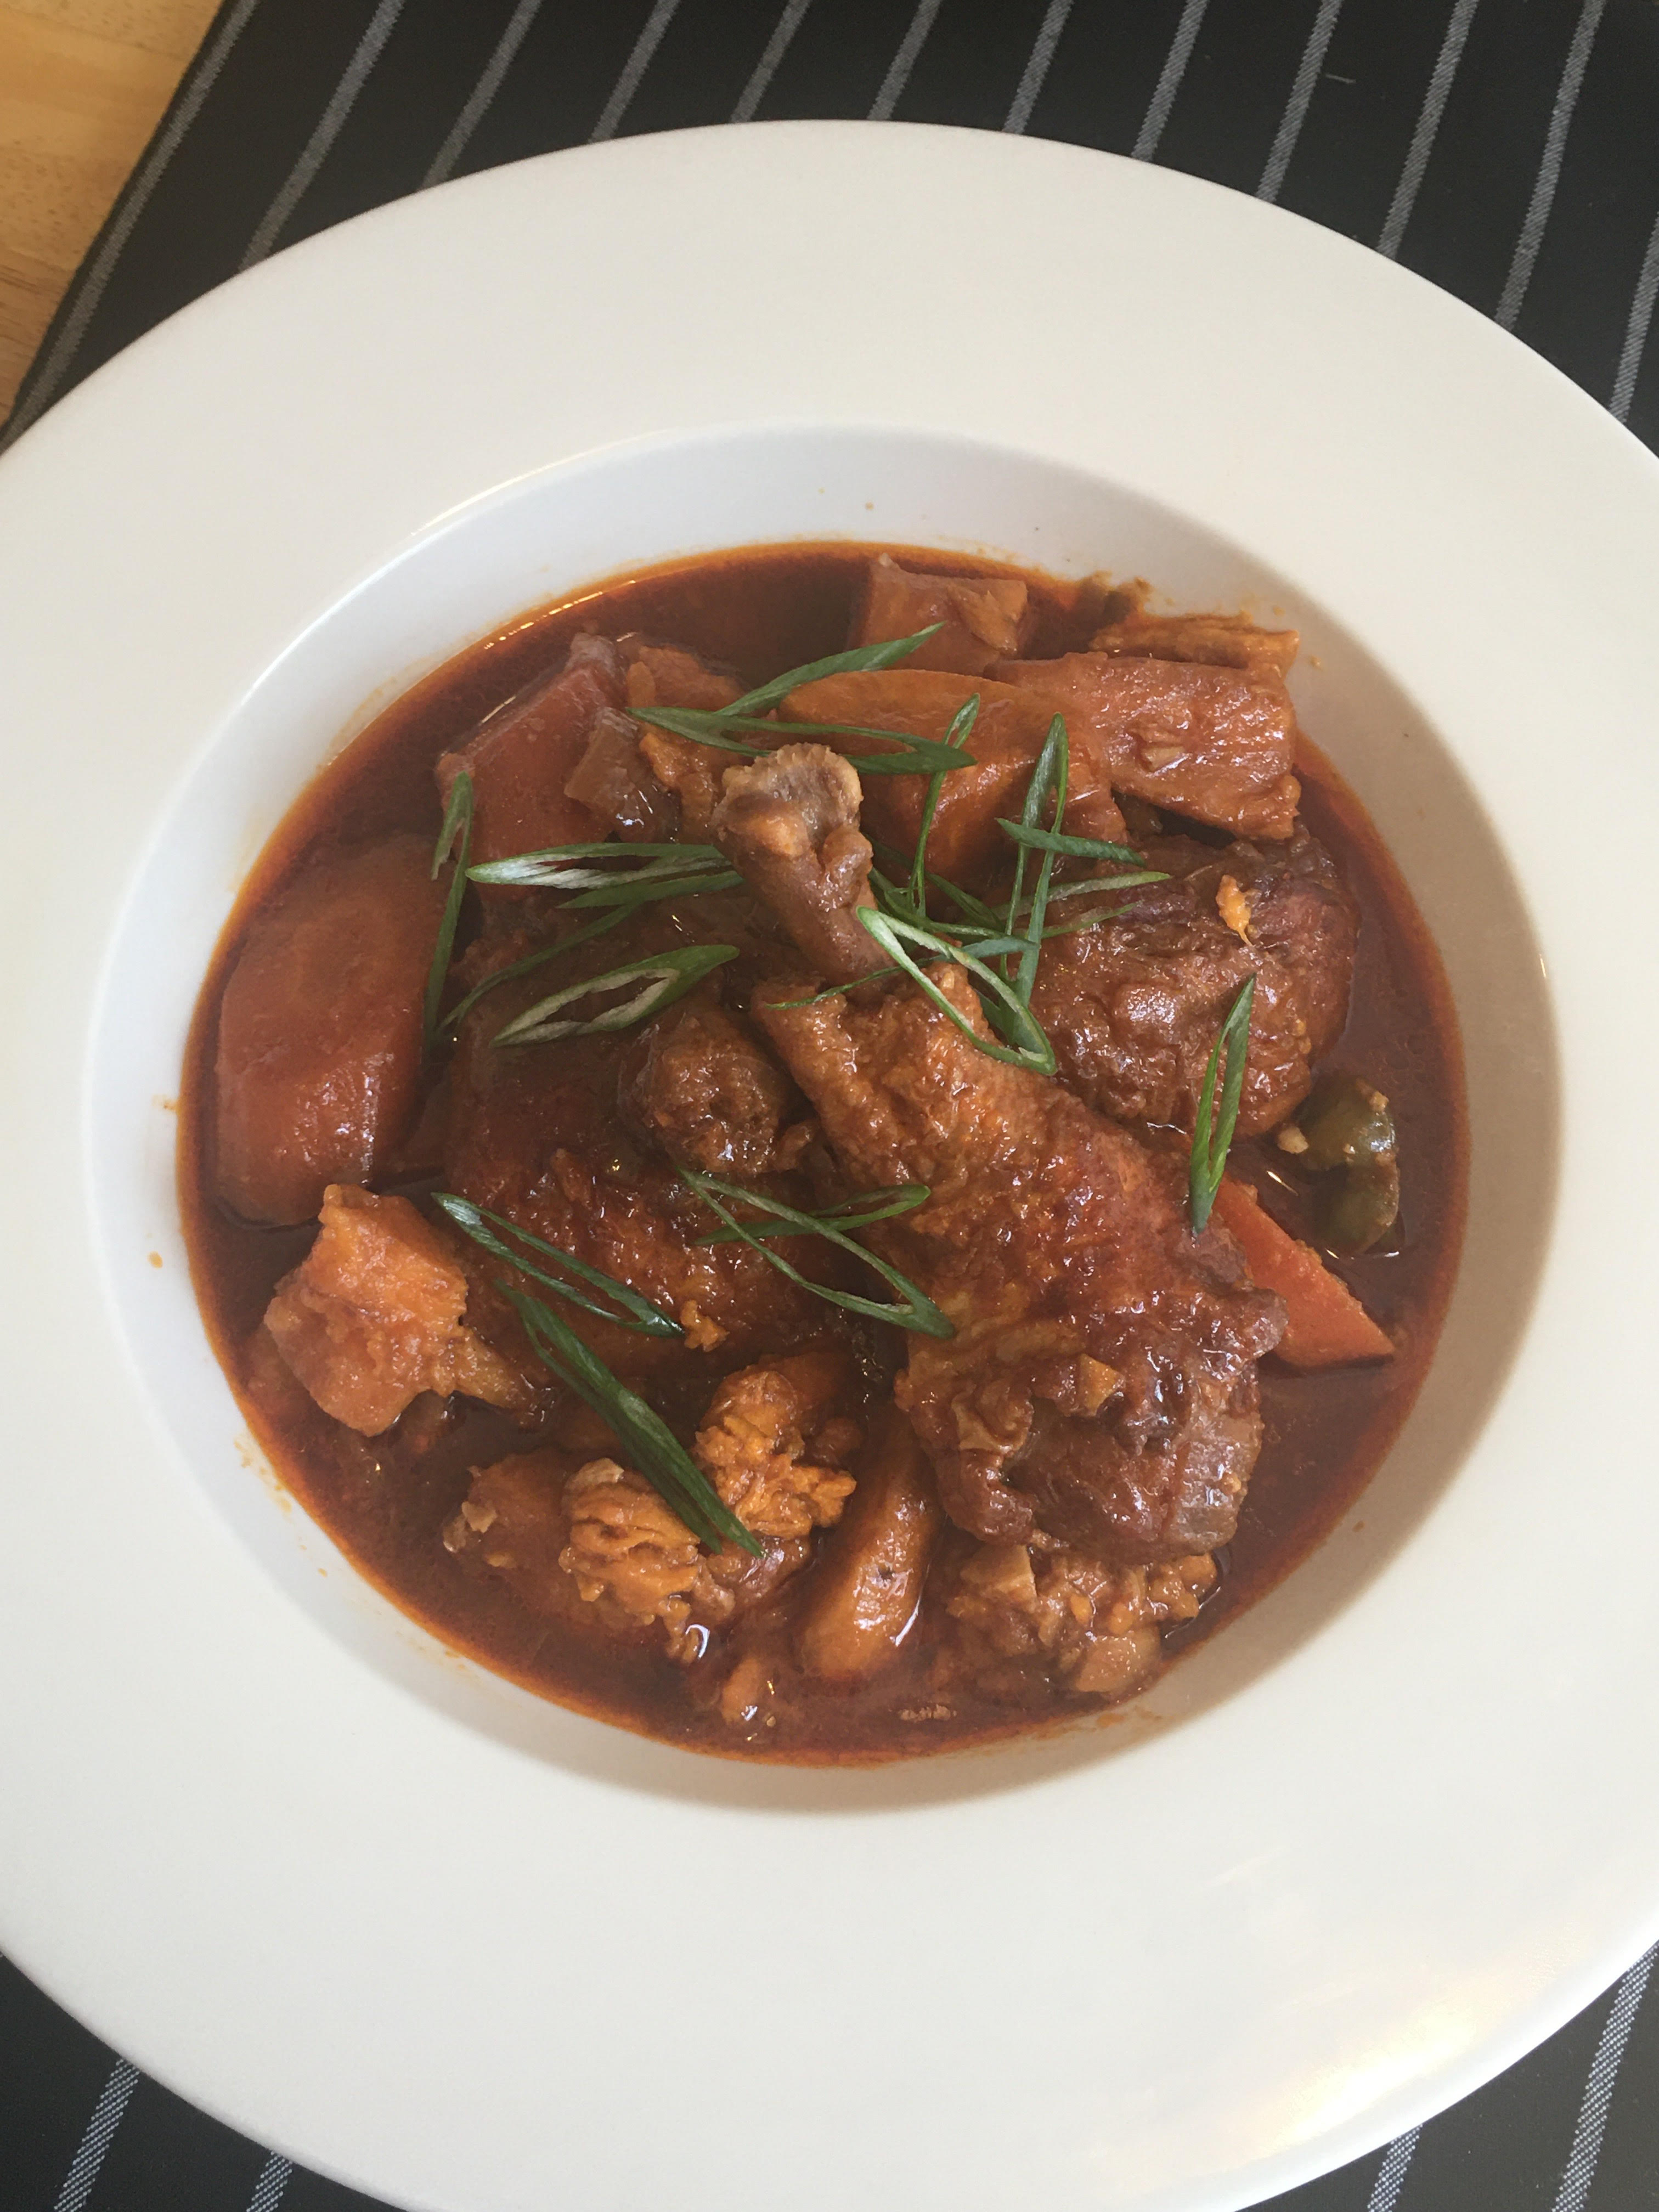
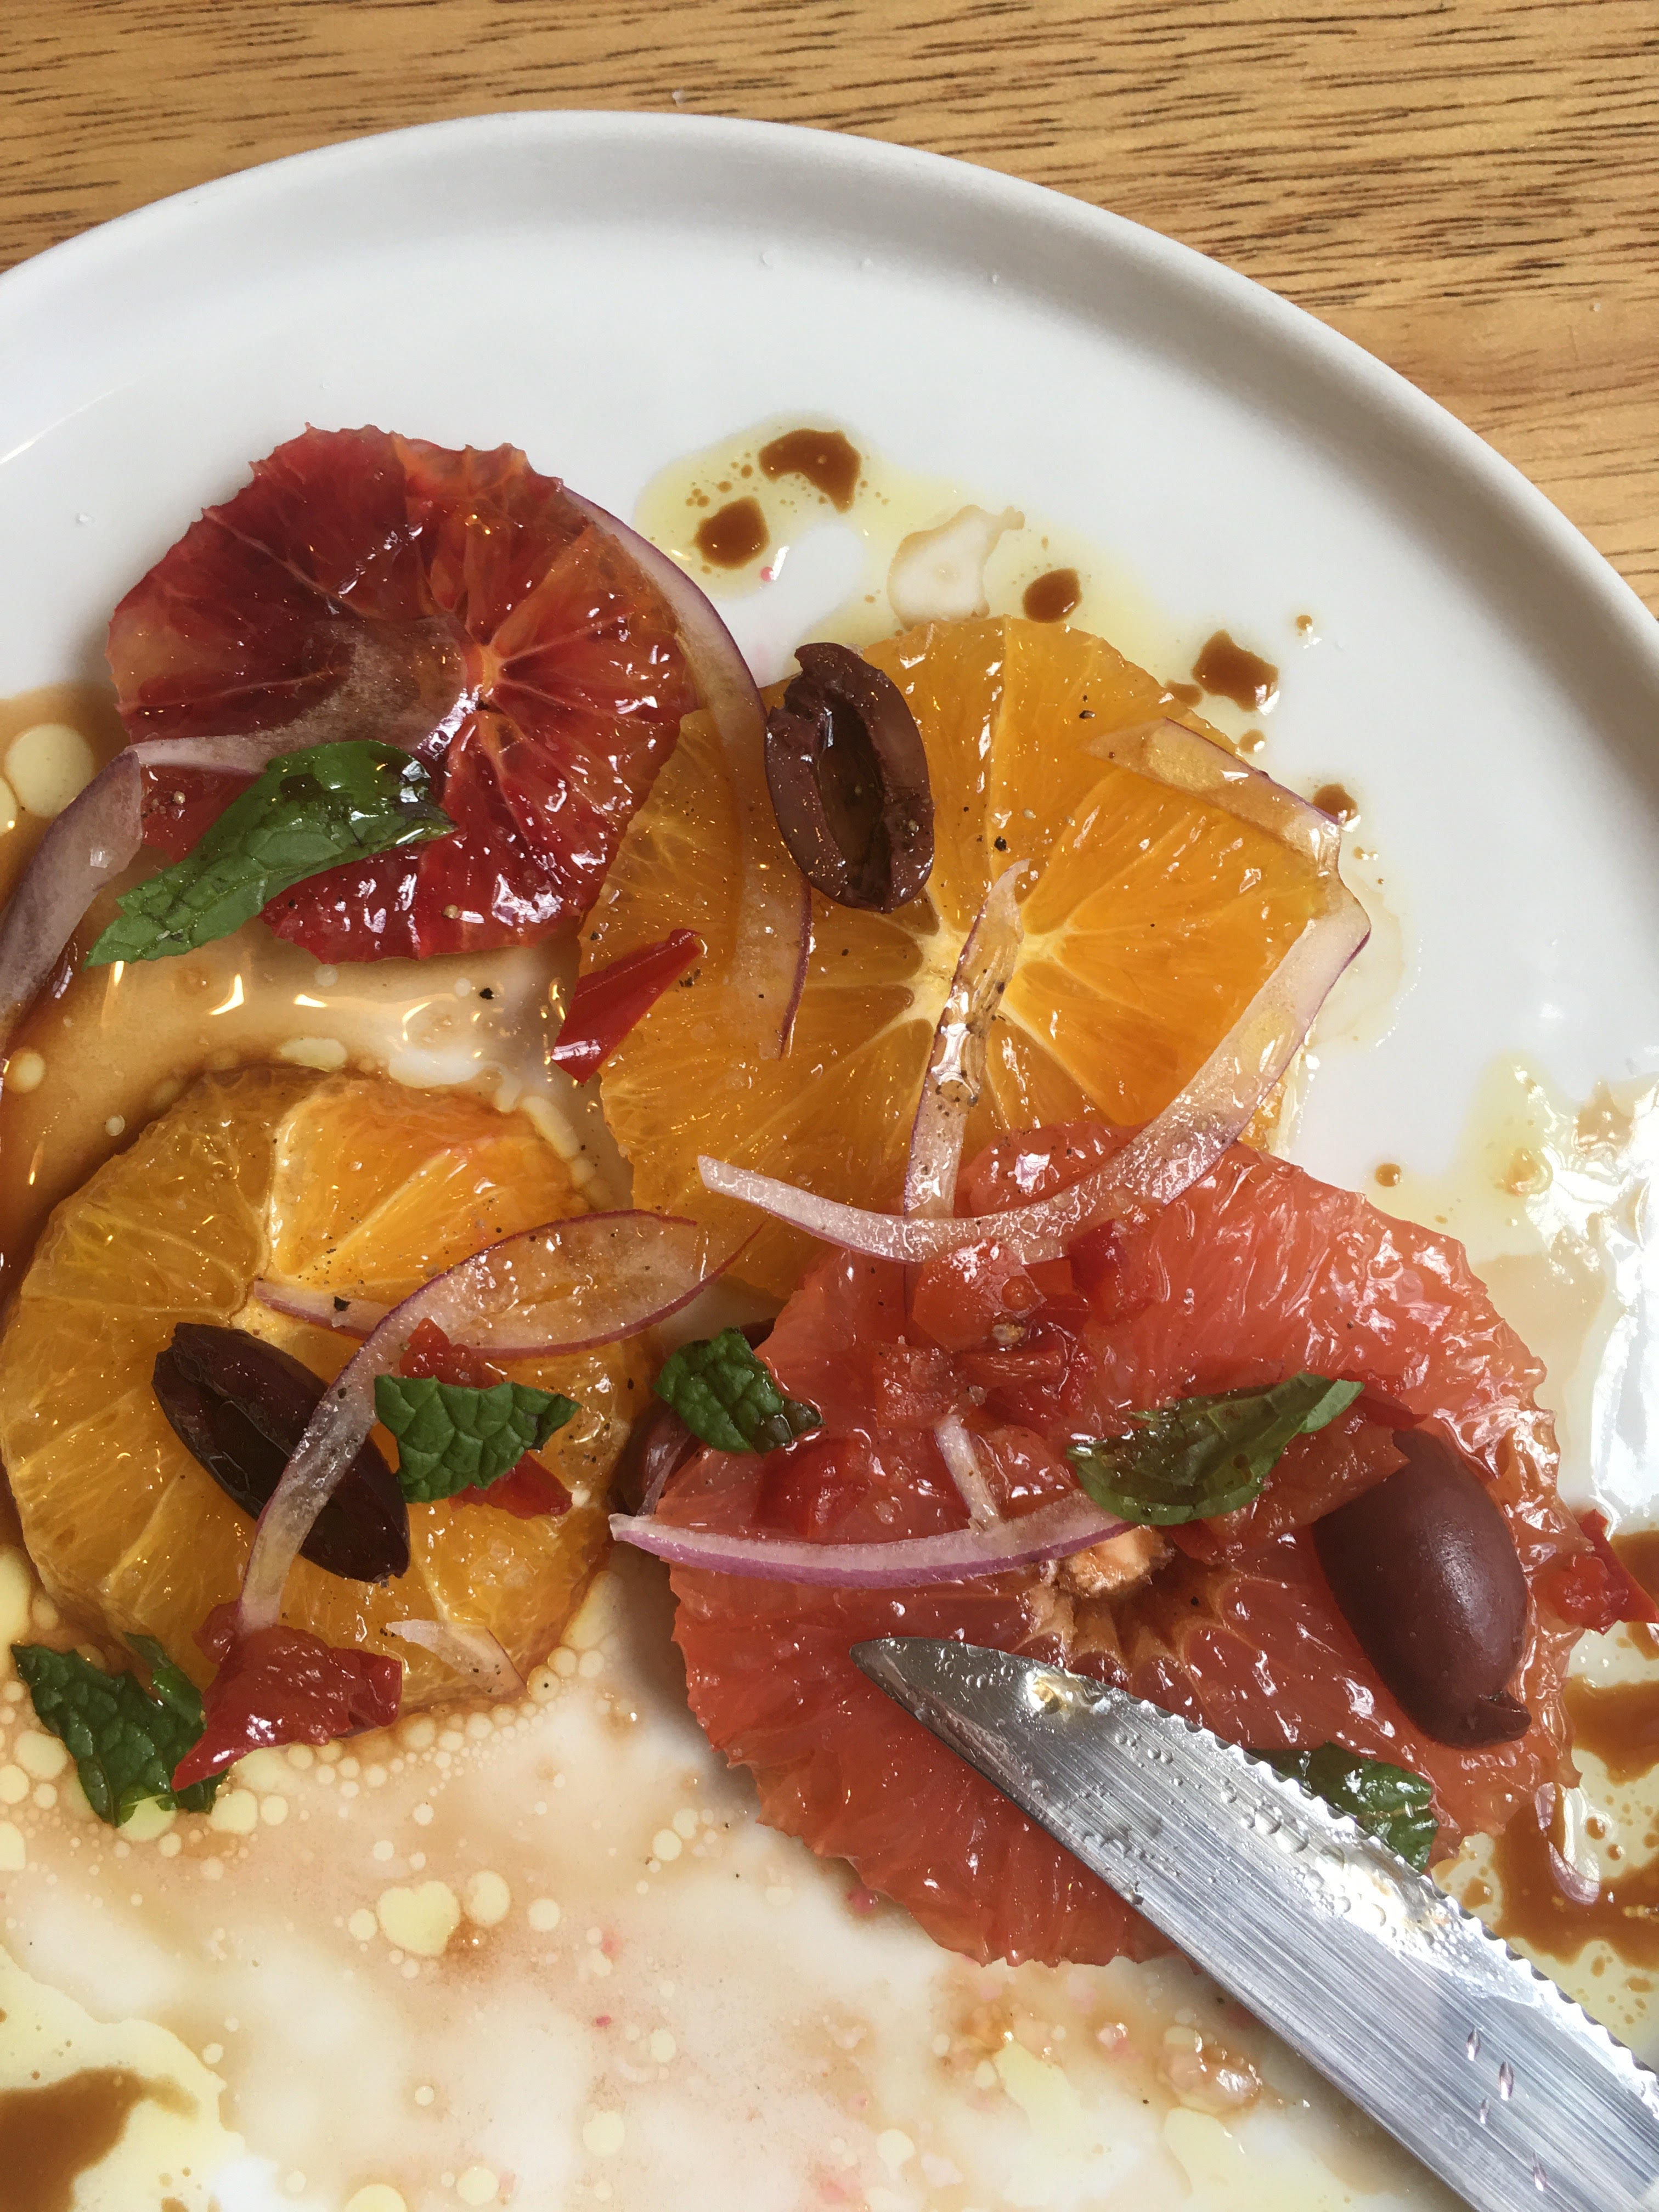
(Citrus Olive Salad with Chilies and Mint, Balsamic Sherry Vin, By Reggie Soang)

Citrus Olive Salad with Chilies and Pumpkin Seeds

Ingredients:
1 whole Grapefruit, sliced into wheels
1 whole Navel Orange, sliced into wheels
1 whole Blood Orange, sliced into wheels
1/4 cup Kalamata Olives, halved or quartered
1 Tablespoon B&G Pickled Hot Cherry Peppers, minced
2 tablespoon Mint, hand torn
1/4 piece Red Onions, sliced thin
2 Tablespoon pumpkin seeds, toasted
4 Tablespoon Balsamic Vinegar
2 Tablespoon Sherry Vinegar
1 Cup + 2 Tablespoon EVOO
1/4 teaspoon Salt
Sea Salt to taste
Ground Black Pepper to Taste

  1. To prep citrus, cut the top and bottom off, and then trim off the peels. Cut skinned citrus into wheels
  2. Drain olives and cut them in halves or quarters
  3. Seed pickled cherry peppers and dice them fine
  4. Thinly slice red onions and soak them in cold( or ice) water for 15 minutes to rid off the harsh taste
  5. Meanwhile, toast pumpkin seeds in 350F oven until fragrant and light brown, about 7 to 10 minutes
  6. To make the dressing, measure out vinegar and olive oil, shake them in a container and season with 1/4 teaspoon of salt
  7. To plate, place sliced citrus on a plate in a rustic fashion, sprinkle olives, red onions, and cherry hot peppers around. Tear up some mint leaves and sprinkle them as well. Season citrus with small pinches of sea salt and black paper. Drizzle balsamic sherry vinaigrette and sprinkle on toasted pumpkin seeds to finish.


(Fra Diavolo, by Reggie Soang)

Pasta Fra Diavolo

Ingredients:
For the Sauce
1/3 cup EVOO
1 head Garlic, sliced
1 Onion, medium dice
1 teaspoon Habanero Chili, minced
2 Tablespoon Chili Flakes (your own preference on the heat level)
1 teaspoon Black Pepper, ground
1 Tablespoon Soy Sauce (optional)
1 can (28 oz.) Crushed Tomatoes
1 teaspoon MSG (optional)
1/4 cup Red Wine
1/4 cup water
Salt to Taste

To Serve Fra Diavolo with:
Any dried pasta
Handful of chopped Basil
Handful of chopped Mint
Handful of chopped Parsley
Grated Parm

  1. Fry off garlic and onions in olive oil on medium high heat
  2. Add chilies and fry until fragrant
  3. Deglaze with soy sauce and add crushed tomatoes
  4. Fry tomato sauce for 2 minutes
  5. Deglaze with red wine and water and add seasoning. Bring the sauce to a boil and turn it down to simmer for 30 minutes, or until it thickens
  6. Meanwhile, bring a pot of salted pasta water to a boil (should taste like sea water)
  7. When the sauce is ready, cook your dried pasta according to the package’s instructions (my experience is about 8 to 10 minutes for dried pasta)
  8. Drain the cooked pasta and reserve pasta water. Toss pasta with spicy tomato sauce. Tear up a handful of fresh basil and mint leaves and add to pasta. Add more pasta water if need to loosen up the noodles
  9. Swirl pasta with a tongue or large fork, place it in the middle of a bowl. Grate parmesan over top and drizzle EVOO around to finish


(Mille Feuille with Poached Pears, by Reggie Soang)

Mille Feuille (Napoleon)

Ingredients:
1 Package Puff Pastry
1 & 1/2 cup Heavy Cream
3 Tablespoon Confectioners Sugar
1 Tablespoon Vanilla Extract
2 Lemon worth of zest
2 Poached Pears, sliced

For Sugar Glaze:
1 and 1/2 cup Confectioners Sugar
3 Tablespoon Water

For Chocolate Glaze:
3 Tablespoon Confectioners Sugar
1 Tablespoon Cocoa Powder
3/4 Tablespoon Water

  1. Defrost puff pastry for 30 minutes before baking
  2. Bake off 2 pieces puff pastry according to the package’s instructions. Check for doneness; finished puff pastry should be fluffy and crispy. If you see any grease dough, then put the pastry back in the oven. Once puff pastry is done. Leave it to cool
  3. Meanwhile, make whip cream. Place cream, confectioners sugar, and vanilla extract in a bowl. Whisk until just under stiff peak. Grate lemon zests and fold them in (IMPORTANT: DON’T WHISK LEMON ZEST IN, OR YOU WILL TURN CREAM INTO BUTTER). Set aside in the fridge until ready to use
  4. To make the glazes. Combine ingredients according to the recipes and stir to combine
  5. To build mille feuille, slice puff pastry in half horizontally. You should have 4 pieces. Using a piping bag or a spoon, pipe whipped cream on puff pastry and line poached pears across, and then pipe another line of whipped cream across. Lay one piece of puff pastry on top and repeat the piping process. You could either build a 4-layer or 3-layer dessert.
  6. To finish, pour sugar glaze on the top and let it drip. Pipe chocolate vertically across sugar glaze and use a tooth pick to drag across perpendicularly to form arrows. Chill the dessert until ready to serve…and Bon Appétit!
Categories
Recipes

Chocolate Tart


(Chocolate Tart, by Reggie Soang)

Baking a tart is definitely one of the most rewarding project to accomplish in baking. It’s weekend! Let’s bake some tarts!

For the latest COVID – 19 Home Cooking Series, I present you:

Chocolate Tart
Serves: 2 adults & 2 kids

Ingredients:
8 Tablespoon (1 stick) Butter
1/3 Cup Sugar
1/4 teaspoon Salt
1/4 teaspoon Vanilla
1 Yolk
1 and 1/4 Cup (200g) Flour

For Ganache:
6 ounce Bittersweet chocolate (or semi-sweet)
1 Cup Heavy Cream

  1. Take out your butter 1 hour before and let it soften
  2. Combine salt and flour, set aside
  3. Beat softened butter with a stand mixer or electric mixer, on high speed, until fluffy. Add sugar and continue to mix until butter turns pale and creamy. Mix in yolk and vanilla into butter on low speed.
  4. Add your dry ingredients in 3 stages. Mix flour into butter on low speed to prevent dough getting tough and gluey.
  5. Tip the dough onto a plastic lined surface. The dough will be crumbly. Use both hands to push crumbs together to form a dough. Shape the dough into a wheel. Wrap the dough in plastic and rest in refrigerator for 3 to 4 hours.
  6. Meanwhile, bring your cream up to a boil and turn it off right away. Pour hot cream over chocolate and gently fold cream into chocolate to combine. Put a piece of parchment paper on top to keep it from drying out. Set aside.
  7. After 3 hours, take out your tart dough and let it sit in room temp for 30 to 40 minutes until dough is soft enough to roll out.
  8. Flour your counter and roll your dough to 1/16 inch thick. For this recipe, the dough will be enough to make six 4-inch tarts, or one 10-in tart. For making 4-inch tarts, divide the dough into 6 portions. Flour an off-set spatula and slide it underneath of a portion and lift it into the tart mold. Gently press the dough to fit and use your thumb to rub off the excess on top of the edge. Use the excess dough to patch up any cracks.
  9. Dot the bottom of the tart and refrigerate for 40 minutes before baking them off.
  10. Meanwhile, pre-heat oven to 350F
  11. Put parchment paper on your tart shells and put some dried beans on them to keep the shells from puffing during blind bake. Blind bake for 15 minutes, and remove the beans. Put tart shells back into the oven for another 5 to 7 minutes to get some color
  12. Once the tart shells are baked, let them chill. Remove the molds and pour in ganache. Let ganache set either outside or in the fridge.
  13. Dust confectioners sugar on your chocolate tart and serve. Bon Appétit!
Categories
Recipes

Doughnut…or Donut


(Doughnuts…or Donuts, by Reggie Soang)

I have been craving a donut. A donut means a lot to me; donut is comforting, donut reminds me of childhood, donut is great for gathering, donut sounds sexy (say it…dou-nut), donut is great for a first date, a second date, and a third date, and donut cures hangover.

For the latest COVID 19 Home Cooking Series, I present you:

Doughnut…or Donut
Serves: 2 Adults & Many Kids

Ingredients:
470g AP Flour
85g Sugar, divided to 60g and 25g
55g Butter
60g Water
265g Milk
11g Active Dry Yeast
3.5g Salt
1 Egg

For Lemon Glaze:
1 and 1/2 cup Confectioners Sugar
1 lemon zest
30g lemon juice (from 1 lemon)

For Cinnamon Sugar:
1 cup Sugar
1 teaspoon Cinnamon Powder

  1. Add AP Flour, 60g sugar, and salt together in a mixing bowl
  2. Bring both water and milk to between 100F and 105F, could be slightly lower, but not higher. Yeast does its best job in between those two temperatures
  3. Mix together water, reserved 25g sugar, and yeast, let them bloom for 10 minutes
  4. Melt butter in milk, and bring milk’s temperature back to between 100F and 105F (adding cold butter to milk can drop the temperature of milk)
  5. After yeast has been bloomed, add to milk and butter mixture
  6. Turn your stand mixer on low with dough hook attachment, add wet ingredients to dry ingredients and mix to combine. The mixing will take about 14 to 15 minutes. The dough is ready when it comes off the sides of the mixing bowl. Put the dough in another greased mixing bowl and let rest for 1 hour and 30 minutes.
  7. Once the dough is rested, gently slide it out onto a floured surface and roll it to half-inch thick rectangle. Use a donut cutter or two different size of ring cutters to punch out donut. Set each individual donut on small pieces of greased parchment paper and let rest for 20 minutes
  8. With the leftover dough, gently fold it back into a ball and let rest for another 20 minutes before punching out another batch of donut. Repeat…
  9. Heat up a pot of oil to 325F, and drop donuts in gently and fry for 15 seconds before removing the parchment paper. Try and keep the oil temperature at around 325F (between 315F to 330F is fine…anything lower, donut will be grease, and anything higher, donut will be too dark on the outside)
  10. Once the first side is golden brown, after about 1 minute 20 seconds (ish), flip to the other side, and fry for another 1 minute and 20 seconds (ish)…the whole process should take about 3 minutes. Drain them on cooling racks. Avoid using paper towels because the donut will steam and get grease.
  11. Once doughnuts are cooled, glaze them with lemon glaze or dust them with cinnamon sugar. Bon Appétit!
Categories
Recipes

Poached Pear, Lemon Poppy Seed Cake, and Chocolate

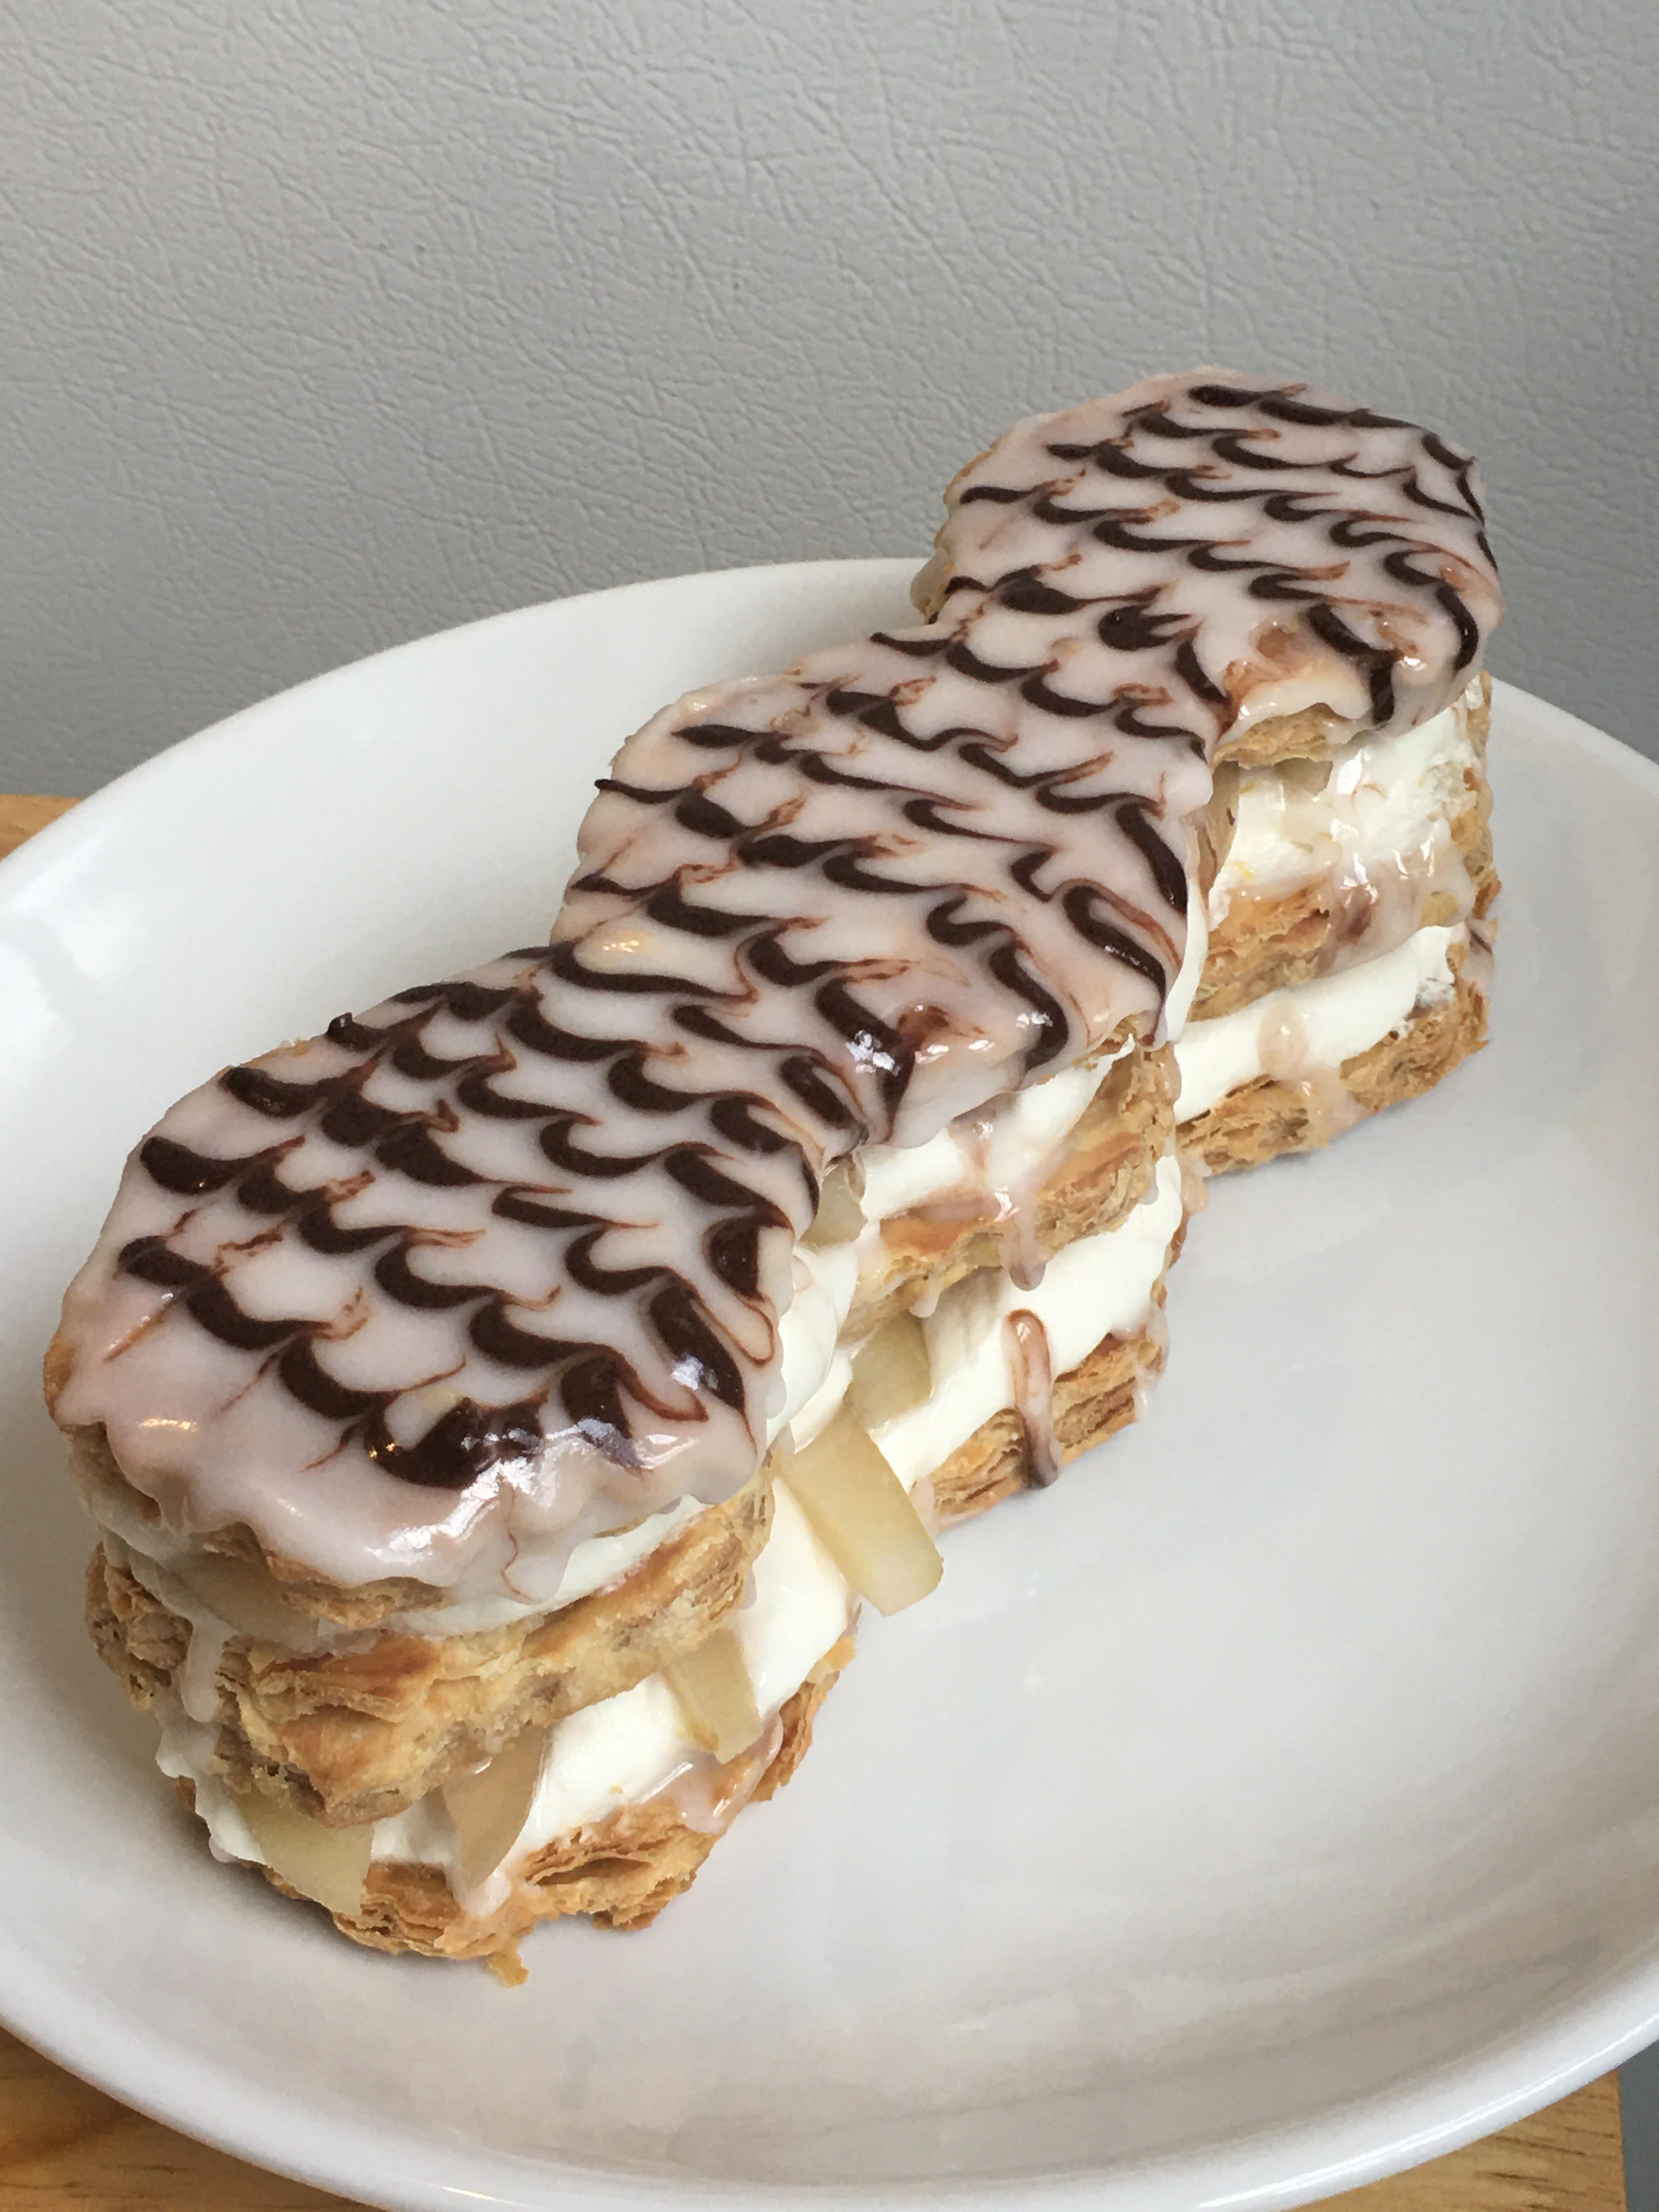
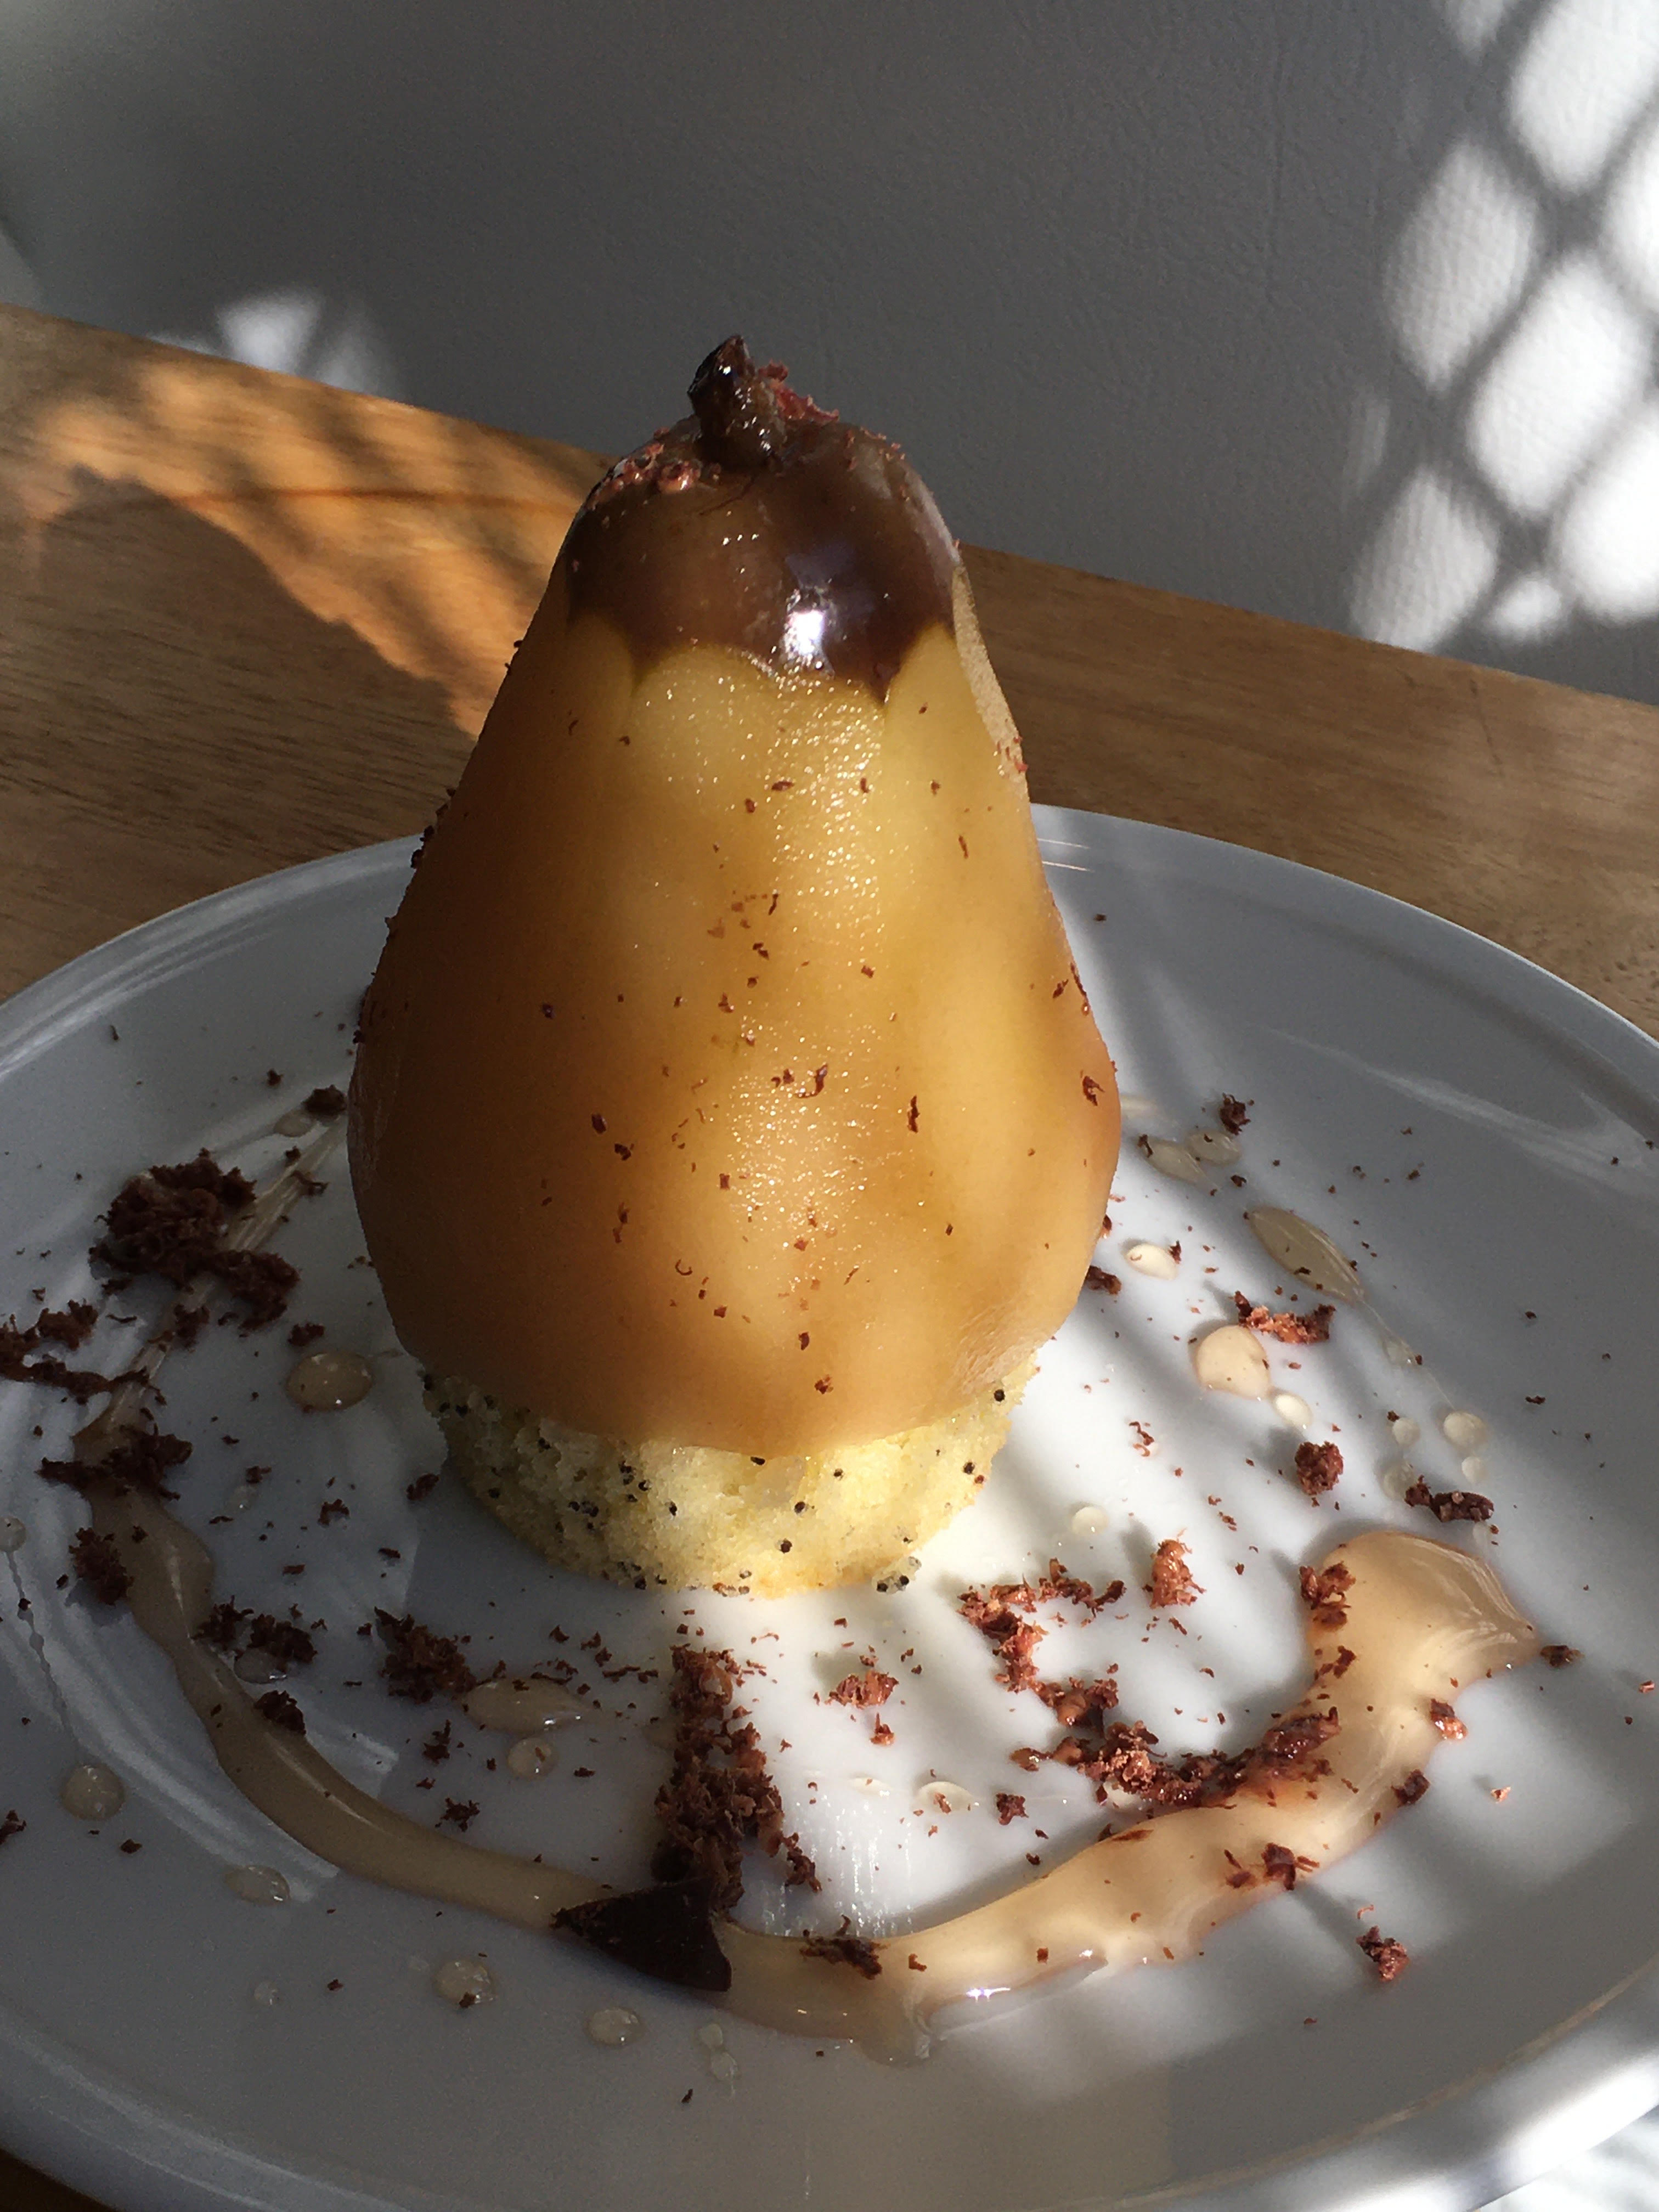
(Poached Pear, Lemon Poppy Seed Cake, and Dark Chocolate, by Reggie Soang)

Poached Pears are one of my favorite desserts. I love using Anjou Pears for its meaty texture. Pears are cheap and works very well with baked goods and ice cream. Since I have abundant of muffins in the house (lemon poppy seeds to be specific), I decided to use my poached pear with a muffin and grated dark chocolate.

For the latest COVID 19 Home Cooking Series, I present you:

Poached Pears, Lemon Poppy Seed Cake, and Dark Chocolate
Serves: 2 adults

Ingredients:
2 Anjou Pears
5 cups Water
2.5 cup Sugar
1 Cinnamon Stick
Pear Peels,
1/2 lemon, juiced

To Serve With:
1 Lemon Poppy Seed Muffin, cut in half and reserve the muffin top
Dark Chocolate

  1. Peel pears and squeeze lemon juice over them to keep them from oxidizing (turning brown)
  2. Bring sugar syrup to a boil with pear peels and juiced lemon trim
  3. Turn the heat down and place pears inside the hot syrup to poach (the poaching liquid should only bubble ever so slightly to none). The poaching time could vary depends on your heat level. Start checking your pears every 10 minutes after the first 15 minutes passed. To check on pears, using a skewer to poke the thickest part. The skewer should go through without any resistance.
  4. When pears are done, cover the pears and leave them in the syrup to cool.
  5. To serve, reduce 2 cups of the poaching liquid to syrup. Cut a muffin in half, reserve the muffin top for breakfast and glaze the bottom half  with pear syrup. Sit the pear on top of the muffin and drizzle syrup around the plate. Finish with grated dark chocolate. Bon Appétit!